%201.png)
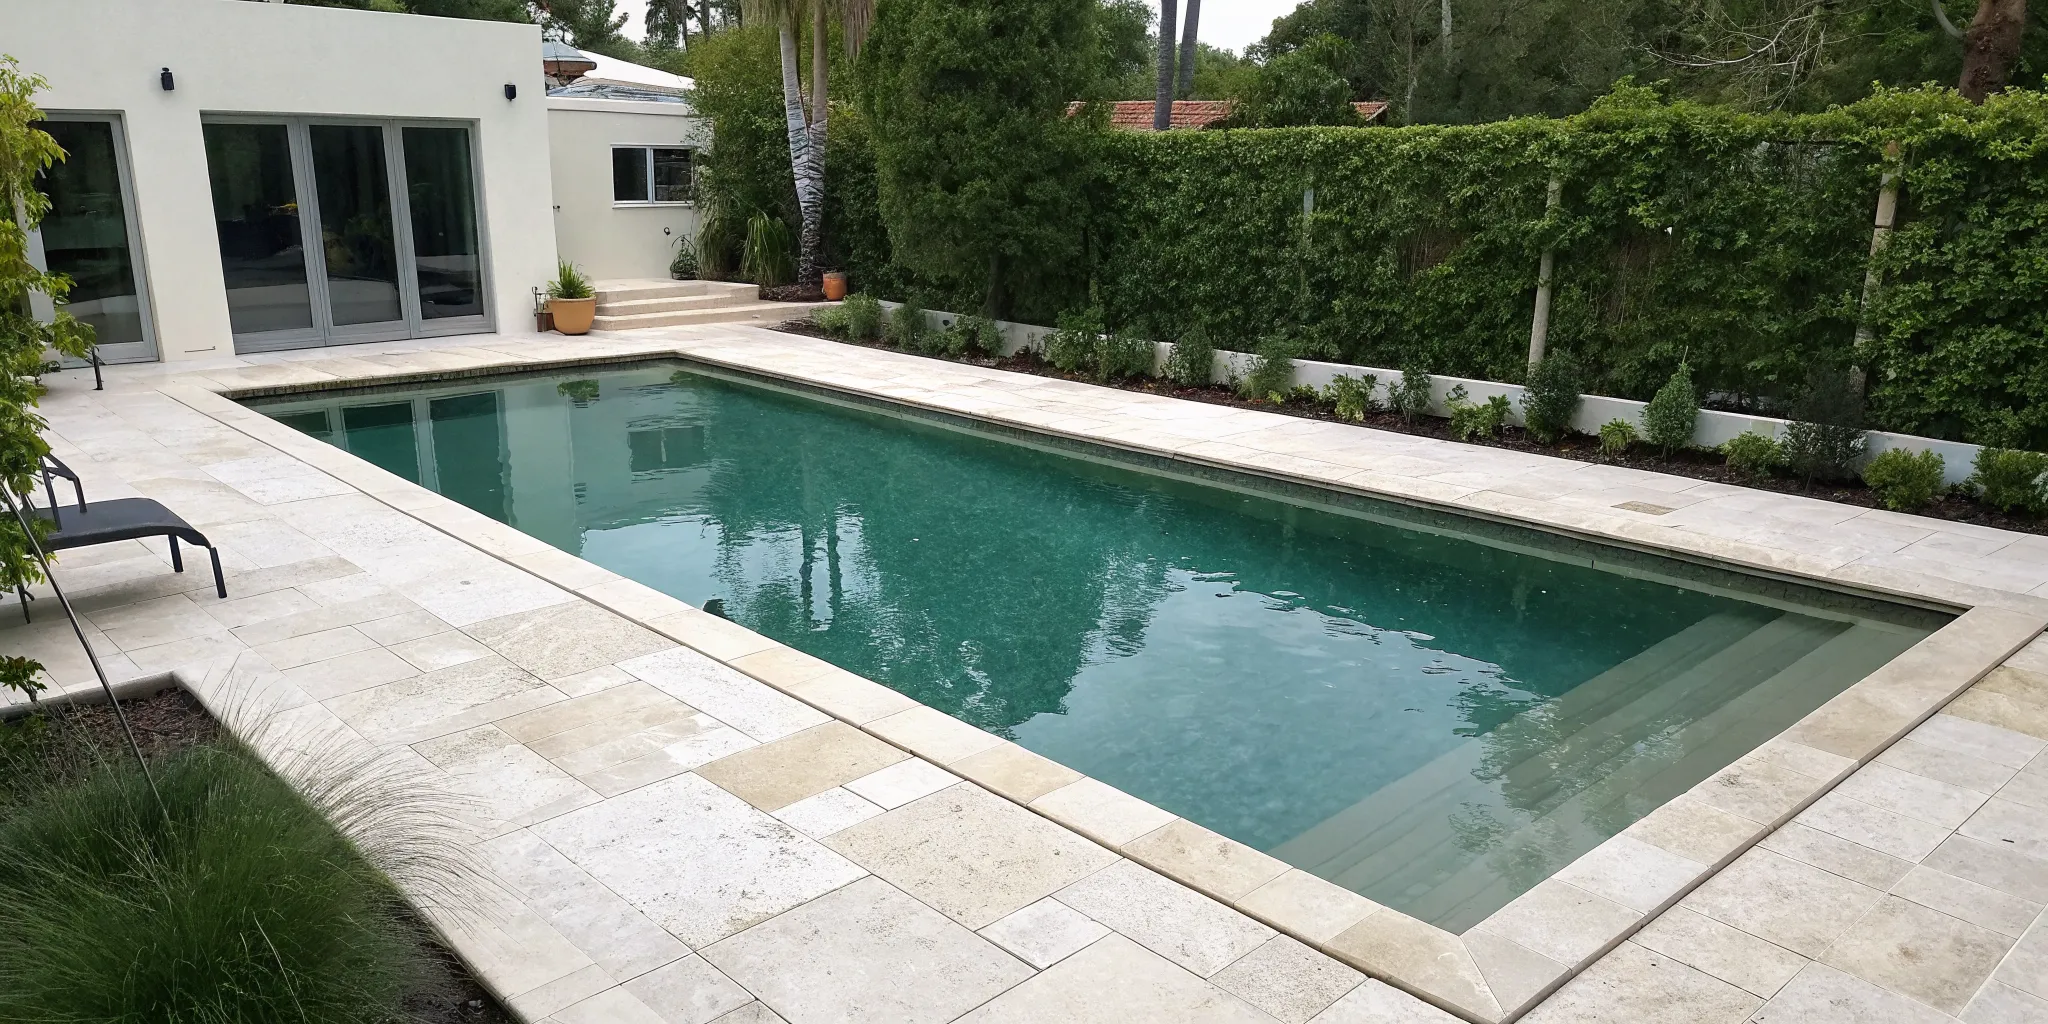
Opening an Above Ground Pool in 7 Simple Steps
The secret to a low-maintenance summer pool is a high-quality spring opening. Getting your water chemistry balanced and your equipment running perfectly from the start prevents the most common issues, like algae and cloudiness, from ever taking hold. Think of this as setting the foundation for a season of crystal-clear water. While it involves more than just taking off the cover, the process is straightforward when you know what to do. This guide provides the essential steps for a clean start, covering everything from the initial clean-up to the final chemical shock. The fundamentals are the same for every setup, including the process for opening above ground pool, ensuring you’re ready for that first cannonball.
Key Takeaways
- Clean your cover before you remove it: Always pump off standing water and sweep away leaves from your pool cover before taking it off. This prevents a winter's worth of debris from falling into your water and creating a much bigger cleaning job.
- Get your chemistry sequence right: Water balancing is a step-by-step process, not a free-for-all. Always test your water first, then adjust the alkalinity, then the pH, and finally add your sanitizer to ensure the chemicals work effectively.
- Inspect your equipment before you start it: Before flipping the switch, do a quick visual check of your pump, filter, and hoses. Reconnecting everything properly and priming the pump prevents leaks and protects your equipment from costly damage.
First Steps: Preparing to Open Your Pool
Getting your pool ready for summer is an exciting rite of spring here in Colorado. Before you can even think about that first cannonball, a little preparation is key to a smooth and successful opening. Taking the time to get organized, clear the area, and check your equipment will save you from headaches down the road and get you swimming sooner. Think of this as setting the stage for a great pool season. These initial steps are straightforward but crucial for preventing messes and spotting potential problems before they become bigger issues. It's tempting to just rip the cover off and get started, but a methodical approach will make the entire process feel less like a chore and more like a rewarding project. By tackling these simple tasks first, you ensure that the rest of the process, from removing the cover to balancing the chemicals, goes off without a hitch. It’s all about working smarter, not harder, so you can spend less time troubleshooting and more time enjoying the water. Let's walk through exactly what you need to do to get started on the right foot.
Clear the Pool Area and Deck
Your first move should always be to clean the area around the pool before you even touch the cover. Over the winter, your pool deck and cover have likely collected a layer of leaves, twigs, dirt, and other debris. If you pull the cover off without cleaning it first, all of that gunk will slide right into your pool water, creating a huge mess you’ll have to clean up later. This is one of the most common mistakes people make, but it's so easy to avoid. Grab a broom or leaf blower and clear the entire deck. Then, use a soft broom or a skimmer net to gently remove any debris from the top of the pool cover itself.
Gather Your Tools and Supplies
Having everything you need within arm's reach makes the whole process much easier. Before you start, gather all your pool-opening gear in one spot. You’ll want a pool cover pump to remove any standing water, a soft broom or skimmer for debris, and a proper cover cleaner. You will also need your pool start-up supplies and chemicals, so make sure your kit is fully stocked. It’s also a great idea to enlist a friend or family member to help, as removing a large, heavy cover is much easier and safer with two people. This simple prep step prevents you from running back and forth to the garage.
Inspect Your Pool Equipment
A quick equipment check-up now can save you from frustrating surprises later. Take a few minutes to look over your pump, filter, and hoses for any visible cracks or damage that may have happened during the cold Colorado winter. Reconnect all the hoses for your filter system, making sure they are securely attached to the skimmer and return fittings. Give every connection a good tighten to prevent leaks when you turn the system on. If you notice any damage or aren't sure how things should be connected, it's best to call for professional equipment repairs before you proceed. It's much better to address a small issue now than a big one mid-July.
How to Remove and Clean Your Pool Cover
After a long winter, your pool cover has done its job protecting your pool from the Colorado elements. Now it’s time to remove it properly so you can get back to swimming. Taking a few extra minutes to clean and store your cover correctly not only prevents a mess but also extends its lifespan, saving you headaches next season. This process is straightforward and sets the stage for a clean, clear pool. Let’s walk through how to get it done right.
Clear Water and Debris from the Cover
Before you even think about moving the cover, you need to get everything off the top of it. Any standing water from melted snow or spring rain should be your first target. A small, submersible pool cover pump is the perfect tool for this job. Once the water is gone, use a leaf net or a soft-bristle brush to gently sweep away leaves, twigs, and other debris. Working from the center outwards helps contain the mess. Taking the time to clear the surface ensures that last season’s gunk doesn’t end up in your pool water, giving you a much cleaner start.
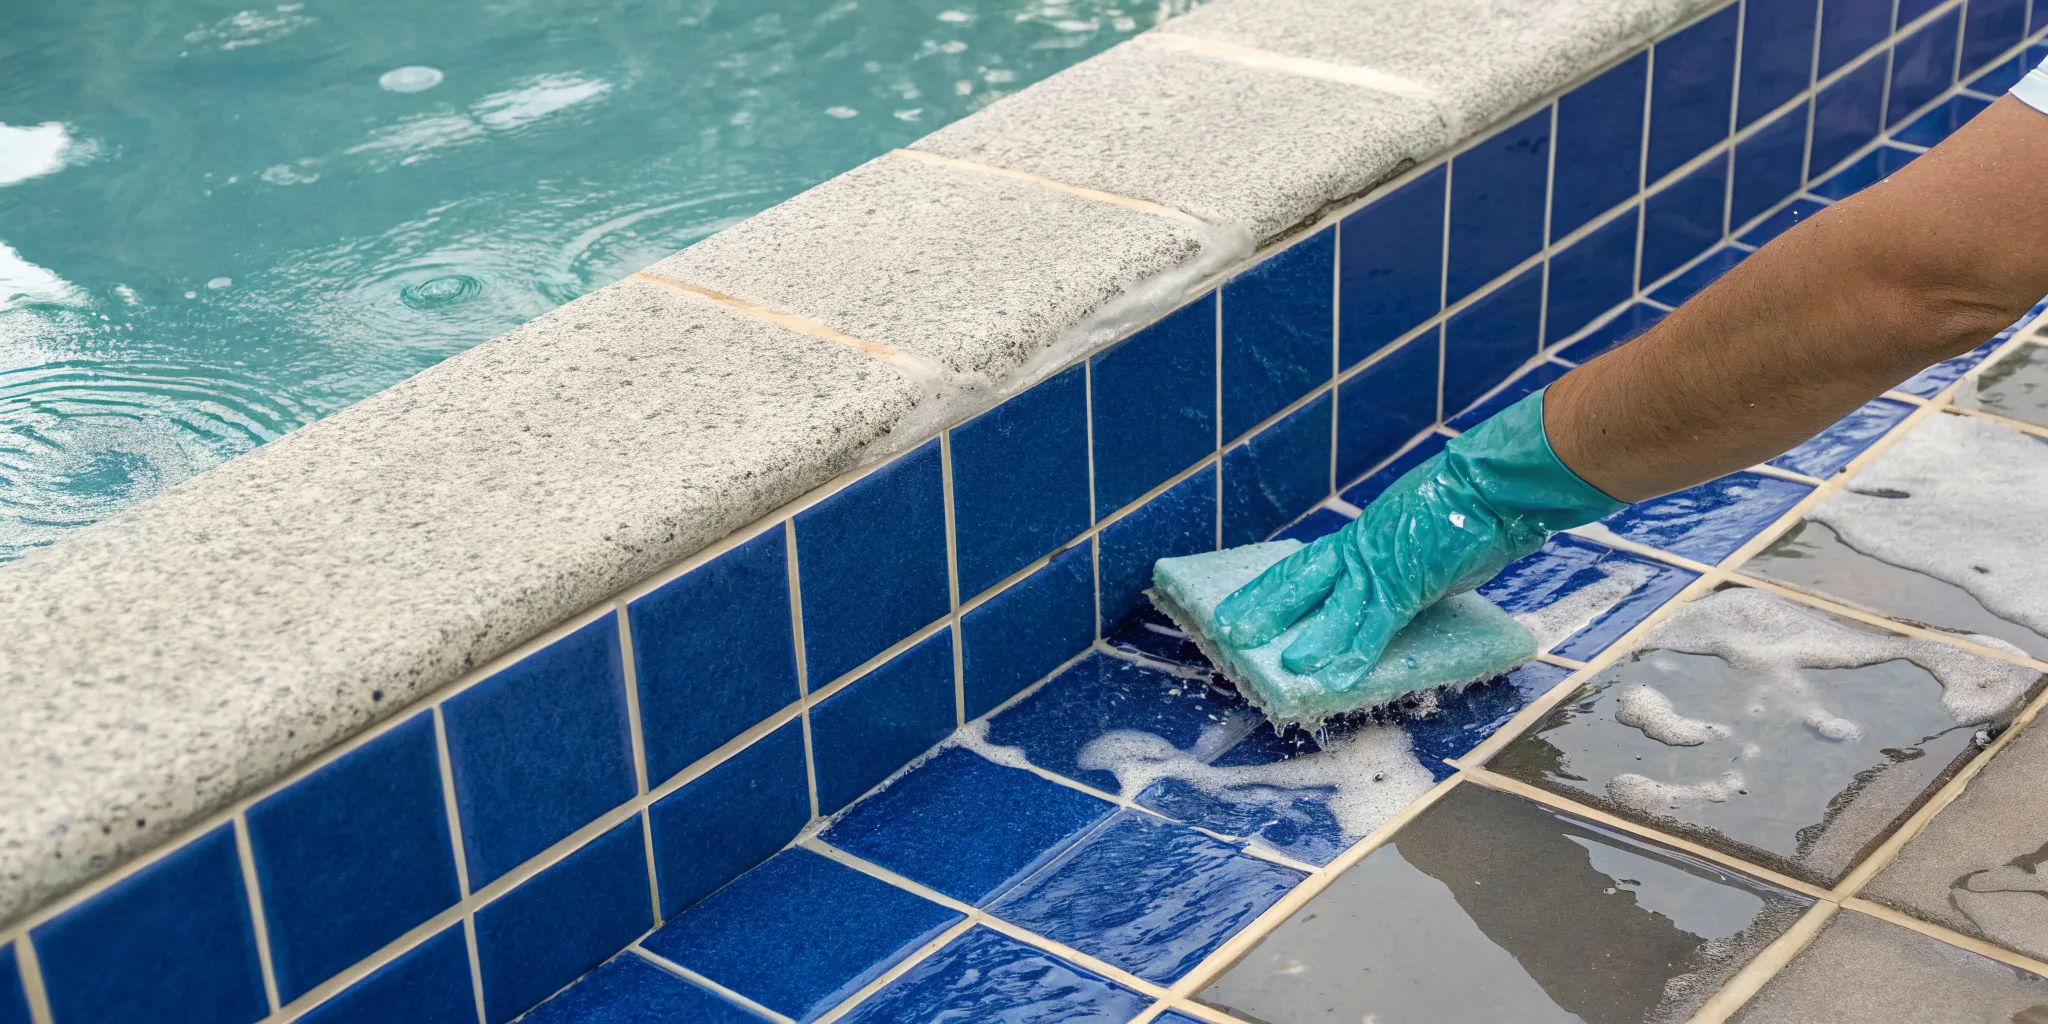
Clean the Cover Before Storing
Once the cover is off the pool, find a flat, clean area like your driveway or a grassy spot in the yard to spread it out. Give it a good rinse with a hose to wash away any surface dirt. For tougher spots or algae stains, use a specialized pool cover cleaner or a simple mix of mild soap and water with a soft brush. Never use harsh chemicals or a pressure washer, as they can damage the material. The most important step is to let the cover dry completely on both sides. Folding and storing a damp cover is a recipe for mold and mildew, which can ruin it over the summer.
Safely Remove and Store the Cover
Removing the cover is much easier with a helper. Each of you can take a side and fold it accordion-style, which helps keep any remaining debris from falling into the water. Once it’s folded, roll it up tightly. For storage, a large, sealed container like a plastic storage bin is your best bet. This protects the cover from moisture, pests, and accidental damage. Store the container in a dry, sheltered spot like a garage, shed, or basement. Proper storage is key to preventing the need for premature repairs and ensuring your cover is ready to go next fall.
Your Pool Opening Toolkit
There’s nothing worse than getting halfway through a project only to realize you’re missing a key item. Before you even think about pulling back that pool cover, take a few minutes to gather all your tools and chemicals. Having everything organized and within reach will make the entire pool opening process feel less like a chore and more like the official start of summer. Think of it as setting up your command center for a smooth, successful launch. We’ll break down exactly what you need, from testing kits to cleaning gear, to get the job done right.
Essential Chemical Testing Supplies
Getting your water chemistry right from day one is the secret to a sparkling clean pool all season long. You’ll need a reliable water test kit to check the levels of pH, alkalinity, and chlorine. Based on those initial readings, you’ll use balancers to adjust the pH and alkalinity. You should also have your sanitizer of choice, like chlorine tablets or granules, ready to go. A good start-up kit often bundles everything together, but you can also find all the pool care supplies you need individually. Don’t forget a bottle of algaecide and chlorine stabilizer to protect your water from the strong Colorado sun.
Must-Have Cleaning Tools
Next, let’s assemble your cleaning arsenal. The first tool you’ll likely need is a pool cover pump to remove any standing water from your winter cover. You’ll also want a long-handled skimmer net to scoop out leaves and other large debris, along with a soft pool brush for the walls and floor. A pool vacuum is also essential for getting rid of finer sediment that settles at the bottom. Having these tools ready will help you clear out all the winter gunk efficiently. If you find you’re short on time or equipment, our team is always ready to help with professional cleaning and maintenance services.
Required Start-Up Chemicals
Once your pool is clean and filled, it’s time for the initial chemical treatment. This step is all about sanitizing the water and preventing algae from taking hold. You will need to shock the pool to eliminate any bacteria and contaminants that have built up over the winter. As a general guideline, you might use one to two pounds of granular shock for every 10,000 gallons of water. You’ll also want to add an initial dose of algaecide as a preventative measure. Always read the manufacturer’s instructions on your chemical containers, as dosages can vary depending on the product.
Setting Up Your Pool Equipment
With the cover off, it’s time to bring your pool’s circulation system back to life. Getting your equipment running correctly is a crucial step for turning winterized water into a sparkling oasis. This process involves reconnecting your filter, pump, and jets to get the water moving. Take your time and double-check every connection. If you notice any cracked parts or signs of wear from the harsh Colorado winter, it’s best to address them now before they become bigger problems.
Inspect and Set Up the Filter System
Your filter is the heart of your pool's cleaning system, so let's get it ready. Start by putting all the drain plugs back on your pump and filter. Next, reconnect the hoses from the filter system to the skimmer and return fittings, making sure every connection is snug to prevent leaks. This is also the time to install your return eyeball fittings, the skimmer basket, and a thermometer. Give everything a quick look-over for any cracks or damage. If you spot any issues, it might be time to call a professional for equipment repairs to get things sorted out.
Install and Prime the Pump
Next up is the pump. Before you flip the switch, you need to prime it by filling it with water so it doesn’t run dry and damage the motor. Open the pump lid and fill the strainer basket with water from a garden hose until it’s full, then secure the lid tightly. Now, turn on the power to your filter system. If the pump doesn’t start, check the circuit breaker and GFCI outlet. You might also need to gently turn the pump’s shaft with a wrench to break up any rust that formed inside. Once it’s running, you should see water begin to move.
Connect the Skimmer and Return Jets
The final step is reconnecting your skimmer and return jets, which pull water into the filter and push clean water back into the pool. Go around your pool and remove all the winterizing plugs from these openings. Once the plugs are out, connect your hoses in the correct sequence: from the skimmer to the pump, from the pump to the filter, and finally from the filter to the return inlet. Double-check that all your connections are secure, as even a small leak can cause big headaches later.
Initial Water Check and Cleaning
With your equipment ready to go, it’s time to address the water itself. This initial check and clean is all about assessing what you’re working with before you start adding chemicals. Think of it as creating a clean slate. By testing the chemistry and clearing out all the leaves, dirt, and other gunk that accumulated over the winter, you ensure your start-up chemicals can work as efficiently as possible. This process sets the stage for achieving that crystal-clear water you’re dreaming of for the summer. It’s a three-part process: test, clean, and then decide on the best path forward for your water.
Test the Water Quality
Before you do anything else, you need to understand your water’s current chemical makeup. Grab a good quality water test kit to check the key levels: pH, total alkalinity, free chlorine, and cyanuric acid (also known as stabilizer). Knowing these numbers gives you a baseline and helps you create a precise treatment plan. It prevents you from guessing which chemicals to add and in what amounts. If you’re unsure about reading the results or need to stock up, we have the professional-grade supplies and chemicals you need to get an accurate picture of your pool’s health.
Remove Debris from the Water
Now it’s time for some physical cleaning. Use a skimmer net to remove any large floating debris like leaves, twigs, and bugs from the surface. Next, give the pool walls and floor a thorough brushing to loosen any algae or dirt that’s settled over the winter. Once everything is scrubbed down, vacuum the pool floor to suck up all the dislodged grime. Getting all this physical debris out first is a critical step. It means your sanitizer won’t have to work overtime breaking down organic material, making your chemical treatments much more effective. If it feels like a big job, our cleaning and maintenance team can handle the heavy lifting for you.
Decide: Drain or Treat the Water?
After cleaning, take a good look at the water. If it’s just a bit cloudy or green, you can likely save it with chemical treatments. However, if your pool looks more like a swamp and you can’t see the bottom, you might face a tough decision: drain it or treat it. Draining and refilling is a big job and isn't always necessary. In many cases, even very dirty water can be restored with the right approach. If you’re dealing with extreme cloudiness or a serious algae problem, it might be time to call for professional help to assess the situation and recommend the most effective and efficient solution.
Balancing Your Pool's Water Chemistry
After the initial clean-up, your next big task is to get the water chemistry just right. This step is about more than just getting clear water; it’s about protecting your pool’s liner and equipment from damage and making sure the water is safe and comfortable for swimmers. Getting these levels correct at the start of the season sets you up for a much easier summer of maintenance. If you find yourself struggling with stubborn water or just want a professional touch, our cleaning and maintenance services can get your pool balanced and ready for swimming. Taking the time to balance your water now prevents bigger headaches, like algae blooms or cloudy water, down the road.
Test and Adjust pH and Alkalinity
First, you need to know what you’re working with. Use a quality water testing kit to check the key levels: pH, total alkalinity, and chlorine. Proper pH ensures the chlorine works effectively, while alkalinity helps stabilize the pH, preventing wild swings. Your goal is a pH level between 7.2 and 7.6 and a total alkalinity between 80 and 120 parts per million (ppm). Adjust these levels one at a time, starting with alkalinity, as it acts as a buffer for your pH. Always follow the instructions on your chemical products, and if you need a restock, we have all the supplies and chemicals you’ll need.
Add Chlorine and Sanitizer
Once your pH and alkalinity are in their ideal ranges, it’s time to sanitize the water. Chlorine is the most common sanitizer, and its job is to kill bacteria and other contaminants. After a long winter, your pool water will have zero chlorine, so you’ll need to add it to establish a baseline level. The amount you need will depend on your pool’s size and the type of chlorine you use (liquid or granular). Carefully read the product label for the correct dosage and always add chemicals to the water with the pump running to help them circulate properly.
Shock the Pool and Apply Algaecide
Shocking the pool is a critical step that involves adding a large dose of chlorine to eliminate any lingering bacteria, algae, or other organic matter that survived the winter. It’s best to do this in the evening, as sunlight can burn off the chlorine too quickly. If you’re using a granular shock, pre-dissolve it in a bucket of pool water before pouring it slowly around the pool's edge. Let the filter run for at least 24 hours after shocking. To prevent future green-water problems, finish by adding an algaecide according to the product’s directions. This creates a protective barrier against new algae growth.
Common Pool Opening Mistakes to Avoid
Opening your pool is an exciting rite of passage that signals summer is just around the corner. After a long winter, it’s completely understandable to want to get the cover off and jump in as fast as possible. But in the rush to get to the fun part, it’s easy to make a few common missteps that can lead to cloudy water, equipment trouble, and a lot of extra work down the line. A little patience and a methodical approach now will save you from major headaches later. Think of it as setting the foundation for a perfect swimming season. By taking your time and doing things in the right order, you’ll ensure your water is safe, your equipment runs smoothly, and your pool is truly ready for enjoyment. We see the same preventable issues pop up every spring, turning what should be a simple task into a frustrating project. Let’s walk through some of the most frequent mistakes pool owners make during opening season. Knowing what to watch for will help you sidestep these issues like a pro and get you on the fast track to a summer full of crystal-clear water and relaxation.
Mishandling the Pool Cover
After a long Colorado winter, your pool cover is likely holding a swampy mix of melted snow, leaves, and dirt. One of the biggest mistakes is removing the cover without cleaning it first. If you just pull it off, all that gunk will slide right into your pool, creating a huge mess that you’ll have to clean up later. Before you even think about taking the cover off, use a pump to remove any standing water. Then, sweep away leaves and debris. This not only protects your pool water but also makes the cover lighter and easier to handle. A proper cleaning and maintenance routine for your cover also extends its life, so you can use it for many seasons to come.
Incorrect Chemical Timing
Getting your water chemistry right is a science, and the order of operations matters. Many pool owners make the mistake of adding chemicals without testing the water first or adding them in the wrong sequence. For example, dumping in chlorine before balancing your pH and alkalinity levels will make the sanitizer much less effective. Always start by testing the water. Adjust the total alkalinity first, then the pH. Once those are in their ideal ranges, you can add your sanitizer. Rushing this process or guessing on amounts can lead to cloudy water and frustration. If you need to restock, make sure you have all the right supplies and chemicals on hand before you begin.
Equipment Setup Errors
Your pool’s pump and filter are its heart and lungs, but they need to be set up correctly after a long hibernation. It’s easy to forget to replace all the drain plugs or to inspect hoses and O-rings for cracks before you start everything up. Firing up your system with a leak or a cracked part can cause serious damage. Before you turn anything on, do a full visual inspection. Make sure all connections are tight and that you’ve properly primed the pump by filling it with water. Skipping this step can cause the motor to run dry and burn out. If you spot any issues during your check, it’s best to handle equipment repairs before you proceed.
Final Checks and System Tests
You’re on the home stretch! With the cover off and the equipment set up, it’s time for the final steps before you can officially declare your pool open for the season. These last checks are all about making sure the water is circulating properly and the pool is sparkling clean. Taking a few moments to run through these tests ensures everything is working as it should. If you run into any issues with your equipment during this phase, remember that professional repairs can get you back on track without the headache.
Run the Circulation System
This is the moment your pool officially wakes up from its winter nap. It’s time to get the water moving. Start by making sure your filter valve is set to "filter." If you have an air bleeder valve on top of your filter, open it to release any trapped air until a steady stream of water comes out, then close it. Now, turn on the pump. You should see the water begin to circulate through the skimmers and return jets. Let the system run for at least a few hours to filter out any fine debris and to start mixing in the chemicals you’ve added.
Brush the Walls and Do a Final Clean
While the circulation system is running, give your pool one last thorough cleaning. Use a good pool brush to scrub the walls and floor, pushing any remaining dirt or algae toward the main drain. After brushing, vacuum the entire pool to pick up all the settled debris. An automatic pool cleaner can make this job much easier. Don’t forget to check and empty the skimmer baskets, as they’ll likely catch a lot of leaves during this initial start-up. This final clean ensures your water is not just balanced, but also crystal clear. If you'd rather skip the elbow grease, our cleaning and maintenance services can handle it for you.
Check Safety Gear and Water Temperature
Before anyone jumps in, take a moment to inspect all your safety equipment. Make sure your safety fences, gates, and any pool alarms are in good working order. Check your rescue equipment, like life rings or shepherd's hooks, to ensure they are accessible and in good condition. Finally, check the water temperature. It’s best to open your pool before the water consistently stays above 65°F. Warmer water is a breeding ground for algae, and getting ahead of it will save you a lot of work. The unpredictable Colorado spring weather can cause temperature swings, so monitoring it early is key to a smooth opening.
Frequently Asked Questions
My pool water looks like a swamp after I took the cover off. Do I have to drain it? Not necessarily. It's very common for pools in Colorado to look a bit scary after a long winter. In most cases, even very green and cloudy water can be restored with a proper chemical shock treatment and by running your filter continuously. However, if the water is so murky that you can't see the bottom, you might be facing a more significant cleanup. A professional assessment can help you decide on the most efficient path forward and save you a lot of time and chemical costs.
How long should I wait to swim after shocking the pool? This is a great question, and the answer is all about safety. After you shock the pool, you need to wait until the free chlorine level returns to a safe range, which is typically between 1 and 3 parts per million (ppm). This process usually takes about 24 to 48 hours, but it can vary. The only way to know for sure is to test the water. Once your test kit shows the chlorine is back in the safe zone, you're good to go.
What's the most common mistake people make when opening their pool? By far, the most frequent mistake is pulling the cover off without cleaning it first. It’s tempting to just get it over with, but all the leaves, dirt, and grimy water on top of the cover will slide right into your pool. This creates a huge, preventable mess that makes the rest of the cleaning process much harder. Taking 20 minutes to pump off the water and sweep the debris away first will save you hours of work later.
I think my pump or filter might be broken. What are some signs I should look for? When you first start your equipment, pay close attention to how it sounds and operates. Obvious signs of trouble include loud or unusual noises like grinding or high-pitched whining, visible leaks around the pump or filter housing, or if the pump struggles to prime (meaning it can't pull water). If you notice any of these issues, it's best to shut the system down and call for professional equipment repairs to avoid causing more serious damage.
Why is balancing alkalinity so important before adjusting the pH? Think of total alkalinity as an anchor for your pH. Alkalinity helps stabilize your pH levels and prevents them from swinging dramatically up or down. If you skip this step and just adjust the pH, you’ll find it’s nearly impossible to keep it in the correct range. Getting the alkalinity right first creates a stable foundation, making it much easier to balance the rest of your water chemistry and ensuring your sanitizer works effectively.
Related Blogs