%201.png)
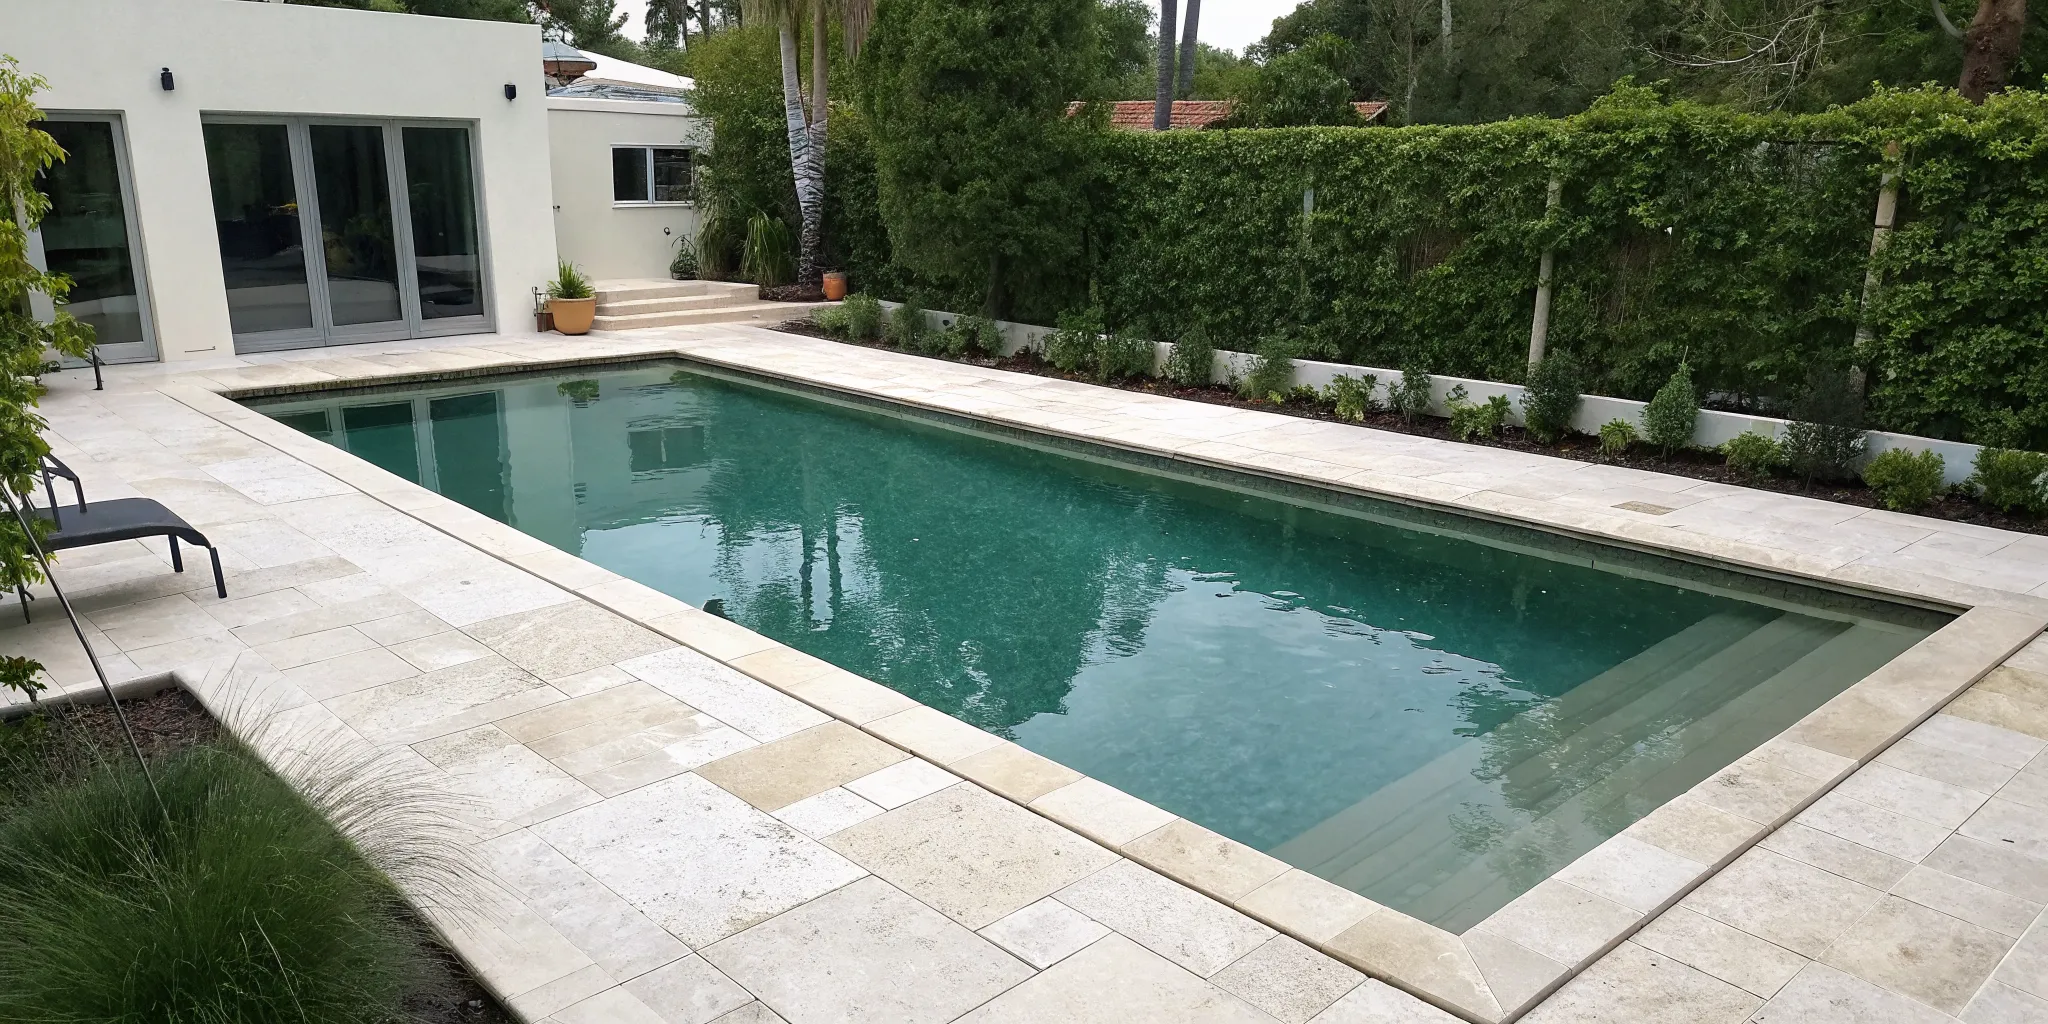
How to Open Your Inground Pool with a Sand Filter
That first cannonball of the season is a perfect moment, but a few simple mistakes during the opening process can lead to frustrating delays and expensive problems. Knowing the common pitfalls is half the battle. This guide is designed to help you sidestep those issues by showing you how to open inground pool with sand filter the right way. We’ll point out the frequent missteps Colorado pool owners make, from running the pump dry to adding chemicals in the wrong order. Following these instructions protects your investment and ensures a smooth startup. If you uncover a problem that seems too big to handle, our team is always ready to help with professional equipment repairs and servicing.
Key Takeaways
- Inspect Everything Before You Start: A successful pool opening begins with a thorough check-up. Before adding water or turning anything on, inspect your equipment for cracks, gather all your necessary chemicals, and clean the cover before removing it to prevent a mess.
- Order Matters for Chemicals and Equipment: Follow a specific sequence to avoid frustration. When balancing water, always adjust total alkalinity first, then pH, and shock last. For your equipment, start the pump on 'recirculate' or 'waste' before switching to 'filter' to ensure a smooth startup.
- Establish a Routine Immediately: The first few days set the tone for the entire season. Run your filter continuously for at least 24 hours after opening, create a weekly backwashing schedule, and test your water frequently until the levels stabilize.
Gather Your Pool Opening Tools and Supplies
The secret to a stress-free pool opening is preparation. Before you pull back the cover and welcome the swimming season, taking a moment to gather your tools and chemicals will save you time and prevent multiple trips to the store. Think of it as setting up your workspace. With everything you need within arm's reach, you can move through each step smoothly and get your pool sparkling in no time. A little organization now means more time enjoying the water later.
This checklist covers the essential equipment, chemicals, and safety gear you’ll want to have on hand. Getting everything together first ensures you won't have to stop midway through the process to track down a missing tool or a specific chemical.
Your Essential Equipment Checklist
Most of the tools you need are likely already in your pool shed, but it’s a good idea to give them a quick inspection. Make sure your brushes aren't worn out and your nets are free of holes. Your pool cover is a significant investment, so having a soft-bristle brush and a gentle cleaner ready will help you protect its lifespan as you clean it for storage. If any of your gear looks worse for wear, it might be time for a replacement.
- Pool cover pump
- Skimmer net and telescoping pole
- Soft-bristle brush
- Pool wall and floor brush
- Pool vacuum (manual or robotic)
- Garden hose with a spray nozzle
- Return jet fittings, drain plugs, and skimmer baskets
The Chemicals You'll Need
After a long Colorado winter, your pool water will need some serious attention to get it balanced and sanitized. Having a fresh set of chemicals is crucial for a successful opening. Your first step will always be to test the water to see what you’re working with. From there, you’ll need to adjust the chemistry in a specific order: start with total alkalinity, then move to pH, and finally, address calcium hardness and chlorine levels. A powerful pool shock is almost always necessary to clear out algae and bacteria that accumulated over the winter.
- A reliable water testing kit (strips or liquid)
- Alkalinity increaser
- pH increaser and decreaser
- Calcium hardness increaser
- Pool shock (calcium hypochlorite)
- Chlorine (tablets, granular, or liquid)
- Algaecide and other specialty chemicals as needed
If you need to restock, we can help you find the right supplies and chemicals for your pool.
Recommended Safety Gear
Working with pool equipment and chemicals requires a few safety precautions. Pool chemicals can be caustic, so protecting your skin and eyes is a must. The area around your pool can also become wet and slippery, making sturdy footwear essential. Don’t skip these simple items; they are key to preventing accidents and ensuring your pool opening day is a safe one. If you notice any equipment that seems broken or unsafe to operate during your inspection, it's always best to call a professional for equipment repairs before you start the system.
- Safety goggles
- Chemical-resistant gloves
- Closed-toe, non-slip shoes
- Old clothes you don’t mind getting dirty
Remove and Clean Your Pool Cover
After a long winter, removing the pool cover is the first big step toward sunny days and refreshing swims. Doing this job right sets the stage for a much easier opening process and a cleaner pool all season long. Think of it as the official kickoff to summer. A clean cover means less gunk, leaves, and murky water end up in your pool from the start. Taking a little extra time here will save you hours of skimming and vacuuming later on, letting you get to the fun part faster.
This isn't just about pulling a sheet off the water; it's a three-part process that protects both your pool and your cover. First, you'll clear off all the debris and water that has accumulated on top. This prevents a winter's worth of grime from making a splash into your clean pool water. Next, you'll carefully remove the cover itself, folding it in a way that keeps the remaining mess contained. Finally, you'll give it a thorough cleaning and store it properly to protect your investment and ensure it's ready for next winter. It’s a task that’s much easier and safer with a friend, so grab a helper, put on some music, and let’s get that cover off.
Clear Debris and Water First
Before you even think about unhooking the cover, you need to clear off everything that has collected on top over the winter. Use a pool skimmer or a leaf blower to gently remove leaves, twigs, and other debris. This simple step is crucial because it prevents all that winter mess from falling straight into your pool water when you pull the cover off. If you have a solid cover, you’ll likely have a puddle of murky water on top. A small cover pump is the best tool for this job; just drop it in the center and let it drain the water away from the pool.
Use the Right Removal Technique
With the surface clear, you can start removing the cover. If you have a safety cover with springs and anchors, use the installation rod to unhook the springs. Work your way around the pool, unhooking them all before you start folding. As you and your helper begin to pull the cover off the pool, you can fold it accordion-style, in three- or four-foot sections. This helps contain any remaining debris and makes it much more manageable. Once the cover is completely off the pool, a quality cleaning and maintenance routine will do it good and help extend its lifespan.
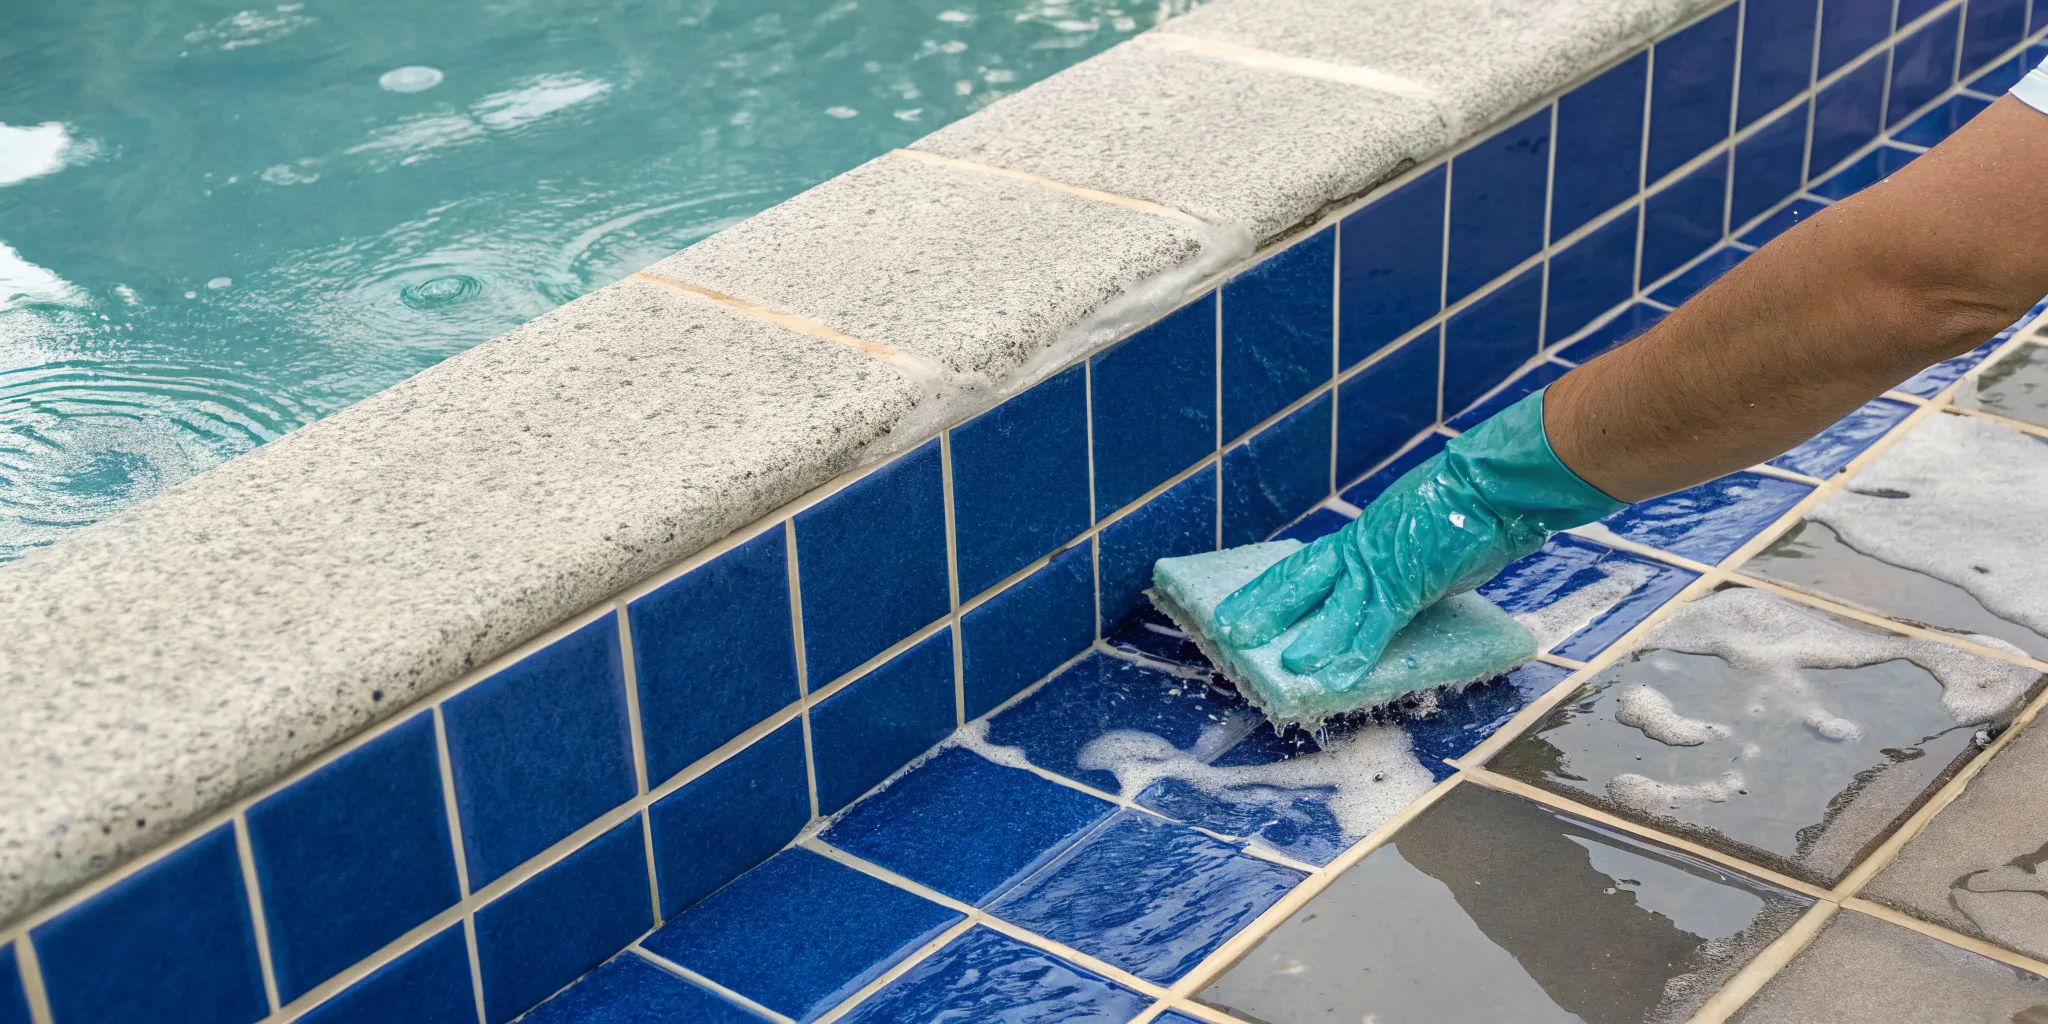
Clean and Store Your Cover Properly
Now it’s time for a good scrub. Use a soft brush and a mild, cover-safe cleaner (or just your garden hose) to wash away any dirt and grime. Flip it over and clean the other side, too. The most important part of this step is to let the cover dry completely. Spreading it out in the Colorado sun is perfect for this. Once the pool cover is dry, you’ll want to begin folding it in a fan fashion, making sure there are no stray items left behind. Storing a damp cover is a recipe for mold and mildew. Fold it up neatly and store it in a sealed, pest-proof container in a dry place like a garage or shed.
Inspect Your Pool and Equipment
After a long Colorado winter, your pool equipment has been sitting dormant. Before you flip any switches, it’s smart to give everything a thorough once-over. This inspection is one of the most important steps in the opening process. Catching a small crack, a loose fitting, or a worn-out seal now can save you from a much bigger problem down the road. Think of it as a spring check-up for your pool. Taking a few extra minutes to look over the structure and equipment will ensure a smoother startup and a season of hassle-free swimming.
Check the Pool's Structure
First, take a look at the pool itself. As you pump the accumulated water off your pool cover, keep an eye on the water level underneath. You want it to stay about halfway up the skimmer opening. If the pool water level drops too low while the cover is still heavy with water, the pressure can put a strain on the walls and liner. Also, do a quick visual scan of the pool’s interior surfaces, checking for any cracks in the plaster or tears in the liner that might have developed over the winter. Addressing these structural issues early is key to preventing further damage.
Examine Your Sand Filter
Your sand filter is the heart of your pool's cleaning system, so it deserves special attention. Since you likely drained it for winterization, it needs to be prepped for action. Start by reinstalling the drain plug, using a little thread seal tape to ensure a tight fit. This is also the perfect time to check the O-ring on the pump lid and lubricate it to prevent drying and cracking. Make sure all your valves are open and ready to go. If you notice any cracks in the filter housing or worn-out parts during your inspection, it’s best to handle those equipment repairs before you proceed.
Inspect All Equipment and Connections
Now, let's do a walk-around of your entire equipment pad. Carefully check the pump, heater, and all visible plumbing for any signs of cracks or leaks, paying close attention to areas that may have been susceptible to freeze damage. Run your hands over the connections between pipes and equipment to make sure everything is snug. A loose connection can cause air leaks, which will prevent your pump from priming properly. Double-check that all O-rings are seated correctly in their grooves. This simple inspection is a core part of any professional cleaning and maintenance routine and helps ensure your system runs efficiently all summer.
Prep Your Sand Filter System
With your pool clean and your equipment inspected, it's time to focus on the heart of your circulation system: the sand filter. Getting this component ready is a critical step before you flip the switch. Properly prepping your filter ensures it operates efficiently from day one, preventing leaks and potential damage to your pump. Taking a few extra minutes here can save you from bigger headaches down the road. If you notice any cracked parts or significant wear during this process, it’s best to address them before starting the system. Professional equipment repairs and servicing can get your system back in top shape for the season.
Reinstall Plugs and Check O-Rings
First, locate the drain plug for your filter tank and pump. Before screwing them back in, wrap the threads with new thread seal tape to create a watertight seal. Next, inspect the O-ring on your pump lid. It should be clean, flexible, and free of cracks. Apply a small amount of pool-grade lubricant to the O-ring to protect it and ensure a tight seal. This simple step prevents air from getting sucked into the system, which can cause your pump to lose its prime. Finally, make sure all your return-side valves are open so water can flow back to the pool.
Fill the Filter with Water
Your pump should never be started when it's dry, as this can quickly damage the motor. To prevent this, remove the pump lid and fill the pump basket completely with water from a garden hose. Once it's full, secure the lid back in place. After you turn the pump on, you'll need to release any air trapped inside the filter tank. Slowly open the air relief valve on top of your filter. You’ll hear a hissing sound as air escapes. Keep it open until a steady stream of water sprays out, then close it securely.
Set the Multiport Valve
The multiport valve directs the flow of water through your filtration system. Before starting the pump, you need to set it to the correct position. It's a good practice to initially set the valve to 'recirculate' or 'waste'. This allows the pump to prime and fill all the plumbing lines with water without forcing it through the compacted sand bed right away. Once you see a steady flow of water through the system (usually visible in the pump basket or waste line), turn the pump off. Then, you can switch the multiport valve to the 'filter' setting to begin normal operation.
Fill the Pool and Start the System
With your pool clean and your equipment prepped, it’s time for the main event: adding water and firing up the system. This is where your pool starts to come back to life for the season. Following these steps carefully ensures your equipment starts smoothly and your water is clean from the very beginning, which will save you a lot of work later. Let’s walk through how to fill the pool and get your pump and filter running correctly.
Use a Hose Filter
Before you even turn on the spigot, attach a hose filter to the end of your garden hose. This simple step is a game-changer for your water quality. A hose filter helps remove metals and other contaminants common in Colorado water sources before they ever enter your pool. Starting with cleaner, filtered water means you’ll have an easier time balancing your chemicals later on. It prevents staining and helps create a safer, more comfortable swimming environment from day one. Think of it as giving your pool a clean slate for the summer.
Fill to the Proper Water Level
Now you can start filling the pool. Your goal is to bring the water level to the middle of the skimmer opening. This specific level is the sweet spot for your pool’s circulation system to work effectively. If the water is too low, the skimmer can suck in air, which can damage your pump. If it’s too high, the skimmer won’t be able to pull in floating debris properly. Maintaining the right water level is key to protecting your system from unnecessary strain that could lead to needing equipment repairs down the road.
Prime the Pump and Start It Up
Priming the pump simply means getting it ready to run by making sure it's full of water. To do this, open the pump lid and fill the pump housing with water from your hose. Secure the lid back on tightly to ensure a good seal. Before you turn anything on, check that all your valves are open. Set your multiport valve to the "BACKWASH" position. Now, turn on the pump and let it run for one to two minutes. This will flush out any debris that settled in the sand filter over the winter. After backwashing, turn the pump off, switch the valve to "FILTER," and turn it back on. If you're not comfortable with this process, our team can handle it during a professional cleaning and maintenance visit.
Balance Your Pool's Water Chemistry
Your pool might look clean after filling it, but the unseen water chemistry is what truly makes it safe and ready for swimming. Balancing your water is a methodical process, and getting the steps in the right order is the secret to clear, sparkling water without the headache. It prevents issues like algae growth and equipment corrosion down the line. Think of it as setting the foundation for a perfect swim season. We’ll walk through the exact sequence to follow, starting with a water test, then adjusting alkalinity, and finally, balancing the pH and shocking the pool.
Test Your Water
Before you add any chemicals, you need to know your starting point. Testing the water gives you a clear picture of its current state after a long winter. You can use a reliable home test kit or, for the most accurate baseline, bring a sample to a pool professional. You’ll want to check the levels for total alkalinity, pH, and calcium hardness. This initial test is your roadmap. It tells you exactly which pool chemicals and supplies you’ll need and how much to use, saving you from guessing games and wasted product.
Adjust Total Alkalinity First
Always start with total alkalinity. Think of it as the foundation that holds your pH in place. If your alkalinity is off, your pH levels will be unstable and swing wildly, making it impossible to balance them correctly. The ideal range for total alkalinity is typically between 80 and 120 parts per million (ppm). Use an alkalinity increaser (sodium bicarbonate) to raise it or a decreaser to lower it. Add the chemicals according to the package directions, let the water circulate for a few hours, and then retest before moving on. Getting this right is a key part of any good pool cleaning and maintenance routine.
Balance pH and Shock the Pool
With your alkalinity stable, you can now adjust the pH. Your goal is a pH level between 7.4 and 7.6, which is comfortable for swimmers and helps your chlorine work effectively. Once the pH is in range, it’s time to shock the pool. This process, also called superchlorination, uses a high dose of chlorine to eliminate any lingering bacteria, algae, and other contaminants from the off-season. For the best results, dissolve the granular shock in a bucket of pool water before slowly pouring it around the edges of the pool. This prevents the granules from settling and potentially bleaching your liner.
Avoid These Common Opening Mistakes
Opening your pool is exciting, but a few simple missteps can lead to frustrating and expensive problems. Taking a moment to double-check your work can make the difference between a smooth start and a season spent troubleshooting. Let’s walk through a few common mistakes Colorado pool owners make and how you can easily sidestep them for a perfect pool opening.
Don't Run the Pump Dry
One of the most damaging things you can do is run your pool pump without water. This is called running it dry, and it can quickly overheat the motor and cause serious damage. It usually happens when air gets trapped in the system. Before you even think about flipping the switch, check that you’ve removed all winterizing plugs from the lines and that your skimmer and pump baskets are clear of debris. Also, make sure all connections are tight to prevent air leaks. A few minutes of prevention can save you from needing costly equipment repairs and get you swimming sooner.
Double-Check Your Valve Settings
Your multiport valve directs the flow of water through the filter system, and its setting is critical during startup. A common mistake is starting the system on the 'filter' setting right away. Instead, begin with the valve set to 'recirculate' or 'waste'. This allows the pump to prime itself by pulling water through the lines without forcing it through the filter media immediately. Once you see a steady stream of water in the pump basket, you can confidently switch the valve to 'filter'. This simple step helps your system start efficiently and reduces strain on your equipment, which is a key part of good pool maintenance.
Balance Chemicals in the Right Order
After a long winter, your pool water needs some serious chemical attention. But just dumping chemicals in randomly won't work and can even create more problems. The order matters. Always start by testing and adjusting the total alkalinity first. Once that’s in range, move on to balancing the pH. With alkalinity and pH stabilized, you can then adjust your calcium hardness and, finally, shock the pool to establish a chlorine level. Following this sequence ensures each chemical works effectively. If you need to stock up, we have all the supplies and chemicals you need to get your water crystal clear.
Troubleshoot Common Opening Issues
Even when you follow every step perfectly, opening your pool can sometimes come with a few surprises. Don't worry, most of these issues are common and have straightforward fixes. From strange noises in your pump to water that just won’t clear up, a little troubleshooting can go a long way. Here’s how to handle a few of the most frequent problems you might encounter after you pull back the cover for the season. If you run into a problem that feels too big to handle, remember that our team is always here to help with professional equipment repairs and servicing.
What to Do About Air in the System
If you hear a sputtering sound or see that water isn't flowing smoothly, you likely have air in your system. This is a problem you'll want to address right away, because if the pump runs dry, it can cause serious damage. First, double-check that you've removed all the winterizing plugs from the lines. Next, look for any clogs in the skimmer and pump baskets. A loose connection on the pump lid or a bad O-ring can also let air in, so make sure everything is snug. Finally, confirm your multiport valve is in the correct position for startup.
How to Clear Up Cloudy Water
Waking your pool up to cloudy or green water is disappointing, but it’s usually fixable with some patience. This is almost always a sign that your water chemistry is off and your filter needs to get to work. After you’ve shocked the pool, let your pump run continuously for at least 24 hours to circulate the chemicals and filter out contaminants. Give the pool walls and floor a thorough brushing and vacuuming to stir up any settled debris. You can find all the supplies and chemicals you need to get your water sparkling clear with our help.
How to Fix Low Pressure
A low pressure reading on your filter gauge is your system’s way of telling you something is blocking water flow. The first place to check is your skimmer and pump baskets, as a collection of leaves or debris is the most common culprit. If those are clear, inspect your equipment for any visible cracks or leaks that could be causing a pressure drop. A very dirty filter can also restrict flow, so if you haven't backwashed recently, now is the time. If these simple checks don't solve the problem, it might point to a more complex issue requiring professional equipment repairs.
Maintain Your Pool After Opening
Getting your pool open is a huge accomplishment, but the work doesn’t stop there. Consistent care in the first few days and weeks is what sets you up for a season of clear, sparkling water. Think of it as the final, crucial step in the opening process. By establishing a solid maintenance routine right away, you ensure your pool stays clean, safe, and ready for swimming whenever you are. These next steps will help you transition smoothly from opening day to a full season of fun.
Run the Filter Continuously at First
Once you’ve added the initial dose of shock, your filter needs to get to work. Let your pool's filter run for at least 24 hours straight. This continuous circulation is essential for mixing the chemicals evenly throughout the water and clearing out any fine debris that was stirred up during the opening process. If you find the water is still a bit cloudy after a full day, don't worry. You can add a water clarifier to help clump the tiny particles together, making it easier for your filter to catch them. If the cloudiness persists, it might be a sign of a bigger issue, and our team can help with professional cleaning and maintenance.
Set a Weekly Backwashing Schedule
Your sand filter is the key to keeping your water clean, but it can't do its job if it's clogged with dirt and debris. That's where backwashing comes in. Backwashing reverses the flow of water through the filter, flushing out all the trapped contaminants. Make this a part of your weekly routine. To do it, turn off the pump, set the multiport valve to "BACKWASH," and run it until the water in the sight glass is clear. Follow that with a quick "RINSE" for about 30 seconds before returning the valve to "FILTER." A regular backwashing schedule keeps your system running efficiently, but if you notice ongoing pressure problems, it might be time for professional equipment repairs.
Keep Up with Chemical Maintenance
Balanced water is the secret to a healthy pool. After the initial opening, you’ll need to test your water every few days until the levels stabilize, then switch to weekly testing. Always adjust your chemicals in the correct order to avoid frustration: start with total alkalinity, then move to pH, and finally, calcium hardness. Alkalinity acts as a buffer for your pH, so getting it right first makes everything else easier. You’ll also want to continue shocking the pool weekly to eliminate bacteria and other contaminants. For the best results, always dissolve granular shock in a bucket of pool water before slowly adding it to the pool. This prevents the granules from settling and bleaching your liner. If you need a hand keeping everything in check, we offer a full range of supplies and chemicals to help you out.
Need a Hand? Call Colorado's Pool Opening Pros
Opening your pool marks the start of summer fun, but the process itself can feel like a lot of work. If you're looking at your to-do list and feeling a bit overwhelmed, or if you're worried about getting every step just right, you're not alone. Sometimes, the best way to kick off the season is to let an expert handle the heavy lifting. As many pool specialists will tell you, calling a professional is the safest bet to avoid damaging your equipment if you feel unsure about any part of the process.
That’s where we come in. Our team at Rocky Mountain Aquacare specializes in getting Colorado pools ready for summer. We offer comprehensive pool cleaning and maintenance services that cover every part of the opening process. From properly removing and cleaning your cover to inspecting your sand filter and starting up your system, we make sure everything is done correctly. Getting it right the first time prevents costly mistakes and ensures your pool is safe and sparkling from day one.
During our inspection, if we spot any issues like a leaky seal or a worn-out part, our certified technicians are equipped to handle any necessary equipment repairs on the spot. This saves you the headache of dealing with unexpected problems later in the season. Let us take the work off your plate so you can get straight to the fun. Give us a call, and we’ll get your pool swim-ready in no time.
Frequently Asked Questions
Why is the order of adding chemicals so important? Think of total alkalinity as the foundation for your water balance. It helps hold your pH steady. If you try to adjust the pH first, without stable alkalinity, the pH level will just bounce all over the place. This makes your chlorine less effective and means you'll waste time and money on chemicals that aren't working properly. By balancing alkalinity first, you make every other step easier and more effective.
How soon can I swim after opening and shocking the pool? It's tempting to jump right in, but you need to wait until the high chlorine levels from the shock have returned to a safe range. This typically takes about 24 to 48 hours, but it depends on factors like sunlight and water temperature. The best way to know for sure is to test the water. Once your free chlorine level is back down to between 1 and 3 parts per million (ppm), the water is safe for swimming.
What should I do if I find a crack in my pump or filter during inspection? If you spot a crack in any of your equipment, you should not start the system. Running equipment with cracks, even small ones, can lead to bigger leaks, water damage, or complete system failure. It's a safety issue first and foremost. The best course of action is to call a certified technician to assess the damage and perform the necessary repairs before you continue with the opening process.
My water is still cloudy a few days after opening. What should I do? Persistent cloudiness usually points to one of two things: a filtration problem or a chemical imbalance. First, check your filter's pressure gauge and backwash it if needed. You should also retest your water chemistry, paying close attention to the pH and chlorine levels. If the water still won't clear up after another day of filtering, it might be time to call in a professional. We can help diagnose underlying issues that are not always obvious.
Do I really need to clean my pool cover before storing it? Yes, absolutely. Storing a cover that's still dirty and damp is an invitation for mold, mildew, and bacteria to grow all over it during the summer. This can degrade the material and shorten the life of your cover. Plus, when you go to put that dirty cover back on in the fall, all that grime will end up right in your clean pool water. A quick clean and letting it dry completely protects your investment and saves you work later.
Related Blogs