%201.png)
The Complete Inground Pool Opening Checklist
The temptation to just fill your pool and turn on the filter is strong, but a little prep work now saves you from serious trouble later. After sitting dormant through a harsh Colorado winter, your pool’s equipment and water need careful attention before they’re ready for action. This proactive approach helps you spot potential issues, like a cracked filter housing or a leaky seal, before they become major repairs. Our comprehensive inground pool opening checklist is your roadmap to a smooth and stress-free start. It ensures you don’t miss a single detail, from clearing debris off the cover to safely priming the pump and balancing the water.
Key Takeaways
- Good prep work prevents future problems: A smooth pool opening starts before the cover comes off. Taking time to inspect your equipment for winter damage, gather your supplies, and properly clean your cover saves you from frustrating delays and extra work later on.
- Balance your water chemistry in stages: Getting your water right is a step-by-step process. Always test your water first, then adjust total alkalinity to stabilize the pH. Once those are in range, you can address calcium hardness and sanitizer levels before shocking the pool.
- Know when to call for professional help: While many opening tasks are DIY-friendly, it's smart to call an expert for complex equipment repairs, electrical issues, or water that just won't clear up. A professional can solve the problem safely and efficiently, getting you back to swimming sooner.
Your Pool Opening Prep Checklist
Getting your pool ready for summer is exciting, but a little prep work goes a long way toward a smooth opening. Before you even think about pulling back the cover, taking some time to get organized will save you from frustrating delays and last-minute store runs. Think of it as setting the stage for a perfect pool season. By gathering your supplies, planning your timing, and running through a few key safety checks, you can handle any surprises that winter left behind and get back to enjoying your backyard oasis.
A successful pool opening isn't just about adding chemicals and flipping a switch. It’s a process that starts with a clean and safe environment. You’ll want to inspect your equipment for any wear and tear from the harsh Colorado winter and make sure everything is in good working order before you start it up. This initial walkthrough helps you spot potential problems early, giving you plenty of time to address them. A little planning now ensures you’ll be swimming on the first warm day instead of troubleshooting a cloudy pool or a broken pump. It's the difference between a stressful start and a seamless transition into months of fun. Let’s walk through the first steps to get you started on the right foot.
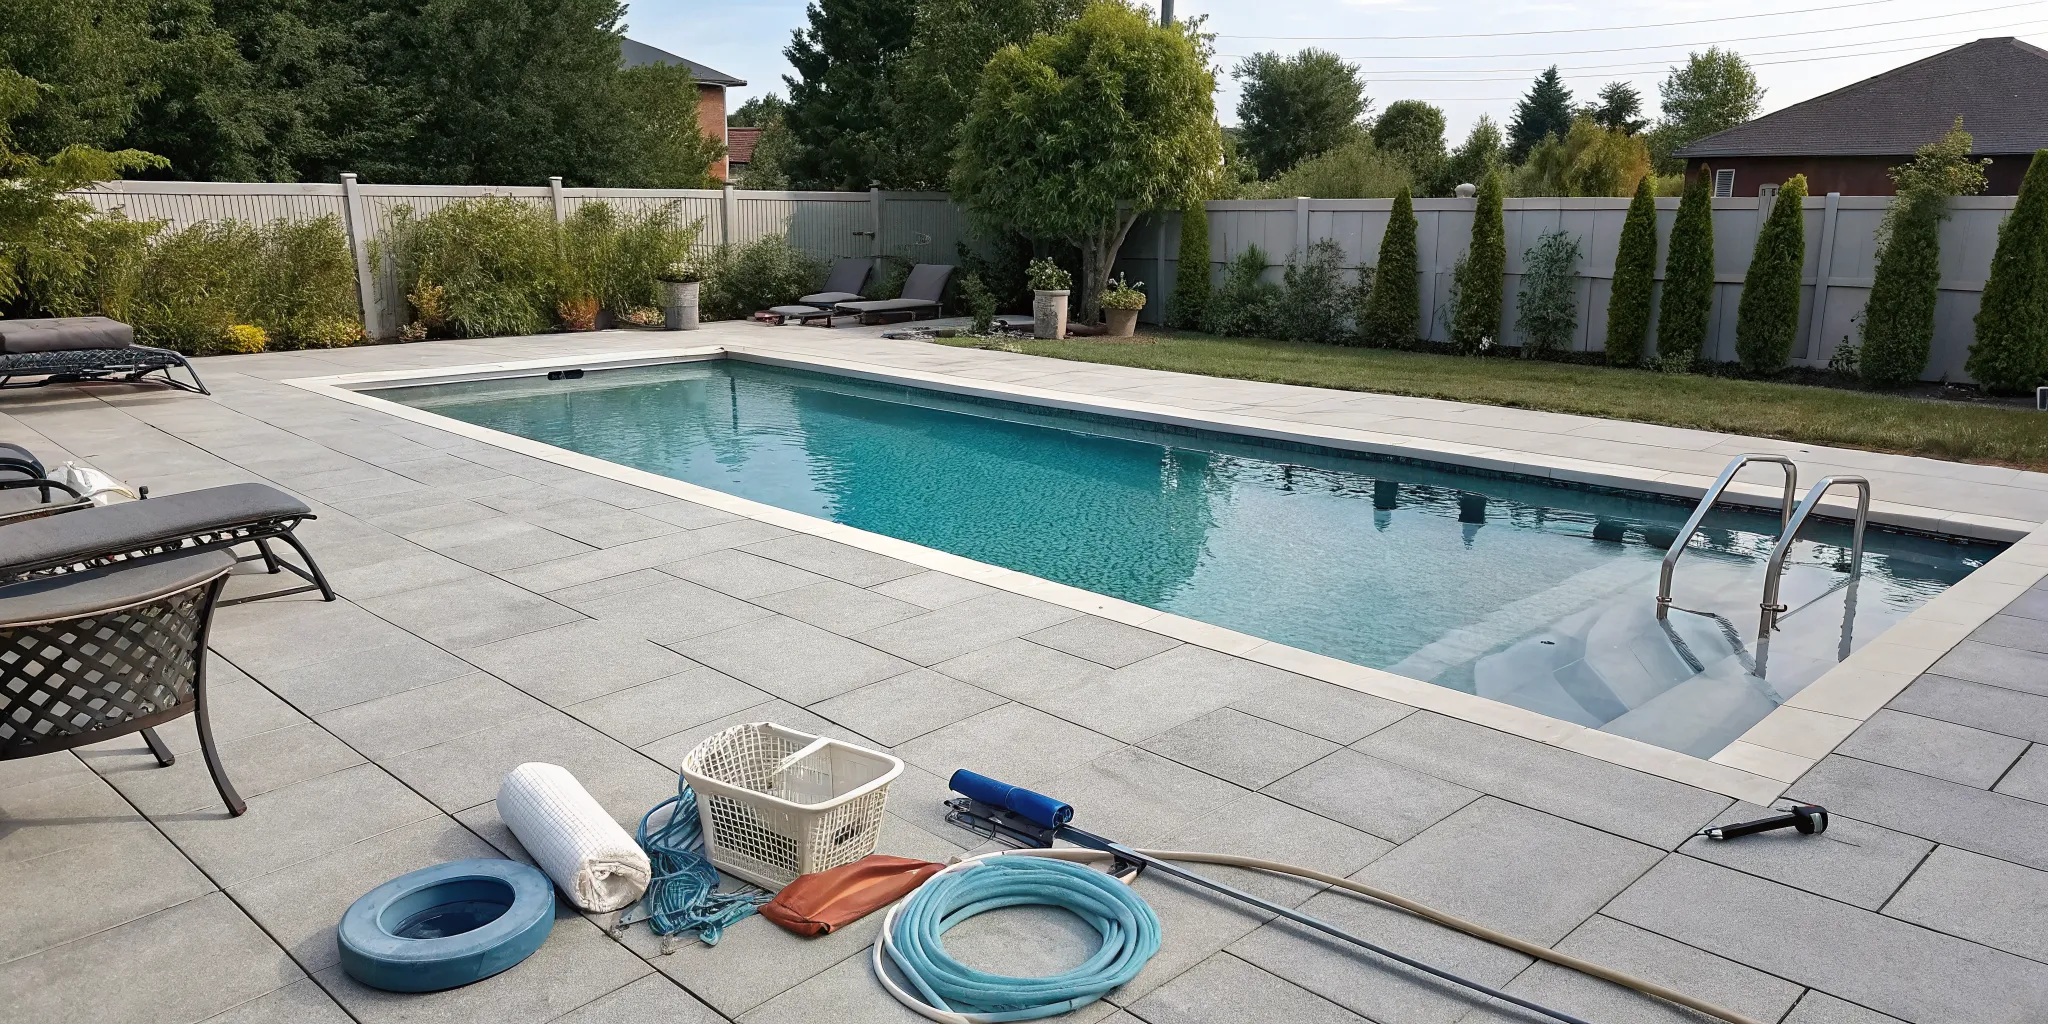
Gather Your Tools and Supplies
The first step is to take inventory of what you have and what you need. Opening your pool for the season requires a checklist of supplies to make sure it's ready for swimming. You’ll want your skimmer, pool brush, and test kit handy. It’s also a good idea to check your chemical stock. Using a pool opening kit is a great shortcut, as these kits come with all the main chemicals you need to start your pool. Just be sure to read the instructions for your specific kit. Having everything in one place before you begin makes the entire process feel much more manageable and efficient.
Map Out Your Timeline
Patience is key when opening your pool. A good rule of thumb is to begin the process two to three weeks before you plan to take your first swim. This buffer gives you plenty of time to fix any unexpected problems, get professional help if you need it, and make sure your water chemistry is perfectly balanced. Some tasks, like clearing debris off your pool cover, should be done before you even start the main opening steps. Spreading the work out over a couple of weekends prevents it from feeling like a huge chore and ensures you don't miss anything important in a rush to get it done.
Don't Forget These Safety Checks
Before starting any equipment, a thorough safety inspection is a must. After a long winter, especially here in Colorado, it's important to look closely at your pump, filter, and heater for any cracks or damage from freezing weather. Check that all drain covers are installed correctly and are secure, as this is a critical safety feature. You should also inspect your pool and equipment for any other issues, like worn-out seals, gaskets, or O-rings that might need replacing. Catching these small things now can prevent bigger, more complicated equipment repairs down the line.
How to Handle Your Pool Cover
Your pool cover has worked hard all winter, and now it’s time to give it some attention before storing it for the season. Handling your cover correctly is a critical step in opening your pool. It prevents a winter’s worth of gunk from falling into your water and protects your investment so the cover is in great shape for next fall. Taking a few extra minutes here saves you hours of cleaning later. Let’s walk through the right way to remove, clean, and store it.
Clear Debris and Water First
Before you pull the cover off, you need to get rid of everything sitting on top. Any standing water, leaves, and twigs from Colorado's long winter will slide right into your pool if you’re not careful. Use a cover pump to remove the water first, as this makes clearing solid debris much easier. Then, gently sweep or use a leaf blower to clear away the rest. It’s much easier to bag up dry leaves from your deck than it is to fish a soggy mess out of your pool. This single step ensures you start with the cleanest water possible.
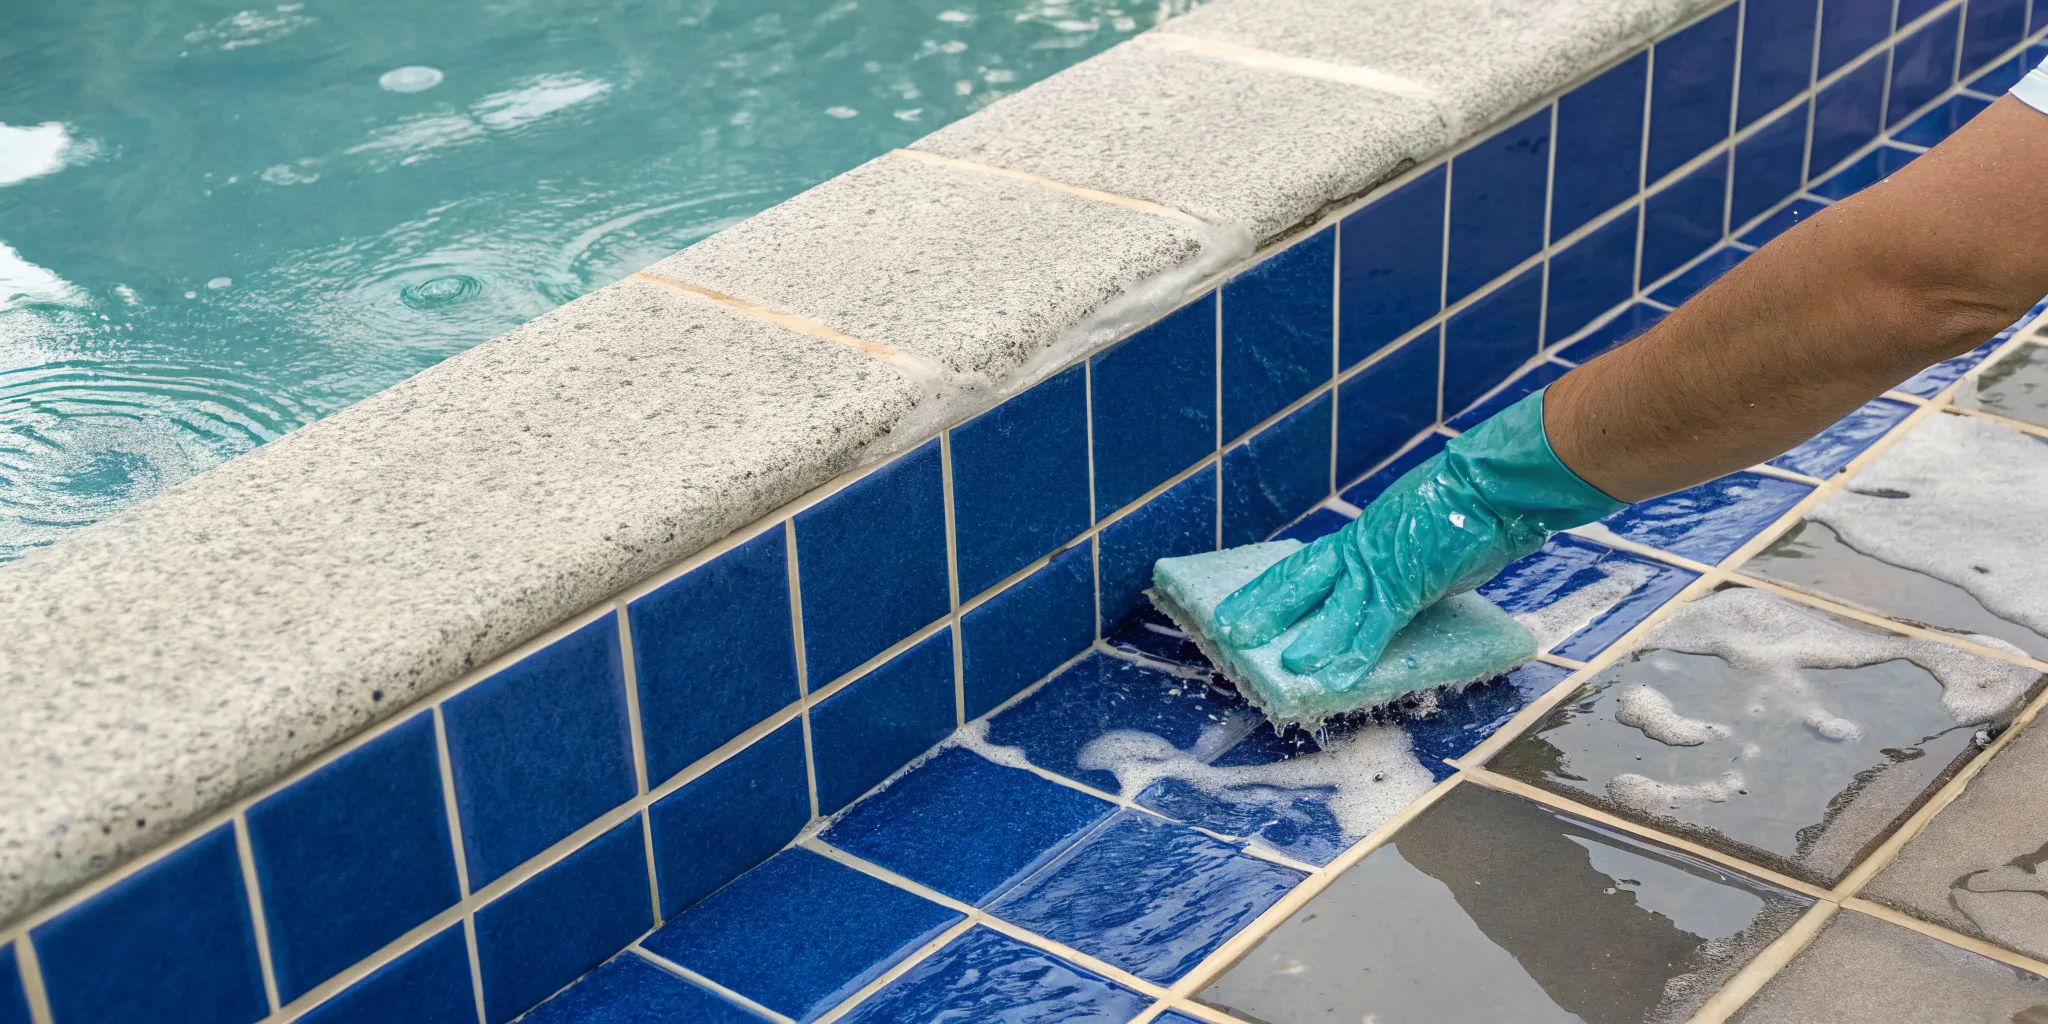
Clean and Inspect the Cover
Once the cover is off the pool, spread it out on a clean, flat area like your lawn. Give it a good cleaning with a hose and a soft-bristled brush to remove any lingering dirt or grime. This prevents buildup from hardening over the summer. While you’re cleaning, take the time to inspect it for any rips, holes, or weak spots. Catching a small tear now gives you time to get it patched. If you notice significant wear, our team can help with professional equipment repairs and advice on whether it’s time for a replacement.
Dry and Store It for the Season
Patience is key here: your cover needs to be completely dry before you fold it up. Storing a damp cover is a recipe for mold and mildew, which can permanently damage the material and create a stinky surprise next season. Let it air dry completely in the sun. Once it’s dry, fold it loosely and place it in a sealed storage container. Keep it in a cool, dry place like a garage or shed, safe from pests. For extra protection, you can add a quart of algaecide to a container filled with water to store it in. We can help you find the right supplies and chemicals for the job.
Inspect Your Pool Equipment
After a long Colorado winter, your pool equipment needs a thorough check-up before it’s ready to get back to work. Taking the time to inspect everything now can save you from surprise breakdowns and costly fixes mid-season. Think of this as a spring physical for your pool’s circulatory and support systems. You’ll want to look for any signs of wear, tear, or damage that might have occurred while it was dormant. Catching a small crack in a hose or a frayed wire now is much easier to handle than dealing with a major leak or electrical issue in July. This step is all about ensuring your equipment is safe, efficient, and ready to keep your water sparkling clean all summer long. If you come across anything that seems complex or broken, our team is always ready to handle professional equipment repairs and servicing.
Check the Pump and Filter System
The pump and filter are the heart and lungs of your pool, so it’s essential to make sure they’re in top shape. Start by reconnecting all your plumbing, drain plugs, and valves that you removed for winterization. Once everything is back in place, take a moment to double-check all the electrical connections to ensure they are secure and free of corrosion. Before you flip the switch, make sure the pump lid is on tight and the o-ring is properly lubricated. This initial inspection helps you spot potential leaks or electrical faults before they become bigger problems.
Look Over Seals, Gaskets, and O-Rings
Small rubber and plastic components like seals, gaskets, and o-rings play a huge role in keeping your pool system watertight. The cold, dry Colorado air can make them brittle and prone to cracking over the winter. Carefully inspect every o-ring and gasket you can access, especially the one on your pump lid. Apply a silicone-based lubricant to keep them pliable and ensure a tight seal. If you notice any that are stretched, cracked, or flattened, replace them immediately. It’s a small step that prevents frustrating, hard-to-find leaks down the road.
Examine the Heater and Electrical Components
Safety is the top priority when inspecting your pool heater and any related electrical systems. Before doing anything else, make sure the power is completely off. Clear away any leaves, twigs, or other debris that may have accumulated around the heater unit during the off-season, as this can be a fire hazard. It’s also a good idea to check for any signs of nesting critters who might have made a home there. Look over all visible wiring for any signs of fraying or damage. If you’re not completely comfortable with electrical work, this is the perfect time to call in a professional for an equipment check-up.
Inspect Ladders, Rails, and Other Hardware
Your pool’s ladders, handrails, and diving board are key safety features, so give them a firm wiggle to check for stability. Inspect all the bolts and anchors to make sure they are tight and not rusted through. Look closely at the hardware itself for any cracks, rust, or sharp edges that could cause an injury. If you removed these items for the winter, examine them carefully before reinstalling them. Replacing a rusted bolt or a cracked ladder step is a simple fix that ensures everyone can get in and out of the pool safely all summer.
Fill the Pool and Start the System
Your cover is off and your equipment looks good to go. Now for the exciting part: bringing your pool back to life. This is where you’ll add water and get the circulation system running to filter out any gunk that settled in over the winter. It’s a three-part process that involves filling the pool to the correct level, priming the pump to prevent damage, and then kicking on the system to start clearing the water. Let's walk through each step.
Bring the Water to the Right Level
Your pool's water level is more than just about looks; it’s essential for your equipment to function correctly. Grab your garden hose and start filling the pool. You’ll want to stop when the water is about halfway up the skimmer opening. This sweet spot ensures the skimmer can effectively pull water and surface debris into the filter without drawing in air, which can cause problems for your pump. If the water is too low, the skimmer won't work. If it's too high, debris will just float on by. Getting this right makes everything else run more smoothly.
Prime the Pump
Before you flip the switch on your pool system, you need to prime the pump. This simply means making sure the pump housing is full of water, which prevents it from running dry and getting damaged. An air-filled pump can overheat, leading to costly fixes. To prime it, turn off the power at the breaker, open the pump lid, and use a hose or bucket to fill the pump housing with water. You’ll also want to fill your chlorinator. If you're unsure about this step or hear strange noises, it might be time to call for professional equipment repairs and servicing.
Get the Water Circulating
With the pool filled and the pump primed, you’re ready to get the water moving. Double-check that your filter has its clean cartridge, DE, or sand in place. Turn the power back on and start your pump and filter system. Let it run continuously for at least 24 hours. This initial, long run will help filter out fine debris that has been sitting all winter, giving you a clearer starting point for balancing your chemicals. This is the first step in your regular cleaning and maintenance routine and is key to getting that crystal-clear water.
Test and Balance Your Water Chemistry
Getting your pool water chemistry right is the most important step for a safe and sparkling clean swimming season. After being covered all winter, your water needs some attention to get it back in shape. It might feel a bit like a science class flashback, but balancing your water is straightforward when you tackle it one step at a time. The goal is to create a comfortable swimming environment that also protects your pool's surfaces and equipment.
Check These Essential Levels
Before adding any chemicals, you need a baseline. Use a reliable water testing kit to check four key levels: pH, total alkalinity, calcium hardness, and your sanitizer (usually chlorine). Think of these as your water’s vital signs. Getting them in the right range is essential for swimmer comfort and preventing issues like algae or equipment corrosion. If you're out of testing strips, you can find all the supplies and chemicals you need for an accurate reading.
Start with pH and Alkalinity
Always begin by adjusting the total alkalinity, as it helps keep your pH level stable. You’re aiming for a total alkalinity level between 80 and 120 parts per million (ppm). Once your alkalinity is in that sweet spot, you can adjust the pH. The ideal pH for a pool is between 7.4 and 7.6. This range is comfortable for swimmers’ eyes and skin and helps your chlorine work effectively. Add adjustment chemicals slowly and let the water circulate for a few hours before retesting.
Adjust Calcium Hardness and Sanitizer
Next up is calcium hardness, which should be between 200 and 400 ppm. If the level is too low, the water can become corrosive and damage your pool plaster or liner. If it's too high, you'll get cloudy water and scale buildup. After that, check your sanitizer. For most pools, this means getting your free available chlorine between 1.0 and 4.0 ppm to effectively kill bacteria and other contaminants, ensuring the water is safe for everyone to enjoy.
Shock the Pool and Add Algaecide
With your core levels balanced, it’s time to shock the pool. This means adding a large dose of chlorine to oxidize, or burn off, contaminants that have built up over the winter. Shocking gets rid of bacteria and other organic matter, giving you a truly clean slate. After shocking, adding a dose of algaecide provides an extra layer of protection against future algae blooms. This whole process is a key part of any professional cleaning and maintenance routine.
Know When to Call for Backup
Opening your pool yourself can be incredibly rewarding, but even the most seasoned DIY-er knows when to ask for help. Some jobs are too complex, too time-consuming, or just too risky to tackle alone. Recognizing these moments isn’t a sign of defeat; it’s a smart move that protects your investment and ensures your pool is safe and ready for a great season. If you hit a snag that feels beyond your expertise, don’t hesitate to call in a professional. A little expert help can save you from bigger headaches and more expensive fixes down the road, getting you back to enjoying your pool faster.
For Tricky Equipment Repairs
If you fire up your equipment and hear grinding noises, notice leaks you can’t trace, or suspect any electrical issues, it’s time to stop and call a professional. Complex equipment problems, especially with pumps, heaters, or electrical systems, require specialized knowledge to diagnose and fix correctly. A certified technician can spot safety hazards you might miss, like faulty wiring or missing drain covers. Trying to fix these issues yourself can lead to further damage or create an unsafe swimming environment. Getting professional equipment repairs ensures the job is done right, keeping your system running efficiently and safely all summer.
When Water Chemistry Won't Cooperate
Are you battling a pool that just won’t turn from green to clean? If you’ve followed the steps to balance your water but it remains cloudy, green, or just… off, there might be an underlying issue. Stubborn water problems can signal that your filtration system isn't working correctly or that you have a persistent algae problem that requires a more aggressive treatment. Instead of pouring more money into chemicals that don’t seem to work, getting an expert opinion can provide a clear solution. We can perform an accurate water analysis and provide the right supplies and chemicals to get your water sparkling again.
To Schedule Ongoing Maintenance
Let’s be honest: opening a pool is a big job. If you’ve read through this checklist and feel more overwhelmed than excited, it’s perfectly fine to hand the task over to a team of experts. A professional pool opening saves you time and guarantees that every component is handled correctly from the start. Beyond the initial opening, you might also consider a regular service plan. Having a pro handle the upkeep ensures your pool stays in pristine condition without you having to lift a finger. A cleaning and maintenance schedule gives you total peace of mind and more time to simply enjoy your backyard oasis.
Frequently Asked Questions
When is the best time to open my pool in Colorado? A great rule of thumb is to start the process once the daytime temperatures are consistently staying above 65 degrees. Waiting too long can turn your pool into a breeding ground for algae as the water warms up under the cover, which makes the cleanup process much more difficult. Starting a bit early gives you a head start on balancing your water before the swimming season officially kicks off.
I've followed all the steps, but my water is still cloudy. What should I do? Cloudy water after opening is very common, so don't get discouraged. First, make sure your pump and filter have been running continuously for at least 24 to 48 hours to give them a chance to clear out fine particles. If the cloudiness persists, re-test your water chemistry, as an imbalance in pH or alkalinity is often the culprit. If you're still struggling after a few days, it might be a sign of a filtration issue that needs a professional eye.
Does the order I add chemicals to the water really matter? Yes, it absolutely does. You should always adjust your total alkalinity first, because it acts as a stabilizer for your pH. If you try to adjust the pH without having the right alkalinity level, you'll find the pH will swing back and forth, making it very difficult to balance. Once your alkalinity is in the correct range, you can move on to pH, calcium hardness, and finally, your sanitizer.
What are the biggest mistakes people make when opening their own pool? One of the most common mistakes is rushing the process. People often skip cleaning the cover thoroughly and end up dumping a winter's worth of debris right into the pool, creating hours of extra work. Another frequent error is not inspecting the equipment closely enough. Ignoring a small crack in a gasket or a frayed wire can lead to much bigger, more complicated equipment repairs later in the season.
I'm thinking of just hiring a professional this year. What's the main benefit? The biggest benefit is peace of mind. A professional opening ensures every step, from the equipment inspection to the final chemical balancing, is done correctly and safely. It saves you a significant amount of time and eliminates the guesswork. Plus, a trained technician can spot potential problems with your pump or filter that you might miss, preventing surprise breakdowns when you want to be swimming.
Related Blogs