%201.png)
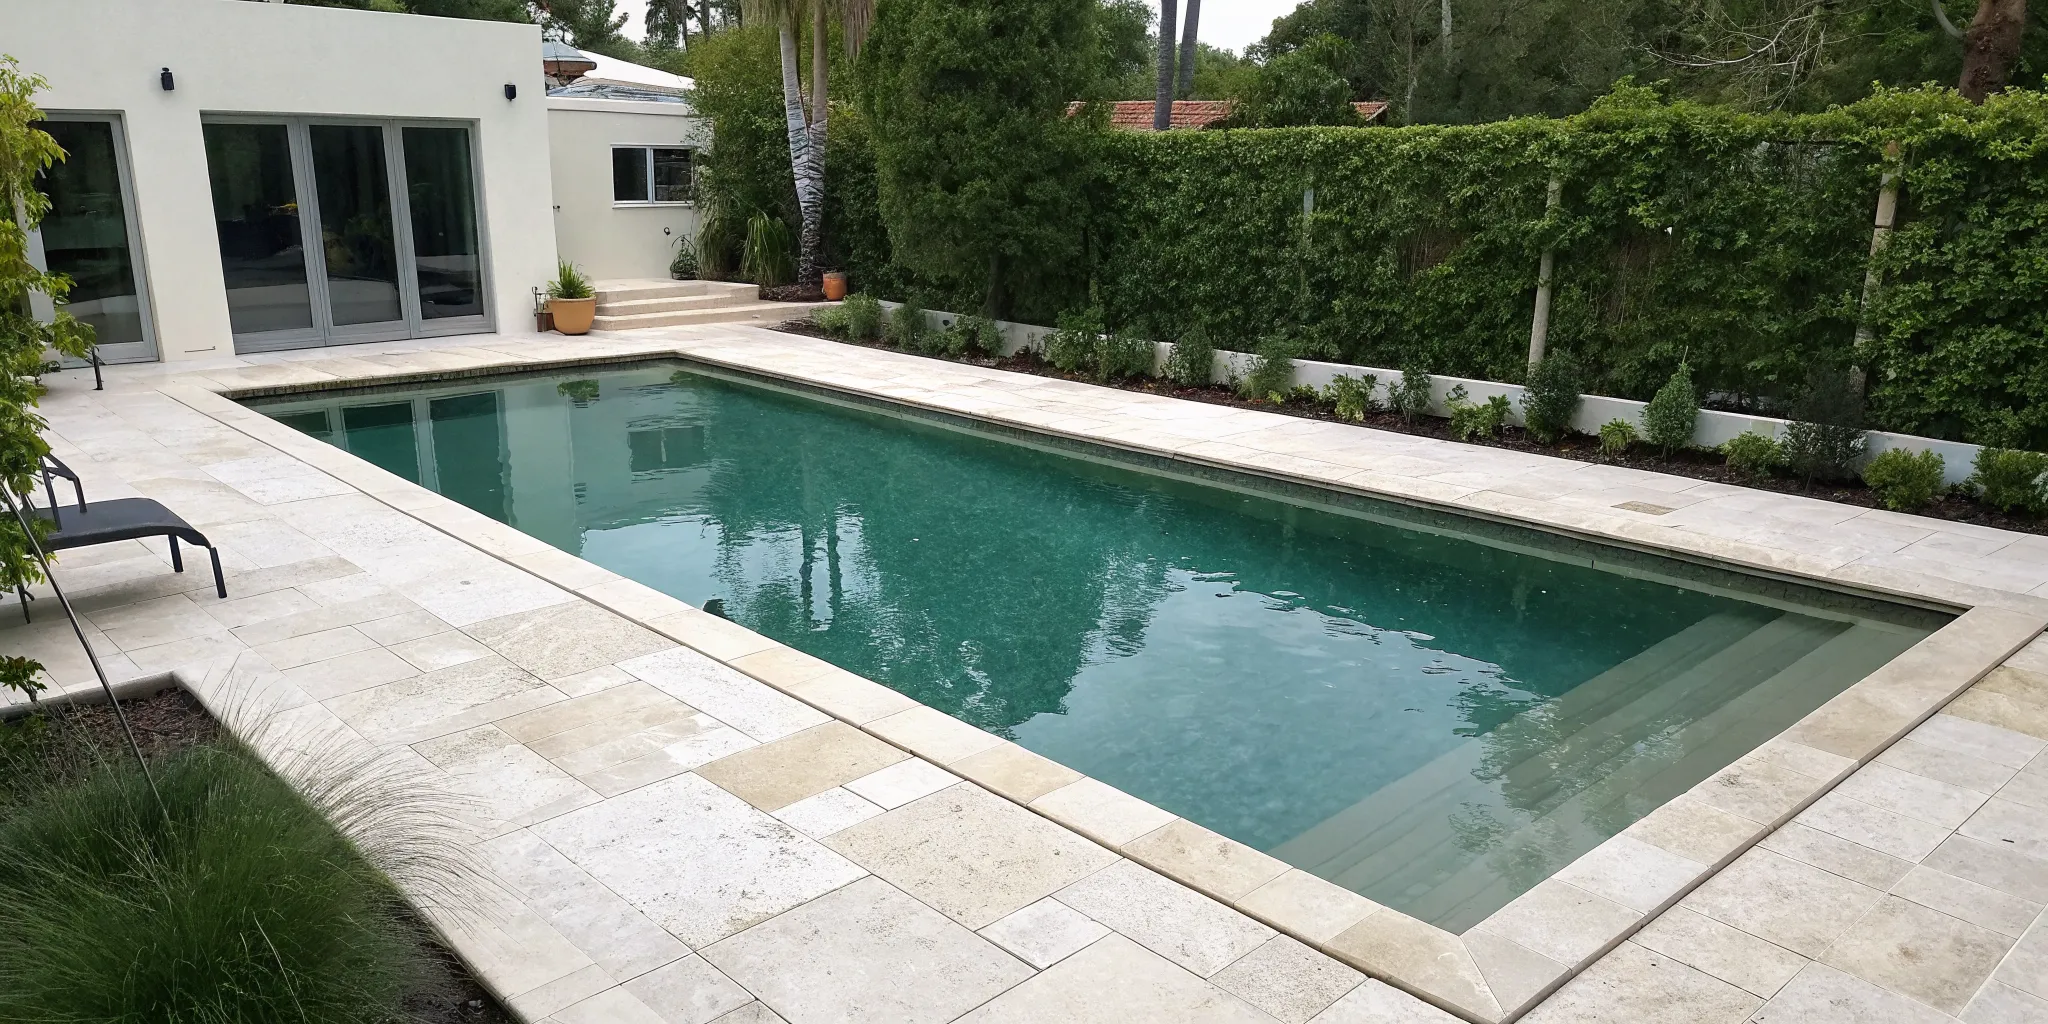
Your Complete Guide to Pool Tile Replacement
It’s easy to think of pool tiles as purely cosmetic, but they play a critical role in protecting your pool’s shell. When grout crumbles and tiles crack, water can seep behind them, leading to serious and costly structural damage—a particular concern with Colorado's freeze-thaw cycles. Addressing failing tiles isn't just about looks; it's about preserving the integrity of your entire pool. A professional pool tile replacement is a smart investment in your pool's long-term health. This article explains when it's time to act and what you can expect from the process, ensuring your pool stays beautiful and secure.
Key Takeaways
- Treat tile damage seriously: Don't ignore widespread cracks, loose tiles, or crumbling grout. These are more than just cosmetic flaws; they're signs that water could be damaging your pool's structure, signaling it's time for a replacement.
- Balance style with professional skill: Choosing the right tile material sets the look, but a flawless, long-lasting result depends on expert installation. Proper surface prep and waterproofing are critical steps that protect your investment.
- Protect your new tiles with routine care: Keep your investment looking great by maintaining balanced water chemistry and cleaning the waterline regularly. In Colorado, it's especially important to inspect seals before winter to prevent damage from freeze-thaw cycles.
Is It Time to Replace Your Pool Tiles?
Your pool tiles do more than just make your pool look good—they protect its shell and create a smooth, safe surface. But like any part of your home, they don't last forever. Knowing when to replace them can save you from bigger headaches down the road. Obvious signs like widespread cracking or tiles falling off are clear calls to action, but sometimes the signals are more subtle. Paying attention to the condition of your tiles and grout is a key part of pool ownership. If you're starting to notice wear and tear, it might be time to consider a refresh. A full pool remodel and rehab can not only fix existing problems but also completely transform your backyard oasis.
Spotting Cracks and Chips
A few small hairline cracks might not seem like a big deal, but they can be the first sign of trouble. When tiles are seriously cracked or have noticeable chips, they’ve lost their protective integrity. These openings allow water to seep behind the tile, which can weaken the bond and damage the pool's structure over time. This is especially true in Colorado, where freeze-thaw cycles can turn a tiny crack into a major problem. If you see more than one or two damaged tiles, it’s a strong indicator that the whole waterline might need attention. Catching this early prevents more extensive and costly repairs later on.
Dealing with Loose or Missing Tiles
Have you noticed a tile at the bottom of your pool? A single loose or missing tile is a red flag. Tiles usually fall off for two reasons: they weren't installed correctly, or water has managed to get behind them through failing grout. While you can temporarily stick a tile back on, it’s often a symptom of a bigger issue. If water is compromising the bond, more tiles are likely to follow. It’s important to figure out why the tile came loose. Addressing the root cause, whether it's crumbling grout or a problem with the underlying surface, is the only way to ensure a lasting fix.
Identifying Stains and Discoloration
Sometimes, tiles are structurally fine but just don't look great anymore. Over years of exposure to pool chemicals and the sun, tiles can become stained, faded, or develop a chalky film called calcium scaling that’s tough to remove. While this is primarily a cosmetic issue, it can make your entire pool look dated and uninviting. If your tiles look dull and tired no matter how much you scrub them, replacing them is the best way to restore that fresh, sparkling look. It’s also a fantastic opportunity to update your pool’s style with a more modern design.
Checking for Worn-Out Grout
Think of grout as the glue holding your pool’s defense system together. When it’s in good shape, it creates a waterproof barrier. But over time, grout can wear down, crumble, or pull away from the tiles. This creates tiny channels for water to get in, leading to loose tiles and potential damage to the pool shell. Run your finger along the grout lines. If it feels sandy, is visibly cracking, or has pieces missing, it’s no longer doing its job. Regular cleaning and maintenance can extend the life of your grout, but eventually, it will need to be replaced to keep your tiles secure.
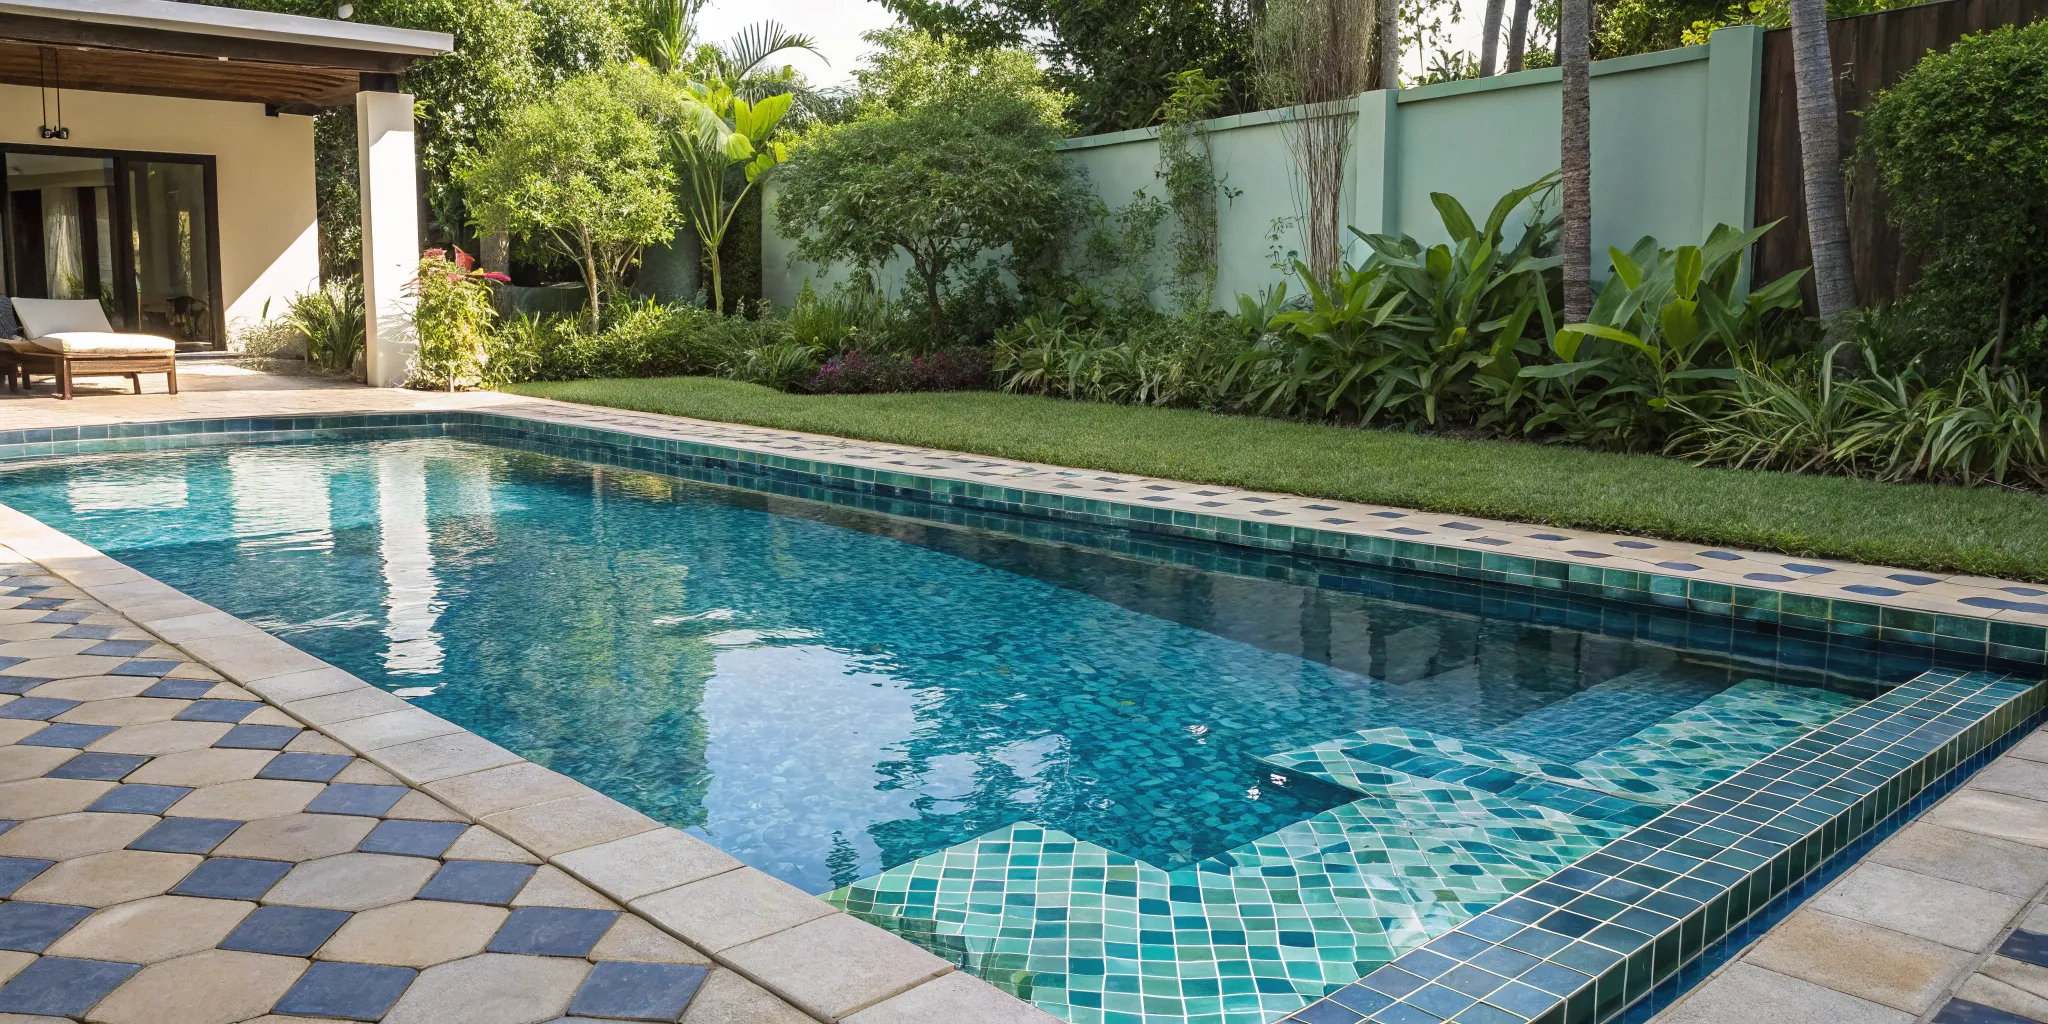
Choosing the Perfect Pool Tile
Picking new tiles is one of the most exciting parts of a pool refresh. It’s your chance to define the entire look and feel of your backyard oasis. But with so many options out there, it can also feel a bit overwhelming. The right choice comes down to balancing your personal style with practical needs like durability and upkeep. Let’s walk through some of the most popular materials to help you find the perfect match for your Colorado pool.
Why Choose Porcelain Tiles?
If you’re looking for a tile that can handle just about anything, porcelain is a fantastic choice. It’s incredibly strong and dense, which means it stands up well to Colorado's changing seasons. Because porcelain resists water and chemicals, you won’t have to worry as much about fading or damage over time. Plus, safety is always a top priority around the pool, and porcelain tiles are designed to be slip-resistant, giving you extra peace of mind. They offer a clean, classic look that works with almost any design style, making them a reliable and stylish option for any pool deck or waterline.
The Appeal of Glass Tiles
For a touch of modern elegance, nothing beats glass tile. These tiles have a unique, luminous quality that reflects sunlight, making your pool water sparkle and appear more vibrant. They can give your pool a high-end, contemporary aesthetic that truly stands out. Beyond their beauty, glass tiles are also very practical. They are non-porous, which makes them resistant to stains, mildew, and chemical damage. This also means they are low-maintenance and easy to clean. If you’re aiming for a sleek, sophisticated look that makes a statement, glass is an excellent way to go.
The Classic Look of Ceramic Tiles
Ceramic tile is a popular choice for a reason: it offers incredible versatility without a hefty cost. If you love having lots of creative options, you’ll appreciate the sheer variety of colors, patterns, and finishes available in ceramic. You can create a timeless, classic look or go for something bold and artistic. While not quite as dense as porcelain, modern ceramic tiles are still durable enough for pool use, especially along the waterline. They provide a wonderful opportunity to inject your personality into your pool design and are a great, budget-friendly way to achieve a custom look.
Going Natural with Stone Tiles
If you dream of a backyard that feels like a natural lagoon or a rustic retreat, stone tiles are the perfect fit. Materials like travertine, slate, and granite bring an organic, earthy texture to your pool area that is truly one-of-a-kind. Each stone has unique variations in color and pattern, ensuring your pool has a distinct character. It’s important to know that natural stone can be more porous than other materials, so it may require more diligent cleaning and maintenance to prevent staining from pool chemicals. For those willing to put in a little extra care, the beautiful, natural result is well worth it.
Factors to Help You Decide
Ultimately, the best tile is the one that fits your home’s style, your budget, and your lifestyle. As you weigh your options, think about the big picture. Consider the tile’s color, pattern, and texture and how they will complement your home and landscaping. Also, be realistic about durability and the amount of upkeep you’re willing to do. A full tile replacement is a significant update, and our team is here to help you through the process. We can guide you through all the material choices during our remodels and rehabs to ensure you get a beautiful, long-lasting result you’ll love for years.
What to Expect During a Tile Replacement
Replacing your pool tile can feel like a huge project, but breaking it down into steps makes the process much clearer. Understanding the workflow helps you know what to expect, whether you're preparing for a professional renovation or just curious about what goes into it. A full tile replacement is a detailed job that transforms the look and feel of your pool, protecting its structure and adding to its beauty. From the initial evaluation to the final refill, each stage is crucial for a flawless, long-lasting finish. A professional rehabilitation project follows a meticulous process to ensure your new tiles look fantastic and stand up to Colorado's unique climate for years to come. Here’s a look at the key stages involved.
Step 1: Assess and Plan
The first step is always a thorough assessment. This is where a technician will take a close look at your current tiles to determine the scope of the project. We’re looking for obvious signs of wear like significant cracks, chips, or tiles that have fallen off completely. Discoloration and stubborn stains that don't come off with cleaning are also key indicators. While patching up a few problem spots might seem like an easy fix, replacing worn-out tiles is a much better long-term investment in your pool’s health and appearance. This planning stage ensures that the final result is seamless and durable, addressing all underlying issues from the start.
Step 2: Drain and Prep the Surface
Once the plan is set, it’s time to prepare the pool. For a large-scale tile replacement along the waterline or the entire surface, this means draining the pool completely. While a few missing tiles can sometimes be fixed underwater, a full retiling project requires a dry surface for the best adhesion and a professional finish. After draining, the surface is meticulously cleaned to remove any algae, oil, or debris. This creates the perfect canvas for the new tile, ensuring a strong bond that will hold up against water and chemicals for years. Proper preparation is the foundation of a successful tile replacement.
Step 3: Remove Old Tiles
With the pool prepped, the demolition phase begins. This involves carefully chipping away the old, damaged tiles and the surrounding grout. It’s a job that requires both force and precision to avoid damaging the underlying pool shell. Once the old tiles are gone, the surface is inspected for any deep holes or cracks. Any imperfections are filled with a plaster mix and smoothed over. This repair work is essential for creating a level, stable foundation for the new tiles. The surface must be completely dry before moving on to the next step, ensuring the new installation is built on solid ground.
Step 4: Install and Grout
This is where the visual transformation really happens. New tiles are installed using a thinset mortar mixed with a special liquid bonding agent designed for underwater use. The mixture is spread evenly, and sheets of tile are pressed firmly into place, ensuring they are level and aligned. After the tiles have set, it’s time for grout. A waterproof tile grout is applied, filling all the spaces between the tiles. This not only gives the tile a clean, finished look but also creates a watertight barrier. This detailed installation is a core part of any professional pool remodel, ensuring your pool’s new look is built to last.
Step 5: Cure and Refill the Pool
Patience is key in this final stage. The new grout needs time to cure properly, which usually means letting it dry overnight without any disturbance. Once the grout has hardened, the tile surface is cleaned with a wet sponge to remove any leftover haze, revealing the true color and shine of your new tiles. After a final check to make sure everything is perfectly set and clean, it’s the moment you’ve been waiting for: refilling the pool. Once the water is back in and the chemicals are balanced, your beautifully updated pool is ready to enjoy. Proper ongoing cleaning and maintenance will keep it looking brand new.
Understanding Pool Tile Replacement Costs
Figuring out the budget for a pool tile replacement can feel like a big question mark, but it becomes much clearer when you know what goes into the final number. The total investment depends on more than just the tile you choose; it covers the materials, the skilled labor required for a flawless finish, and the overall scope of your project. Whether you're fixing a few problem spots or giving your entire pool a facelift, a full remodel and rehabilitation project is a great way to restore your pool's beauty. The key is to know what factors are at play so you can make informed decisions without any surprises.
Breaking Down Material and Labor
The two biggest components of any tile replacement project are materials and labor. The material you select—whether it's classic porcelain, shimmering glass, or natural stone—will have a significant impact on the overall expense. For smaller jobs, you might see figures around $25 per square foot for patching a section. If you're just redoing the waterline, a common estimate is about $25 per linear foot, plus the cost of the tiles themselves. This covers the careful process of removing old tiles, preparing the surface, and setting the new ones perfectly.
What Influences the Final Cost?
Several factors can affect the final tally. The size of your pool and the complexity of the tile design are obvious ones, but sometimes the biggest variables are hidden. Replacing damaged tiles can be more involved than tiling a new pool if there are underlying issues like hollow spots or foundation cracks. The lifespan of your original tiles also plays a part, which is determined by the material, pool usage, and how well it’s been cared for. Consistent cleaning and maintenance can go a long way in preserving your tile and preventing bigger issues down the road.
Other Expenses to Keep in Mind
Beyond tiles and labor, a few other expenses can pop up. If the project requires significant prep work, like removing old concrete, that can add to the job. You also have to account for draining and refilling the pool, which includes the cost of water and the new supplies and chemicals needed to rebalance it. For a complete tile replacement, the total investment can range from $2,500 to $5,000, depending on your pool's size and materials. Knowing about these potential costs helps you create a realistic budget.
DIY vs. Hiring a Pro: What's the Right Call?
Deciding whether to tackle pool tile replacement yourself or call in a professional is a big question. On one hand, DIY projects can feel empowering and save you some money. On the other, a pool is a significant investment, and tile work requires a specific skill set to get right. The best choice really comes down to the size of the job, your personal experience with this kind of work, and how much time you’re willing to commit.
For many homeowners in Colorado, the goal is a beautiful, durable finish that stands up to our unique climate. A small, straightforward repair might be manageable, but a full retiling project is a different story. It involves draining the pool, preparing the surface meticulously, and ensuring every tile is perfectly set and sealed. Before you start pulling out old grout, it’s helpful to weigh the pros and cons of each approach to figure out what makes the most sense for your pool and your peace of mind.
When to Consider a DIY Approach
If you’re comfortable with home improvement projects and are only dealing with a few cracked or loose tiles, a DIY repair could be a good option. This is usually best for minor touch-ups where you can easily isolate the problem area without draining the entire pool. To do it right, you’ll need the correct tools, matching tiles, and the proper waterproof adhesive and grout. Taking on a small-scale repair yourself can be a rewarding way to save on labor costs, as long as you have the patience and attention to detail to see it through.
The Benefits of Professional Installation
For larger projects or if you’re aiming for a flawless, long-lasting finish, hiring an expert is the way to go. Professionals have the specialized tools and experience to handle the entire process efficiently, from properly preparing the pool shell to ensuring a waterproof seal. They can also troubleshoot unexpected issues that might arise, like discovering damage to the underlying surface. Investing in professional remodels and rehabs ensures the job is done correctly the first time, protecting your pool’s structure and giving you a beautiful result that will last for years.
Common Mistakes You'll Want to Avoid
Pool tile work is less forgiving than other home projects. A common pitfall is an improper installation, which can lead to uneven tiles, visible gaps, and loose grout that allows water to seep behind the tiles. Another frequent error is failing to prepare the surface correctly—it must be perfectly clean, level, and waterproofed before any new tile is applied. These mistakes can cause tile failure, leaks, or even structural damage, often resulting in repairs that are far more involved than the original project would have been.
How to Care for Your New Pool Tiles
Your beautiful new pool tiles are installed, and your backyard looks incredible. Now, the key is to keep them looking that way. A little proactive care goes a long way in protecting your investment and preventing future headaches. By staying on top of a few simple tasks, you can ensure your tiles remain vibrant and secure for years to come, even with Colorado’s demanding weather. It’s all about creating a simple routine that keeps your pool healthy and your tile line sparkling.
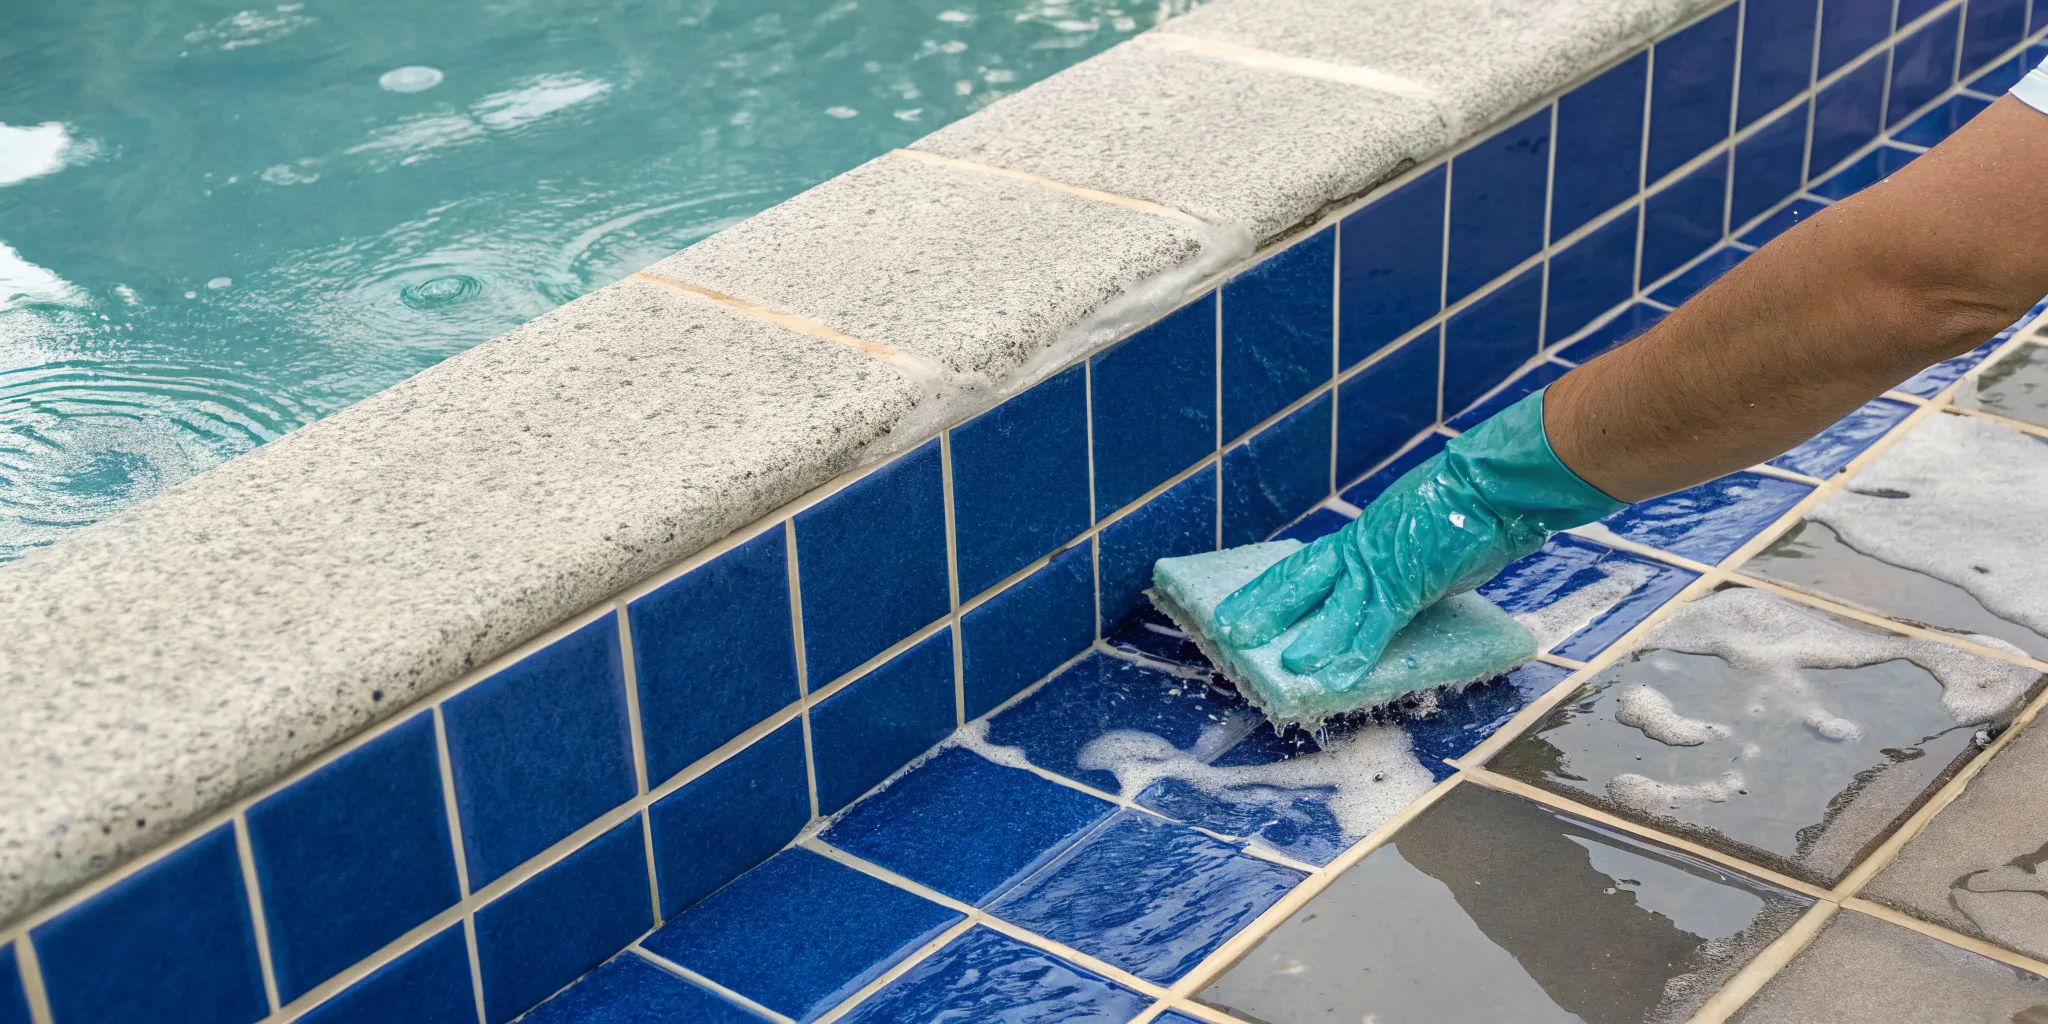
The Basics: Cleaning and Chemical Balance
The first step to preserving your new tiles is maintaining clean, chemically balanced water. A regular cleaning schedule prevents the buildup of waterline scum and calcium deposits that can be tough to remove later. Use a soft sponge or brush with a specialized pool tile cleaner to gently scrub the tile line. Keeping your water chemistry in check is just as important, as improper pH or alkalinity levels can cause staining or even etch the surface of your tiles over time. Consistent cleaning and maintenance is the best defense against tile damage, ensuring your pool stays healthy and your tiles look brand new.
Protecting Tiles from Colorado's Climate
Here in Colorado, we know our weather can be unpredictable. The freeze-thaw cycles in the colder months can be particularly hard on pool tiles. When water seeps into tiny cracks in the grout or behind the tile itself, it can freeze, expand, and cause tiles to crack or pop off completely. One of the most important things you can do is inspect the seal between your pool and the deck. A properly sealed expansion joint prevents moisture from getting where it shouldn’t. If you notice this seal is cracking or peeling, addressing it before winter is essential for protecting your pool’s structure and tilework.
Simple Tips for Long-Lasting Beauty
To keep your tiles looking their best, make a habit of giving them a quick visual inspection every so often. Look for any small chips, hairline cracks, or areas where the grout might be wearing away. Catching these minor issues early can save you from a much bigger problem down the road. A single loose tile can allow water to get behind neighboring tiles, creating a domino effect. If you spot any damage, it’s best to get it fixed right away. Prompt pool tile repairs will maintain the integrity of your tile line and keep your pool looking pristine.
Frequently Asked Questions
How long should my pool tiles actually last? With proper care and balanced water chemistry, quality pool tiles can last for decades. However, factors like the material, the quality of the initial installation, and Colorado's harsh freeze-thaw cycles can shorten that lifespan. The grout is often the first thing to show wear, and once it fails, the tiles are more vulnerable. Think of it less as a strict timeline and more about paying attention to the signs of wear.
Can I just replace a few damaged tiles, or do I need to redo the whole waterline? Fixing one or two loose tiles can be a good temporary solution, especially if the damage is isolated. However, it's often a sign of a larger issue, like failing grout or water getting behind the tiles. If you're seeing cracks or loose tiles in multiple spots, replacing the entire waterline is a better long-term investment. This ensures a consistent look and addresses the root cause of the problem, preventing you from having to patch new spots every season.
What type of tile holds up best against Colorado's freeze-thaw cycles? Porcelain tile is an excellent choice for our climate because it's incredibly dense and doesn't absorb much water. This makes it highly resistant to cracking when temperatures drop and water freezes. Glass tile is also a great non-porous option. While natural stone is beautiful, it can be more porous and may require more diligent sealing and maintenance to protect it through our tough winters.
How long will my pool be out of commission during a tile replacement? The timeline really depends on the size of your pool and the scope of the project. A straightforward waterline replacement can often be completed in about a week. This includes the time needed to drain the water level, remove the old tile, install the new tile, and allow the grout to properly cure before refilling. We can give you a more precise timeline after assessing your specific pool.
Is it really necessary to drain the entire pool for this kind of work? For a full waterline replacement, the pool needs to be at least partially drained to expose the work area. This ensures the surface is completely dry, which is essential for the new tile adhesive and grout to bond correctly and create a durable, waterproof seal. Trying to work on a wet surface can lead to a weak bond and tile failure down the road, so proper draining is a critical step for a lasting repair.
Related Blogs