%201.png)
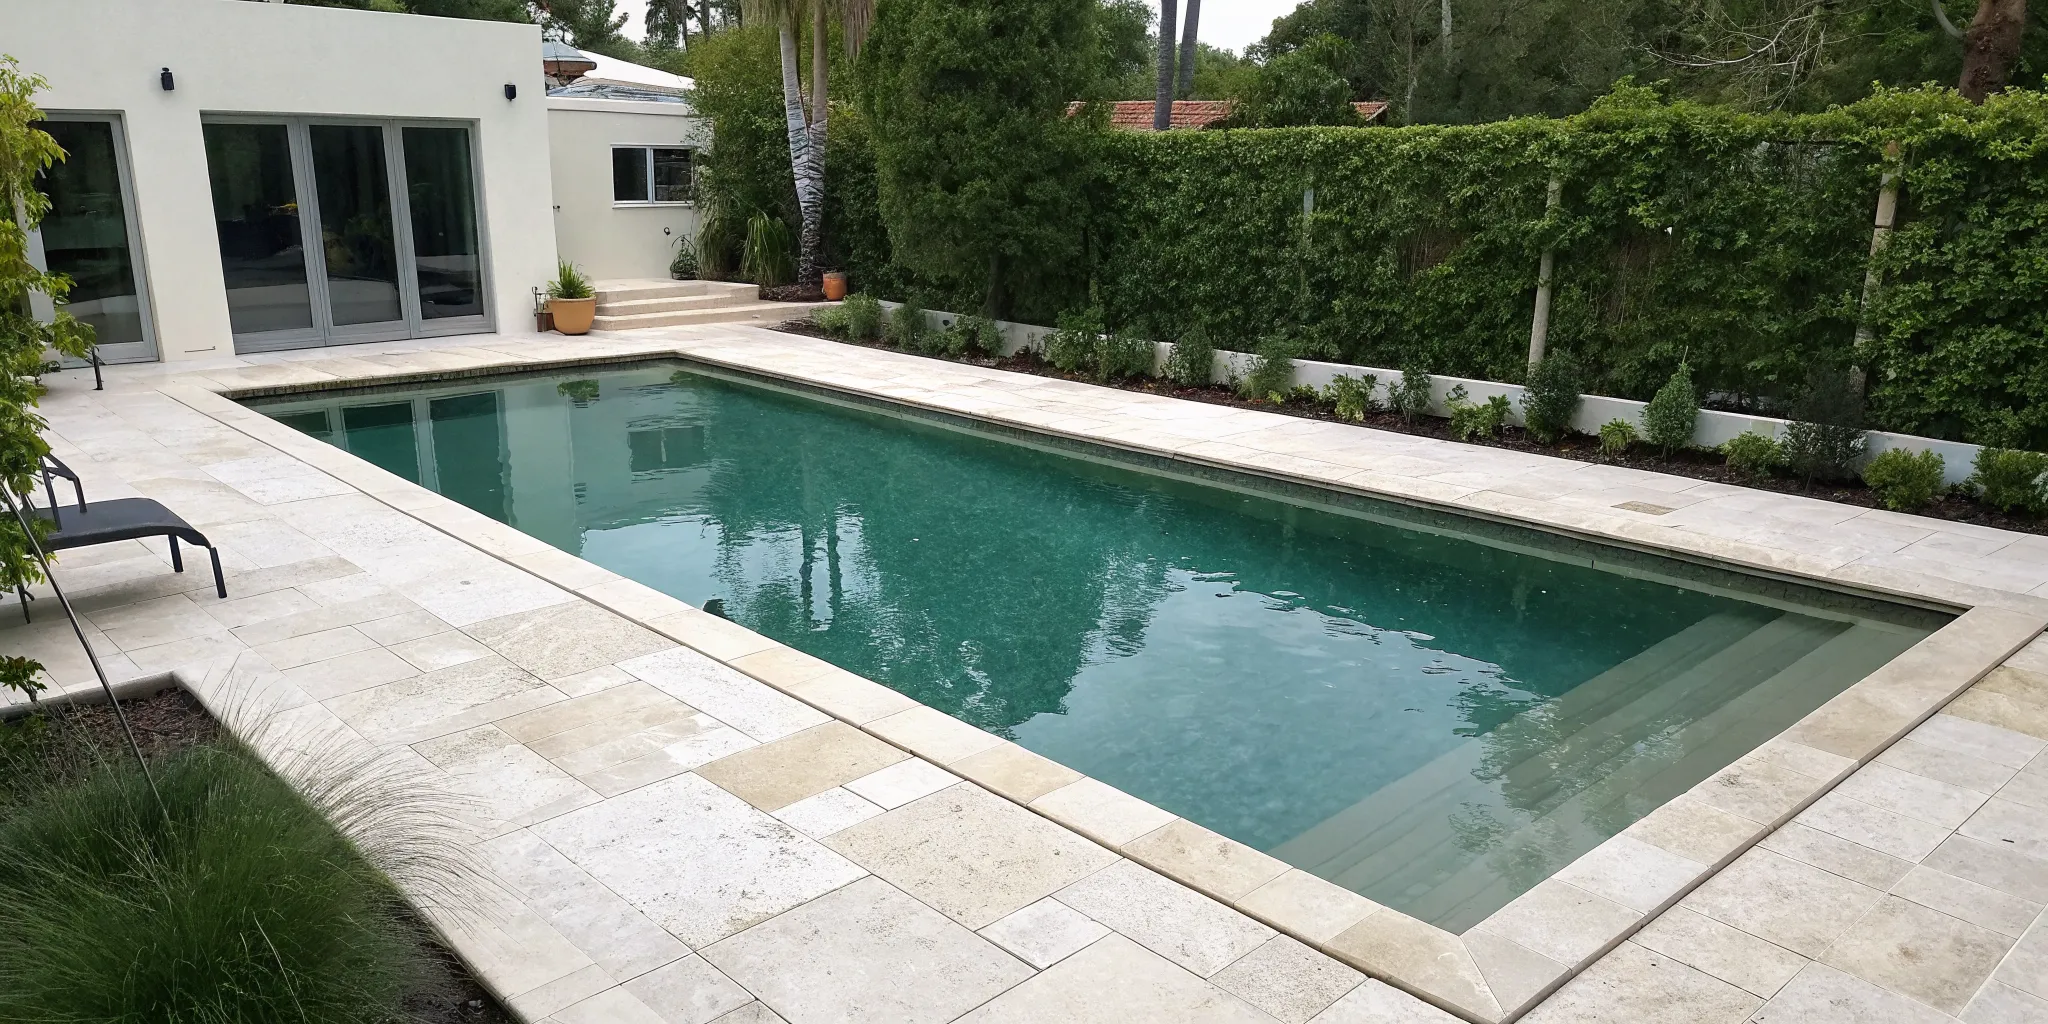
How to Fix Cracked Pool Coping: A DIY Guide
That crack along your pool's edge might look like a job for a professional, but you might be surprised by what you can handle yourself. Taking on a small repair project not only saves you money but also gives you the satisfaction of maintaining your own backyard oasis. This guide is designed to empower you with the knowledge and confidence for the job. We’ll break down how to fix cracked pool coping into simple, actionable steps, from assessing the damage to applying the final touches. We'll cover the essential tools, the right materials for a lasting fix, and the common mistakes to avoid, ensuring your hard work pays off.
Key Takeaways
- Proactive care is your best defense against Colorado's weather: The freeze-thaw cycle is tough on pool coping, so make regular inspections and proper drainage management part of your routine to prevent cracks before they start.
- A successful DIY repair depends on the prep work: For a patch that actually lasts, you must thoroughly clean the crack of all debris and use the correct, high-quality repair material for your specific type of coping.
- Some cracks signal bigger problems: While minor cracks are manageable, don't ignore the red flags. Wide, recurring cracks or loose coping stones often point to deeper structural issues that require a professional to diagnose and fix correctly.
What Causes Pool Coping to Crack?
Seeing a crack in your pool coping can be frustrating, but it’s a common issue for pool owners. The coping isn't just the decorative edge of your pool; it’s a crucial barrier that protects the pool's structure from water damage and provides a safe, non-slip surface. Before you can fix it, it helps to understand what’s causing the problem in the first place. Most of the time, the culprits are our unique Colorado climate, natural ground movement, and everyday wear and tear. Let's break down the main reasons your coping might be cracking.
Colorado's Temperature Swings
If there’s one thing we know about Colorado weather, it’s that it’s unpredictable. Those dramatic temperature swings from day to night and season to season have a real impact on your pool. Materials like stone, concrete, and grout expand in the summer heat and shrink in the cold. This constant cycle of expansion and contraction puts a huge amount of stress on the grout joints holding your coping in place. Over time, this movement weakens the bond and leads to cracks. Even a small fissure can become a bigger issue when summer rain seeps in, setting the stage for more damage down the line.
The Freeze-Thaw Effect
The freeze-thaw cycle is one of the biggest enemies of outdoor masonry in Colorado. It starts when water from rain or snowmelt gets into tiny, existing cracks in your coping or grout. When the temperature drops below freezing, that trapped water turns to ice and expands, forcing the crack to get wider. This process repeats itself over and over throughout the colder months, gradually breaking down the grout and loosening the coping stones. This is why a tiny crack you ignored in the fall can become a major headache by spring, sometimes requiring professional pool repairs to fix correctly.
Ground Movement and General Wear
The ground around your pool is not perfectly still. Soil naturally shifts and settles over time due to moisture changes and erosion. This subtle movement can put pressure on your pool’s shell and the attached coping, leading to stress fractures. On top of that, simple wear and tear takes a toll. Debris like leaves and dirt can trap moisture and break down sealants, while foot traffic and exposure to pool chemicals slowly degrade the surface. Consistent cleaning and maintenance is your best defense against this gradual decay, helping you spot and address small issues before they become big ones.
Gather Your Tools and Materials
Before you can tackle that crack, you need to get your workspace in order. Just like prepping ingredients before you start cooking, gathering all your tools and materials first makes the entire repair process smoother and more efficient. Having everything within arm’s reach means you can focus on doing the job right without making extra trips to the hardware store. This simple step is key to achieving a professional-looking finish that lasts. Let’s walk through exactly what you’ll need to get your pool coping looking its best again.
Repair Materials for Your Coping Type
The first step is to identify what your coping is made of, as this determines the right repair product. For common materials like concrete or stone, a cement-based repair kit is usually your best bet. These products are designed to fill gaps and chips while bonding securely with the existing material. For smaller hairline cracks, a specialized epoxy can provide a strong, waterproof seal. When you’re at the store, read the product labels carefully to ensure they are suitable for outdoor, poolside use and can withstand Colorado’s weather. If you’re unsure what to get, our team can always help you find the right supplies and chemicals for the job.
Essential Tools for the Job
You don’t need a professional-grade workshop, but a few key tools will make this project much easier. Start with a stiff wire brush to thoroughly clean any dirt, debris, or loose material out of the crack. You’ll also need a putty knife or a small trowel to apply and work the patching material into the crack. Once the patch is applied, having some coarse sandpaper on hand will help you smooth the surface for a seamless finish after it dries. For certain repairs, especially those involving re-adhering a loose stone, a caulk gun is essential for applying a strong masonry adhesive.
Don't Forget Safety Gear
Working with cement, epoxy, and other bonding agents requires a bit of caution. These materials can irritate your skin and eyes, so safety should be a top priority. At a minimum, you should wear a pair of heavy-duty waterproof gloves to protect your hands throughout the process. Safety glasses are also a great idea, especially when you’re brushing out debris or mixing powdered compounds, to prevent anything from getting into your eyes. It’s a simple precaution that ensures your DIY repair project is a safe and successful one. Always read the safety instructions on your product’s packaging before you begin.
Your Step-by-Step Guide to Fixing Minor Cracks
Okay, you’ve spotted a few hairline cracks in your pool coping. Don't panic. For smaller, superficial cracks, a DIY repair is totally manageable and can save you from bigger headaches down the road. Tackling these issues early prevents water from seeping in, which is especially important with Colorado's freeze-thaw cycles that can turn a tiny crack into a major problem. This guide will walk you through the process, step by step, to get your coping looking great again.
Remember, this is for minor fixes. If you're looking at wide, deep cracks or entire coping stones that are loose and shifting, it might be time to call in a professional. Those can be signs of deeper issues that a simple patch won't solve. For that kind of job, you’ll want an expert to assess the situation, which might require a full remodel or rehab to address the root cause. But for the small stuff, you can handle this. Let's get to it.
Step 1: Assess the Damage
First things first, take a close look at the crack. Is it a thin, hairline fracture on the surface, or is it wider and deeper? The size and depth will tell you what kind of repair you need. As many pool owners have found, simply filling a crack without understanding its cause often leads to it reappearing later. If the crack is wider than a credit card or if the coping stone itself feels loose, you might be dealing with more than just surface wear. For minor cracks, though, a patch will work perfectly. Just be honest about the scope of the damage before you start buying materials.
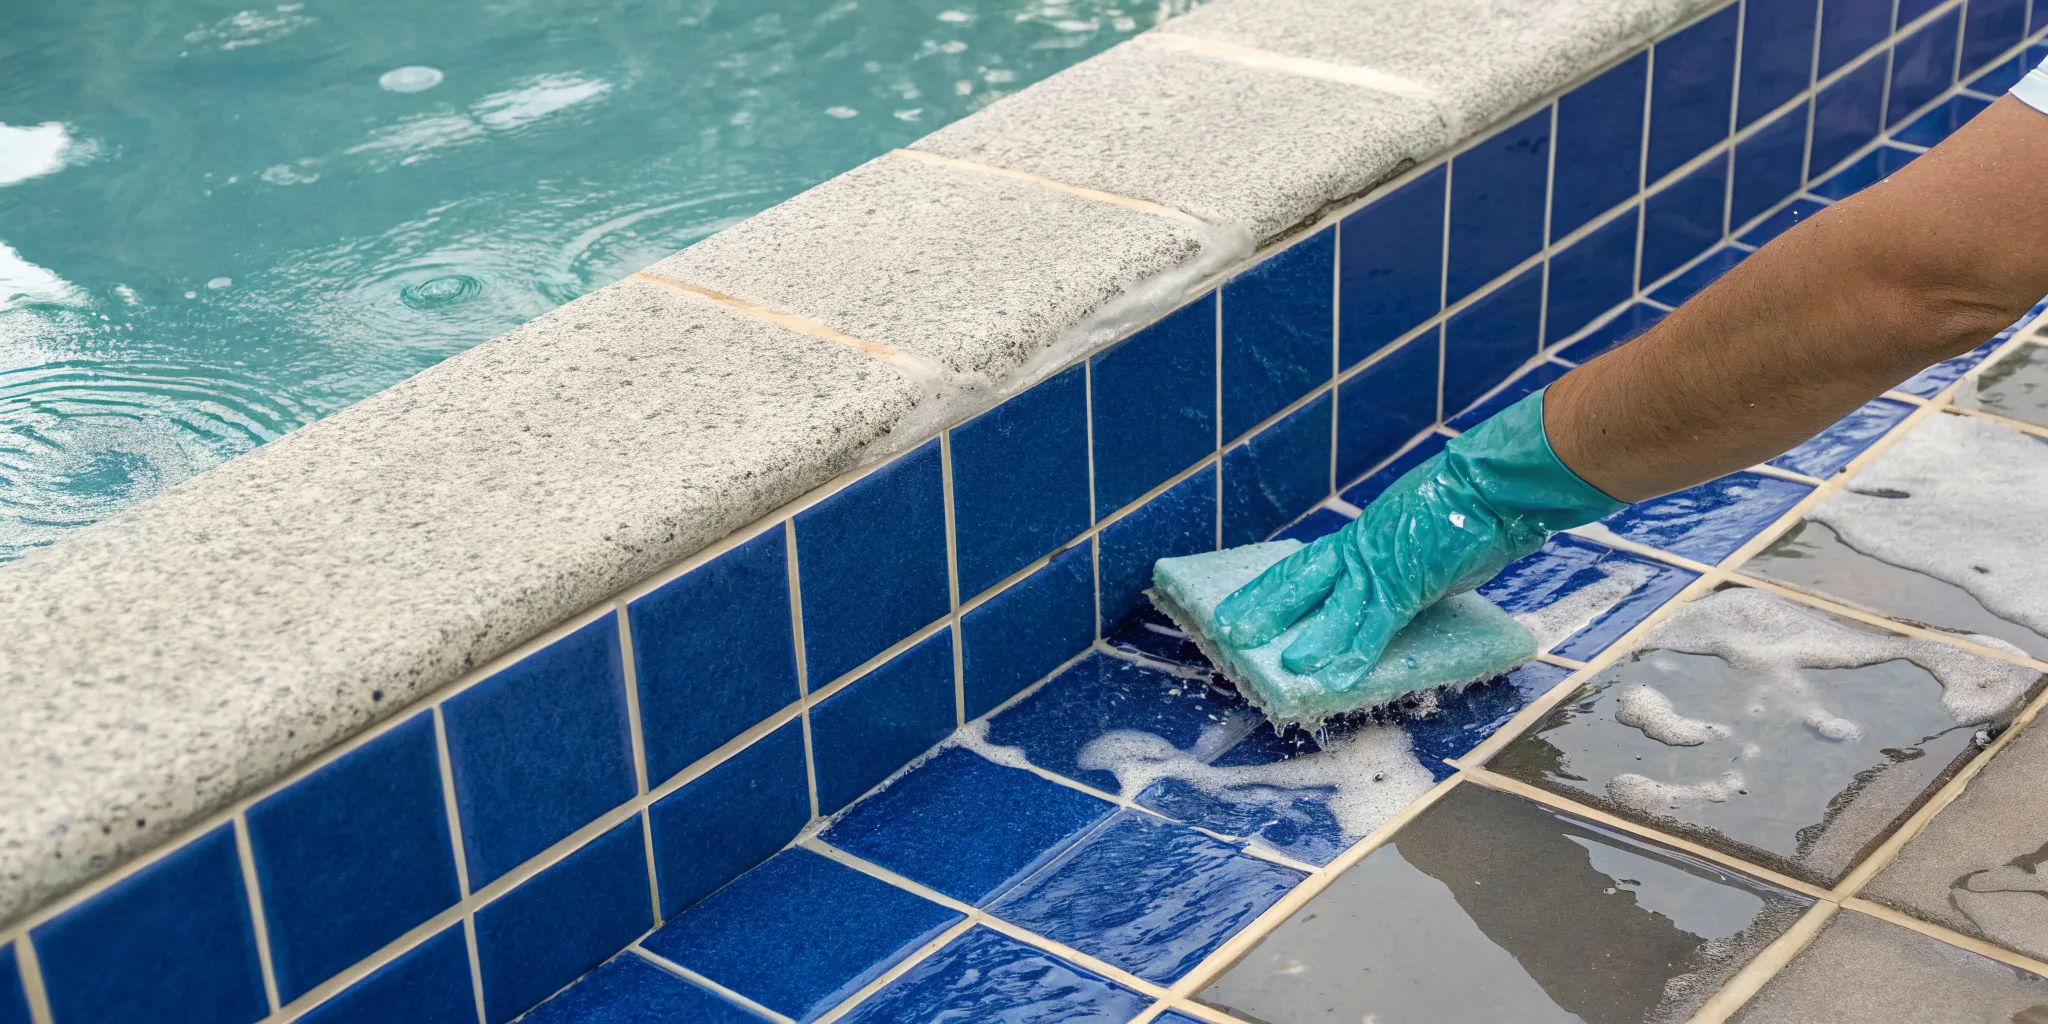
Step 2: Clean and Prep the Crack
This step is probably the most important for a repair that actually lasts. You need to give your patching material a clean, solid surface to stick to. Start by using a wire brush or a screwdriver to scrape out any loose debris, old sealant, or dirt from inside the crack. Get everything out of there. Then, use a shop vacuum to suck up all the dust and particles. If you have a pressure washer, a light spray can help, but make sure the area is completely dry before you move on. A clean, prepped surface is the secret to a successful, long-term fix.
Step 3: Apply the Repair Material
Now for the main event. The material you use depends on your coping and the crack itself. For concrete or stone coping, a cement-based patching compound is usually your best bet. If you have smaller hairline cracks, a specialized epoxy or sealant might be a better choice for a durable, flexible repair. Mix your patch material according to the manufacturer's instructions. Then, using a putty knife or trowel, press the material firmly into the crack. Make sure you work it all the way down to the bottom to avoid leaving any air pockets. Overfill the crack just slightly, as the material may shrink a little as it dries.
Step 4: Smooth and Finish the Surface
Once the crack is filled, you want the repair to blend in seamlessly with the rest of the coping. Take your putty knife or a small trowel and smooth the surface of the patch, scraping away any excess material. Try to match the texture of the surrounding coping as best you can. For a rougher, broom-finished concrete texture, you can lightly drag a damp paintbrush or a small whisk broom over the surface. The goal is to make the repair as invisible as possible. A smooth, even finish not only looks better but also prevents stubbed toes.
Step 5: Let It Cure Properly
I know it’s tempting to call the job done and jump in the pool, but you have to let the patch cure. This is non-negotiable. Curing allows the material to harden and bond completely, ensuring it can stand up to water, chemicals, and foot traffic. Most repair products, like E-Z Patch® 5, will need to dry for at least 24 hours. Always read the instructions on your specific product for the recommended curing time. It’s a good idea to cover the area with a plastic sheet if there’s a chance of rain. A little patience now will make your hard work last for seasons to come.
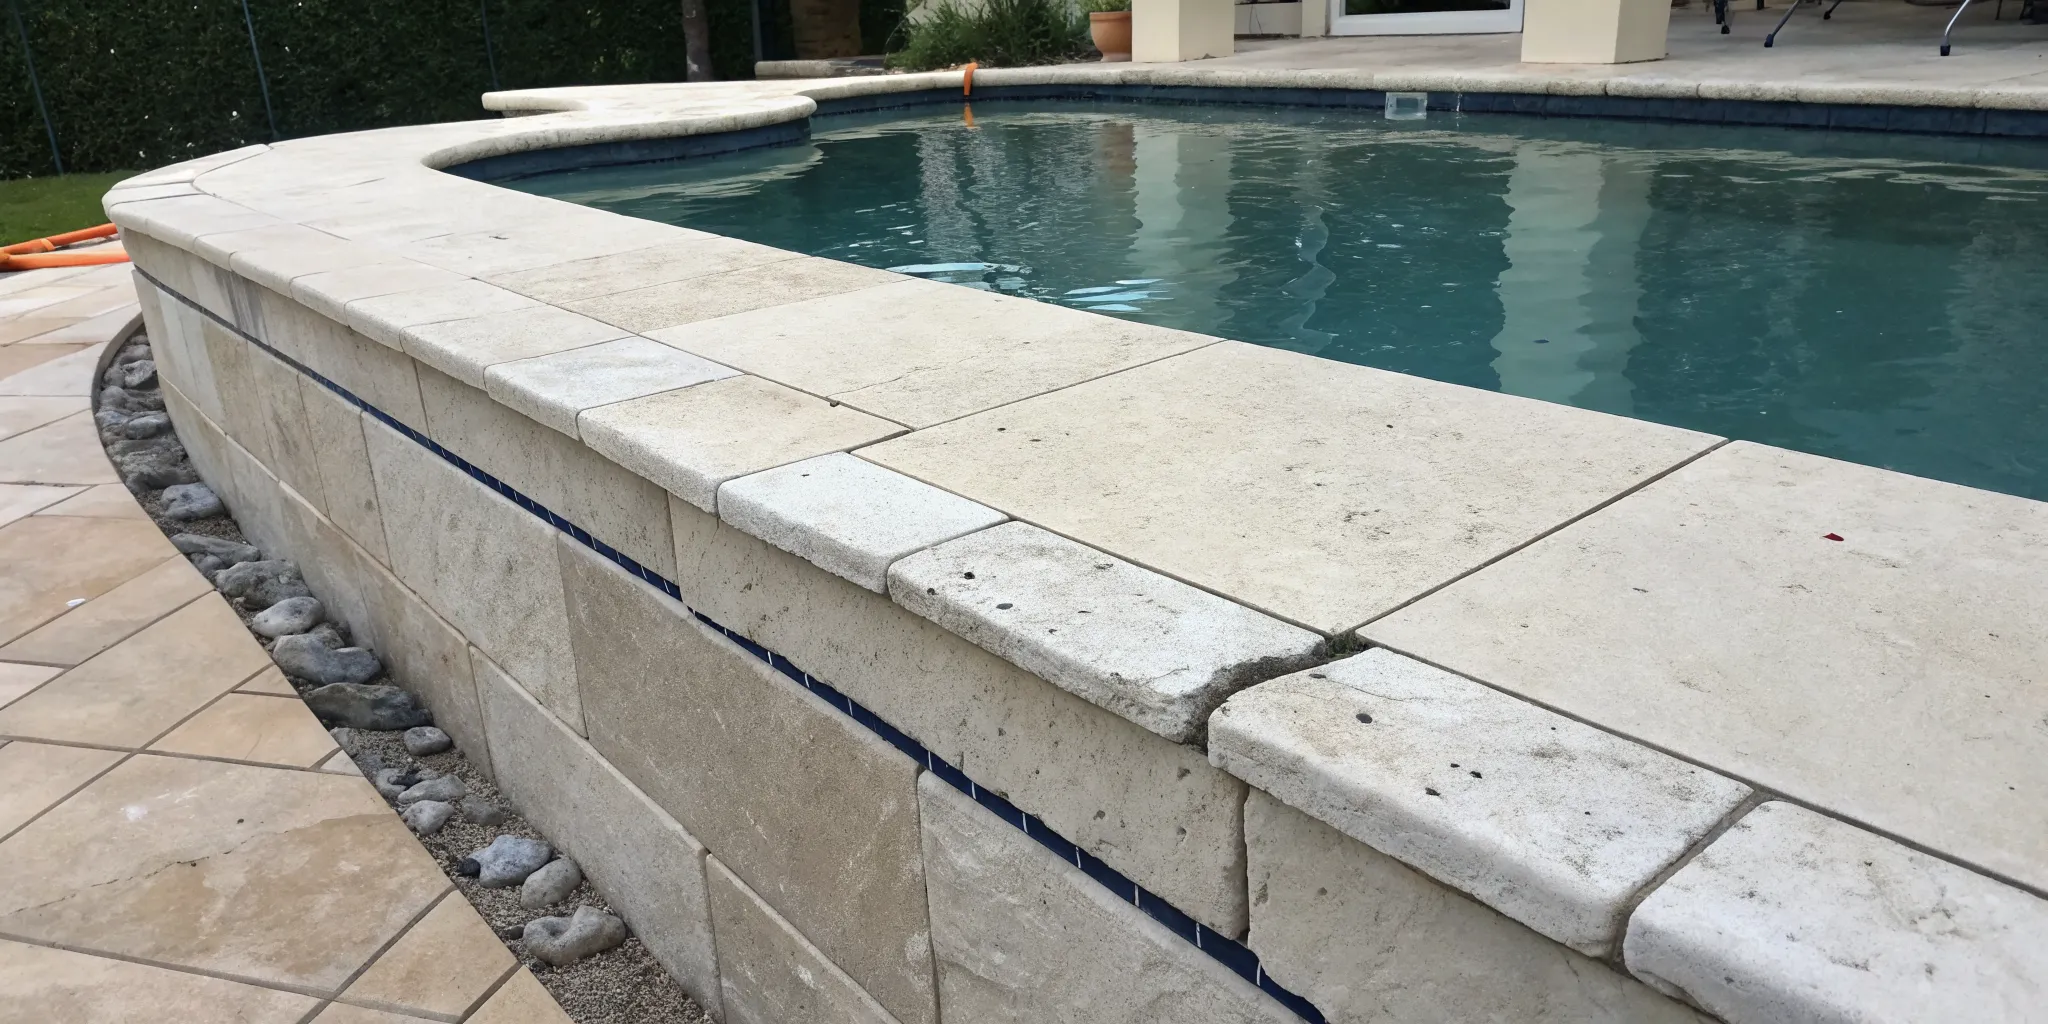
How to Replace a Damaged Coping Stone
If you're looking at a crack that’s more of a chasm, or if a piece of your coping has broken off completely, a simple patch job won't do the trick. Replacing the entire stone might sound intimidating, but it’s a manageable project if you work carefully and methodically. This process involves removing the old stone, cleaning up the area, and setting a new piece in its place.
Think of it like replacing a single tile on a floor. The goal is to make the new stone look like it’s always been there. Taking the time to do this right will not only fix the immediate problem but also protect the underlying structure of your pool deck. If the damage is widespread or you suspect it’s tied to bigger issues, our team is always ready to help with professional repairs and assessments.
Remove the Damaged Stone
First things first, you need to get the old, damaged stone out of the way. If the piece is already loose, this step is pretty straightforward. Gently lift it out of its spot. If it's still partially attached, you may need to use a hammer and chisel to carefully break it apart for easier removal. The most important part of this step is to be gentle with the surrounding stones to avoid causing more damage. Once the stone is out, you’ll need to thoroughly clean the base, clearing away any old adhesive, loose debris, and dust. A clean surface is essential for getting the new stone to bond properly.
Prep the Base and Apply Mortar
With the old stone gone, it’s time to prepare the foundation for its replacement. Take a grinder or a sturdy scraper and remove any remaining old grout from the edges of the surrounding coping. You want the entire area to be smooth and clean. Once you’ve cleared away all the old material, you can mix your thin-set mortar according to the package directions. Apply a fresh, even layer of the mortar to the base where the new stone will sit. Don't be shy with it, but aim for a consistent thickness. This mortar is the glue that will hold your new coping securely in place for years to come.
Set the New Coping Stone
Now for the final step: placing the new stone. Carefully lower the new coping stone onto the fresh bed of mortar. Press down firmly and give it a little wiggle to ensure it settles in and makes good contact with the adhesive. Use a level to make sure the new stone is flush with its neighbors on all sides. You can use a rubber mallet to gently tap it into its final position. Scrape away any excess mortar that squeezes out from the joints. All that's left is to let it cure completely before anyone walks on it.
Common DIY Mistakes to Avoid
Taking on a DIY project can be incredibly rewarding, but a simple mistake can turn a quick fix into a much bigger headache. When it comes to your pool coping, getting the repair right the first time saves you from future problems and expenses. Before you get started, let’s walk through a few common missteps that are easy to make but also easy to avoid. Paying attention to these details will ensure your hard work lasts and your pool edge looks fantastic.
Using the Wrong Materials
It’s tempting to grab a generic sealant from the hardware store, but this is one area where you don’t want to cut corners. Using the wrong or low-quality materials can lead to a weak patch that cracks again, creating safety hazards and wasting your money. Your pool coping is constantly exposed to water, chemicals, and Colorado’s weather, so it needs a durable, flexible repair compound designed for this specific environment. Whether you have stone, concrete, or brick coping, make sure you choose a product that’s compatible with your material and can handle the job.
Skipping Proper Prep Work
A successful repair is all in the preparation. Rushing this step is one of the biggest reasons DIY fixes fail. Before you apply any filler or sealant, the crack and the surrounding area must be perfectly clean and dry. This means scrubbing out any dirt, dust, and loose debris and allowing it to dry completely. If you apply new material over a dirty or damp surface, it won’t bond correctly. The patch will eventually pull away, chip, or fall out, and you’ll be right back where you started. Taking the time to prep properly ensures a strong, long-lasting bond.
Forgetting to Check the Forecast
In Colorado, the weather can change in an instant, and this can have a huge impact on your repair. Applying sealants or mortar in direct, high-heat sun can cause them to cure too quickly and crack. On the other hand, a sudden rainstorm can wash away your work before it sets. The freeze-thaw cycles we see so often can also wreak havoc on fresh repairs, as moisture expands and contracts, weakening the bond. Always check the forecast and choose a clear, mild day to work. This gives the repair material the best chance to cure properly and withstand the elements. If weather-related issues have caused more extensive problems, you may need professional equipment repairs.
When to Call a Pool Repair Pro
I’m all for a good DIY project, but I also know when it’s time to call in the experts. When it comes to your pool, some cracks are more than just cosmetic flaws; they’re signals of bigger issues that a simple patch won't solve. Knowing how to spot these warning signs can save you from a lot of frustration and more expensive fixes down the road. Here’s how to tell when it’s time to get a professional opinion on your pool coping.
Signs the Job Is Too Big
If you notice a crack that seems to be pushing the pool wall outward, that’s a major red flag. This often points to a significant underlying problem that needs a professional diagnosis. Similarly, if you keep patching a crack near the coping only to have it reappear, it’s a sign the issue is deeper than the surface. New cement patches often struggle to bond with old concrete in small areas, which just leads to more cracking. When you see these signs, it’s a good idea to consult a professional to get the job done right the first time.
Spotting Deeper Structural Problems
Look closely for signs of more serious structural problems. Are the sealants around the coping weak or peeling? This can allow water to seep underneath, causing hidden damage. Over time, the bonds in the pool's sidewalls can also weaken, creating leaks that let water escape into the surrounding ground. Any cracks you see in the main structure, like the bond beam or the pool floor, should be addressed immediately. These issues often require professional remodels and rehabs to ensure your pool's integrity and prevent further complications.
How to Prevent Future Cracks in Your Coping
After putting in the effort to fix your pool coping, the last thing you want is to repeat the process anytime soon. A little proactive care can make a huge difference in preventing new cracks from forming. By staying on top of a few key areas, you can protect your investment and keep your pool edge looking great for years to come. Most of these steps are simple additions to your regular pool care routine and are especially important here in Colorado, where our weather keeps our pools on their toes.
Perform Regular Inspections
Making a quick inspection part of your weekly routine is one of the best things you can do for your coping. As you skim the pool or check the chemical levels, take a walk around the perimeter and look closely at the coping stones and grout lines. Keep an eye out for tiny hairline cracks, crumbling grout, or any areas where debris and dirt have built up. Catching these small issues early prevents them from turning into bigger, more complicated repairs. Regular cleaning also helps, as built-up grime can hold moisture against the coping, which can lead to damage over time.
Manage Drainage and Water Flow
Water is the number one enemy of your pool coping. When water seeps into the ground behind the coping stones, it can weaken the bond and cause cracks from underneath. Check the expansion joint, which is the sealant-filled gap between your coping and the pool deck. This sealant should be flexible and fully intact. If you see it cracking or pulling away, it’s time to replace it. Also, ensure your pool deck slopes slightly away from the pool. This directs rainwater and splash-out away from the coping’s foundation, preventing water from pooling and seeping into vulnerable spots.
Protect Your Coping Through the Seasons
Colorado’s weather can be tough on pool materials. The constant cycle of freezing and thawing causes coping materials to expand and contract, putting stress on the grout and stones. Using a high-quality, properly fitted pool cover during the off-season is essential. It keeps snow and ice from sitting directly on the coping, which reduces the amount of moisture that can freeze in small crevices and widen them. If you’re ever considering a pool update, choosing materials designed to withstand our climate can make a huge difference. A professional remodel or rehab can ensure your pool is built to last.
Frequently Asked Questions
Is it normal for pool coping to crack in Colorado? Yes, it’s incredibly common. The dramatic temperature swings we experience cause materials to expand and contract, which puts a lot of stress on grout and stone. Add in our notorious freeze-thaw cycles, where water gets into tiny crevices and expands as it turns to ice, and you have the perfect recipe for cracks. It’s less a sign of a poorly built pool and more a reality of owning one in our climate.
Can I just use any cement or sealant from the hardware store? I would strongly advise against it. Your pool coping needs a specialized repair product that is designed to be flexible and withstand constant exposure to water, pool chemicals, and our unique weather. A generic, all-purpose filler will likely fail quickly, leading to a weak patch that cracks again or falls out completely. It’s worth getting the right material for the job to ensure your repair lasts.
What's the difference between a small crack I can fix and a serious one that needs a professional? A good rule of thumb is to look at the size and location. If you have a few hairline cracks on the surface of a stone or in the grout, that’s usually a manageable DIY fix. However, if a crack is wide enough to fit a credit card, if the entire coping stone is loose and shifting, or if the crack extends down into the pool's main structure, it’s time to call a professional. Those are often signs of deeper issues that a surface patch won't solve.
My last DIY patch didn't last. What's the most common reason a repair fails? The number one reason a patch fails is improper preparation. Simply squirting some sealant into a crack without cleaning it first is a recipe for a short-term fix. You have to thoroughly scrape out all the old, loose material, dirt, and debris from inside the crack. If you apply new material to a dirty or damp surface, it can't form a strong bond and will eventually pull away.
Besides fixing cracks as they appear, what's the best way to prevent them in the first place? Managing water is key. Pay close attention to the expansion joint, which is the sealed gap between your coping and the pool deck. If that sealant is cracked or peeling, water can get behind the coping and cause damage from underneath. Making sure that joint is properly sealed and that your deck drains water away from the pool will go a long way in protecting the foundation of your coping.
Related Blogs