%201.png)
A Homeowner's Guide to Hayward Pool Pump Repair
Owning a pool in Colorado comes with its own unique set of challenges, from our intense sun to the freezing winters that demand proper seasonal care. Your Hayward pump has to work hard to keep up, and our specific climate can put extra stress on its components. When a problem arises, you need solutions that account for these local conditions. This guide is written specifically for Colorado pool owners, helping you identify common pump issues and understand their causes. We’ll cover everything from simple maintenance checks to knowing when you need an expert hayward pool pump repair from a team that truly understands our region’s demands.
Key Takeaways
- Practice proactive maintenance: The best way to avoid pump failure is through consistent care. Regularly cleaning baskets, maintaining balanced water chemistry, and properly winterizing your equipment for Colorado's seasons will significantly extend its lifespan.
- Master the basic checks before calling for help: Many common pump issues, like weak flow or failure to start, stem from simple problems. Always check for a tripped breaker, clear debris from all baskets, and look for obvious air leaks before assuming a major repair is needed.
- Know when to hand it over to a professional: For your safety and to prevent further damage, always call a certified technician for complex electrical work, loud grinding noises indicating bearing failure, or internal motor problems.
What are the most common Hayward pool pump problems?
Hayward pumps are known for their reliability, but even the most durable equipment can run into trouble over its lifespan. Think of your pump as the heart of your pool’s circulation system—it works tirelessly behind the scenes, pushing thousands of gallons of water through the filter to keep it clean, clear, and safe for your family. When it’s working correctly, you probably don’t give it a second thought. But when it starts acting up, it can throw your whole maintenance routine off track and quickly turn a sparkling oasis into a cloudy headache. The good news is that most pumps give you warning signs before they fail completely. Recognizing these signs early is the key to a quick fix and preventing more serious, costly damage. Whether you're a seasoned pool owner or new to the game, understanding what to look for can save you a lot of stress. From strange noises and mysterious leaks to a complete shutdown, let's walk through some of the most common problems you might encounter with your Hayward pump so you can feel confident in your next steps.
Your motor won't start or shuts off
There’s nothing more frustrating than flipping the switch and getting… nothing. Or, just as bad, the pump runs for a few minutes and then shuts itself off. This is often an electrical issue or a sign that the motor has overheated. It could be a tripped breaker or a bad capacitor, but it can also point to a more serious internal problem. If the motor is humming but not starting, the impeller might be stuck. If it’s completely silent, it could be a power supply problem or a burnt-out motor that needs professional equipment repairs and servicing.
The pump is making strange noises
Your pool pump should operate with a consistent, low hum. If you start hearing new, alarming sounds, it’s time to pay attention. A loud, high-pitched screeching or grinding noise often points to worn-out motor bearings. This happens over time as the lubricant inside the bearings breaks down and the metal parts begin to grind against each other. A rattling sound could mean there’s debris like a small rock or twig caught in the impeller. Ignoring these sounds is never a good idea, as they usually indicate a mechanical problem that will only get worse—and potentially more expensive to fix—if left unaddressed.
You see water leaking around the pump
Finding a puddle of water under your pump is a clear signal that something is wrong. Leaks are most commonly caused by a worn-out seal, like the shaft seal that sits between the motor and the pump housing to prevent water from getting into the electrical components. Over time, these rubber seals can dry out, crack, and fail. You might also see leaks coming from threaded fittings that have loosened or O-rings that need replacing. While it might seem like a small drip, any leak can put stress on the pump and lead to bigger problems, including motor failure if water gets inside.
Water flow is weak or non-existent
If the water returning to your pool from the jets is weak or has stopped completely, your pump isn't doing its job. The first thing to check is for a blockage. A full pump basket or a clogged skimmer basket is a common culprit that restricts water flow. It could also be a clog in the plumbing lines or a dirty filter that needs to be cleaned or backwashed. If you’ve checked all of those and the flow is still low, you might have an air leak on the suction side of the pump or a damaged impeller. In some cases, it can also be a sign that the motor is failing and can no longer spin the impeller fast enough.
Your variable speed pump shows an error code
Modern variable speed pumps are incredibly efficient, but their advanced electronics can sometimes be tricky. If your pump’s digital display is showing an error code, it’s the system’s way of telling you exactly what’s wrong. These codes can indicate anything from a communication failure to a drive error or an electrical overload. While your owner’s manual can help you decipher some basic codes, many point to complex internal issues. It’s always best to have a professional diagnose these errors to ensure the right repair is made and you don't accidentally cause more damage.
How can you troubleshoot your Hayward pump?
When your Hayward pump starts acting up, a little methodical troubleshooting can often pinpoint the problem. Before you assume the worst, it’s worth running through a few key checks. Many common pump issues stem from simple things like a clogged basket or a tripped breaker. Working through these steps can help you identify what’s going on and decide if it’s a quick fix you can handle or something that needs a professional eye.
Remember, safety is always the top priority, especially when dealing with electrical components. If you ever feel unsure or uncomfortable with a step, it’s best to pause and call for help. Let’s walk through the basic diagnostic process to get your pump back on track.
Check the power supply and connections
Before you do anything else, start with the power source. It might sound obvious, but it’s a step that’s easy to overlook. First and foremost, always turn off the power at the circuit breaker before you touch the pump or any wiring. This is a critical safety measure to prevent electrical shock.
Once the power is off, you can check for simple issues. Is the breaker in the “on” position? Sometimes a power surge can trip it. Check the pump’s timer to make sure it’s set correctly and has power. Also, look at the pump’s on/off switch to ensure it hasn’t been accidentally turned off. If everything seems fine but the pump still won’t start, you could have a wiring issue. For anything beyond flipping a breaker, it’s safest to call a professional for equipment repairs and servicing.
Inspect the pump and skimmer baskets
One of the most frequent causes of weak water flow is a full or clogged basket. Your pump system has at least two: the skimmer baskets in the pool wall and the basket inside the pump itself. When these get packed with leaves, twigs, and other debris, water can’t flow freely, which strains the motor and reduces circulation.
With the power off, remove the pump lid—you might need to twist it or release a clamp, depending on your model. Lift out the basket and clear out any debris. A quick rinse with a hose is usually all it takes. Don’t forget to check and empty your pool’s skimmer baskets, too. Keeping these clean is a simple but essential part of your regular cleaning and maintenance routine.
Examine the water level and suction lines
Your pump needs a steady supply of water to work correctly. If the water level in your pool drops below the skimmer opening, the pump will start pulling in air instead of water. This can cause the pump to lose its prime, make loud noises, and potentially overheat the motor. Always make sure your pool’s water level is about halfway up the skimmer opening.
While you’re at it, check for any visible blockages in the suction lines leading to the pump. Sometimes a toy or a large clump of leaves can get stuck in the plumbing right at the skimmer. Also, take a look at the rubber gasket or O-ring on the pump lid. If it’s cracked or worn, it can prevent a proper seal and let air into the system.
Test the system for air leaks
If your pump is struggling to prime or you see a stream of tiny bubbles coming from your return jets, you likely have an air leak on the suction side of the system. Air leaks reduce your pump’s efficiency and can put long-term stress on the motor. The most common culprit is a worn-out pump lid O-ring, but leaks can also happen at threaded pipe fittings, valves, or the pump seal.
You can sometimes spot a leak by carefully listening for a hissing sound around the pump fittings when it’s running. Another trick is to use a hose to run water over the fittings (one at a time) and see if the bubbles in the pool stop. If you find the source and it’s a simple O-ring, that’s an easy fix. However, tracking down and sealing other leaks can be tricky, so don’t hesitate to reach out for a professional equipment repair.
Which pump repairs can you safely do yourself?
If you’re comfortable with basic tools and following instructions, there are several Hayward pump repairs you can tackle on your own. Taking on these smaller tasks can be a great way to get to know your pool equipment better and save a little money. Before you start any repair, the most important step is always to shut off all power to the pump at the circuit breaker. Safety is non-negotiable, so double-check that the power is off before you pick up a single tool.
Once you're sure the power is disconnected, you can confidently handle straightforward jobs like swapping out a cracked pump basket, cleaning a clogged impeller, or replacing worn-out seals and gaskets. These components are designed to be accessible for routine maintenance, and having the right replacement parts on hand makes the job much smoother. However, it’s also important to know your limits. If a simple fix turns into a complex puzzle, you find unexpected damage, or the repair involves the motor's internal wiring, it’s time to pause and call for backup. Our team is always ready to handle any equipment repairs that go beyond a simple DIY task, ensuring the job is done safely and correctly.
Replace a worn pump basket
The pump basket is your first line of defense, catching leaves, twigs, and other debris before they can reach and damage the pump’s impeller. Over time, these plastic baskets can become brittle and crack from sun exposure and chemicals. If you notice your basket is damaged, replacing it is one of the easiest fixes you can do. After turning off the power, simply remove the pump lid, lift out the old, worn basket, and drop the new one in its place. Make sure you buy the correct replacement basket for your specific Hayward pump model to ensure a perfect fit and proper water flow.
Fix minor seal leaks
A small, steady drip from your pump is often a sign that a seal has worn out. The main shaft seal prevents water from leaking out of the pump where the motor shaft enters. To fix this, you’ll need to separate the motor from the pump housing. Once you have access, hold the motor shaft steady and unscrew the impeller (it unscrews counter-clockwise). You can then remove the old seal parts. After cleaning the area thoroughly, carefully press the new seal components into place, using a compatible lubricant on the rubber edges to ensure a snug, watertight fit. This repair requires a bit more disassembly, so take your time.
Clean a clogged impeller
If your water flow is weak but the pump basket is clean, you might have a clogged impeller. Small debris like pine needles or seeds can sometimes slip past the basket and get wrapped around the impeller, restricting its ability to move water. To clean it, you’ll need to access the impeller by removing the pump housing. On many Hayward models, you can hold the motor shaft still with a screwdriver from the back of the motor, which allows you to unscrew the impeller from the front. Once it’s off, you can easily pick out any debris before reassembling the pump. This quick clean-out can make a huge difference in your pool's circulation.
Replace old O-rings and gaskets
O-rings and gaskets are the rubber seals that keep your pump airtight and watertight. The most common one you’ll interact with is the lid O-ring, which can become stretched or cracked, letting air into the system. This can make it difficult for your pump to prime. Replacing it is simple: just remove the old O-ring, clean the groove it sits in, and install the new one. It’s a good idea to apply a thin layer of pool-safe lubricant to the new O-ring to protect it and make the lid easier to open next time. You can find replacement supplies and chemicals, including lubricants, to keep your equipment in top shape.
When is it time to call a professional?
While tackling a DIY project can be incredibly satisfying, some pool pump repairs are best left to a certified technician. Knowing your limits is key to preventing a small issue from turning into a costly, system-wide problem. If a repair involves complex electrical components, major internal parts, or requires special diagnostic tools, calling a professional is the safest and most effective choice. It protects you from potential injury and ensures your equipment is fixed correctly, saving you time, stress, and money in the long run.
For complex electrical issues or motor replacement
Working with electricity and water requires extreme caution and expertise. If you’re facing issues with your pump’s wiring, breakers, or voltage settings, it’s time to step back. These problems can be intricate and pose serious safety risks if not handled by a trained professional. A complete motor failure also falls into this category. A technician can safely diagnose the electrical fault, determine if the motor can be repaired, or perform a full equipment replacement according to code, ensuring your system runs safely and efficiently.
For major seal and internal component problems
A small drip can sometimes be a simple fix, but significant leaks often point to a major failure in the pump’s internal seals. When a shaft seal assembly fails, it can allow water to enter the motor, leading to corrosion and eventual burnout. If you notice substantial leaking or find that the motor is already damaged beyond a simple fix, it’s a clear sign you need professional help. Continuing to run a pump with faulty internal components can cause irreversible damage to the entire system, so it's best to have an expert take a look.
To diagnose variable speed pump error codes
Modern variable speed (VS) pumps are incredibly efficient, but they are also more complex. When your VS pump displays an error code, it’s sending a specific message about an internal problem, such as an overload or a short circuit. While you can look up the code in your owner’s manual, diagnosing the root cause often requires professional expertise and specialized tools. A certified technician can accurately interpret these codes, identify the underlying issue, and perform the correct Hayward pump repair to get your system back online without causing further damage.
When you suspect bearing failure or need a motor rebuild
If your pump has gone from a gentle hum to a loud grinding, screeching, or whining noise, it’s crying out for help. These sounds are classic symptoms of failing motor bearings. Ignoring them can cause the motor to overheat and seize completely. While it might be tempting to keep it running, this will only lead to more extensive damage. A motor rebuild is a precise task that involves disassembling the unit and replacing worn-out parts. This job requires specific tools and experience, making it a clear case for calling in a professional.
How can you prevent future pump problems?
The best way to handle a pool pump problem is to stop it from happening in the first place. A little proactive care goes a long way in extending the life of your Hayward pump and saving you from the stress of unexpected breakdowns. By building a few simple habits into your pool care routine, you can keep your equipment running smoothly season after season. Think of it as an investment in your peace of mind and your wallet. Focusing on a consistent schedule, balanced water, seasonal prep, and listening for trouble signs will make all the difference.
Follow a regular maintenance schedule
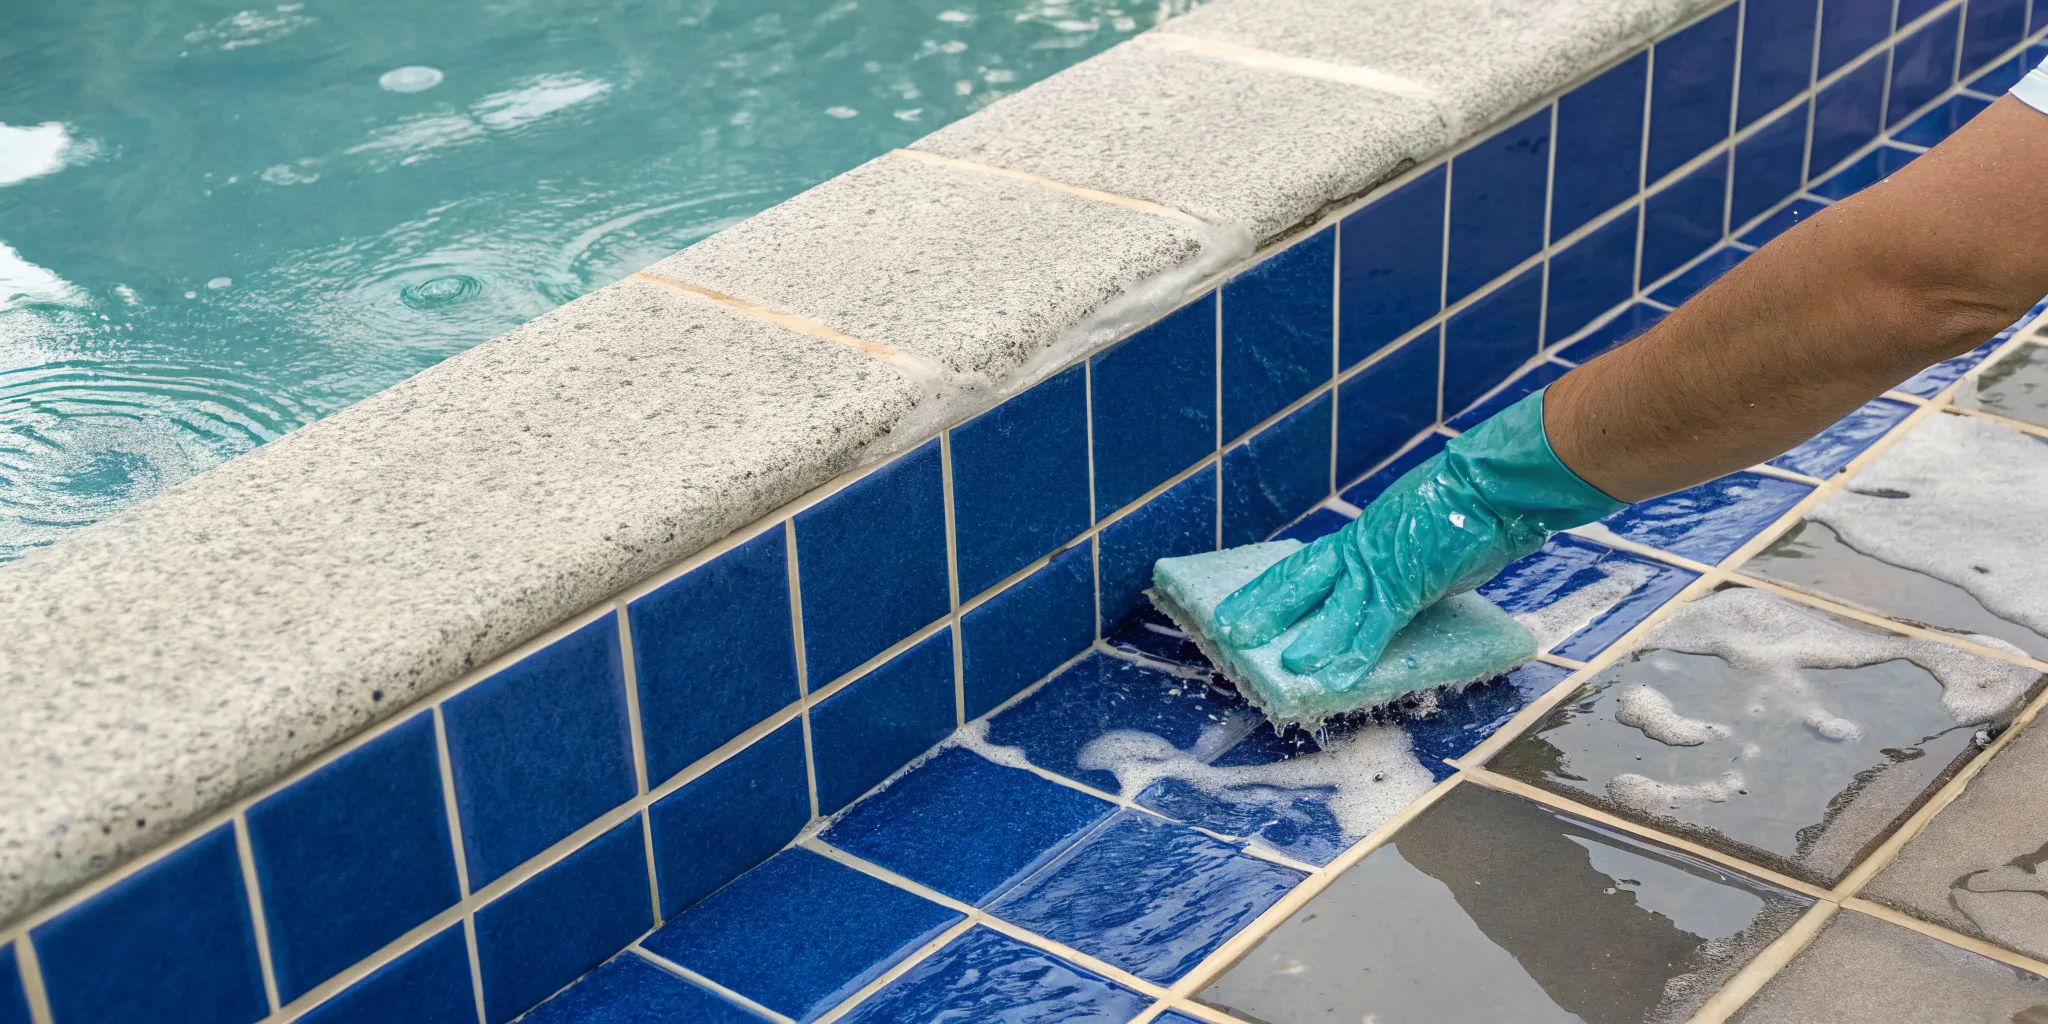
Consistent care is your pump’s best friend. Just like a car, your pool pump needs regular check-ups to perform its best. Make it a habit to clean the pump lid and lubricate the O-ring with silicone grease to ensure a tight seal and proper suction. It’s also a good practice to replace the pump seals every two to three years, as they can wear out over time. These small tasks are key parts of a solid pool pump maintenance routine that prevents small issues from becoming major headaches. If you’d rather leave it to the pros, our cleaning and maintenance services can handle the routine work for you.
Maintain proper water chemistry
The chemistry of your pool water affects more than just the swimming experience—it directly impacts the health of your equipment. Water that is too acidic or alkaline can cause corrosion and scaling inside your pump, leading to premature wear and tear on its internal components. Regularly testing your water and keeping the pH, alkalinity, and sanitizer levels in the correct range is essential. Properly balanced water protects your pump from damage and helps it run more efficiently. We can help you find the right supplies and chemicals to keep your pool perfectly balanced and your equipment protected.
Prepare your equipment for Colorado's seasons
Living in Colorado means we have to pay special attention to how the changing seasons affect our pools. Winter can be particularly harsh on pool equipment if it’s not prepared correctly. Before the first freeze, it’s critical to winterize your pump by draining it completely. Any water left inside can freeze, expand, and crack the pump housing, leading to expensive damage. Properly preparing your equipment for the off-season is a non-negotiable step to ensure a smooth pool opening in the spring. This seasonal prep is a cornerstone of pool maintenance in our climate.
Watch for early warning signs of trouble
Your pump will often give you clues that something is wrong before it fails completely. Get in the habit of listening for unusual noises like grinding, whining, or rattling. Keep an eye out for small drips or puddles of water around the pump, which could indicate a failing seal. You should also notice if your water flow seems weaker than usual. Catching these early warning signs and addressing them right away can prevent a minor issue from turning into a complete pump failure. If you notice any of these red flags, it’s best to schedule a professional inspection with our equipment repairs and servicing team.
Need a Hayward pump repair expert in Colorado?
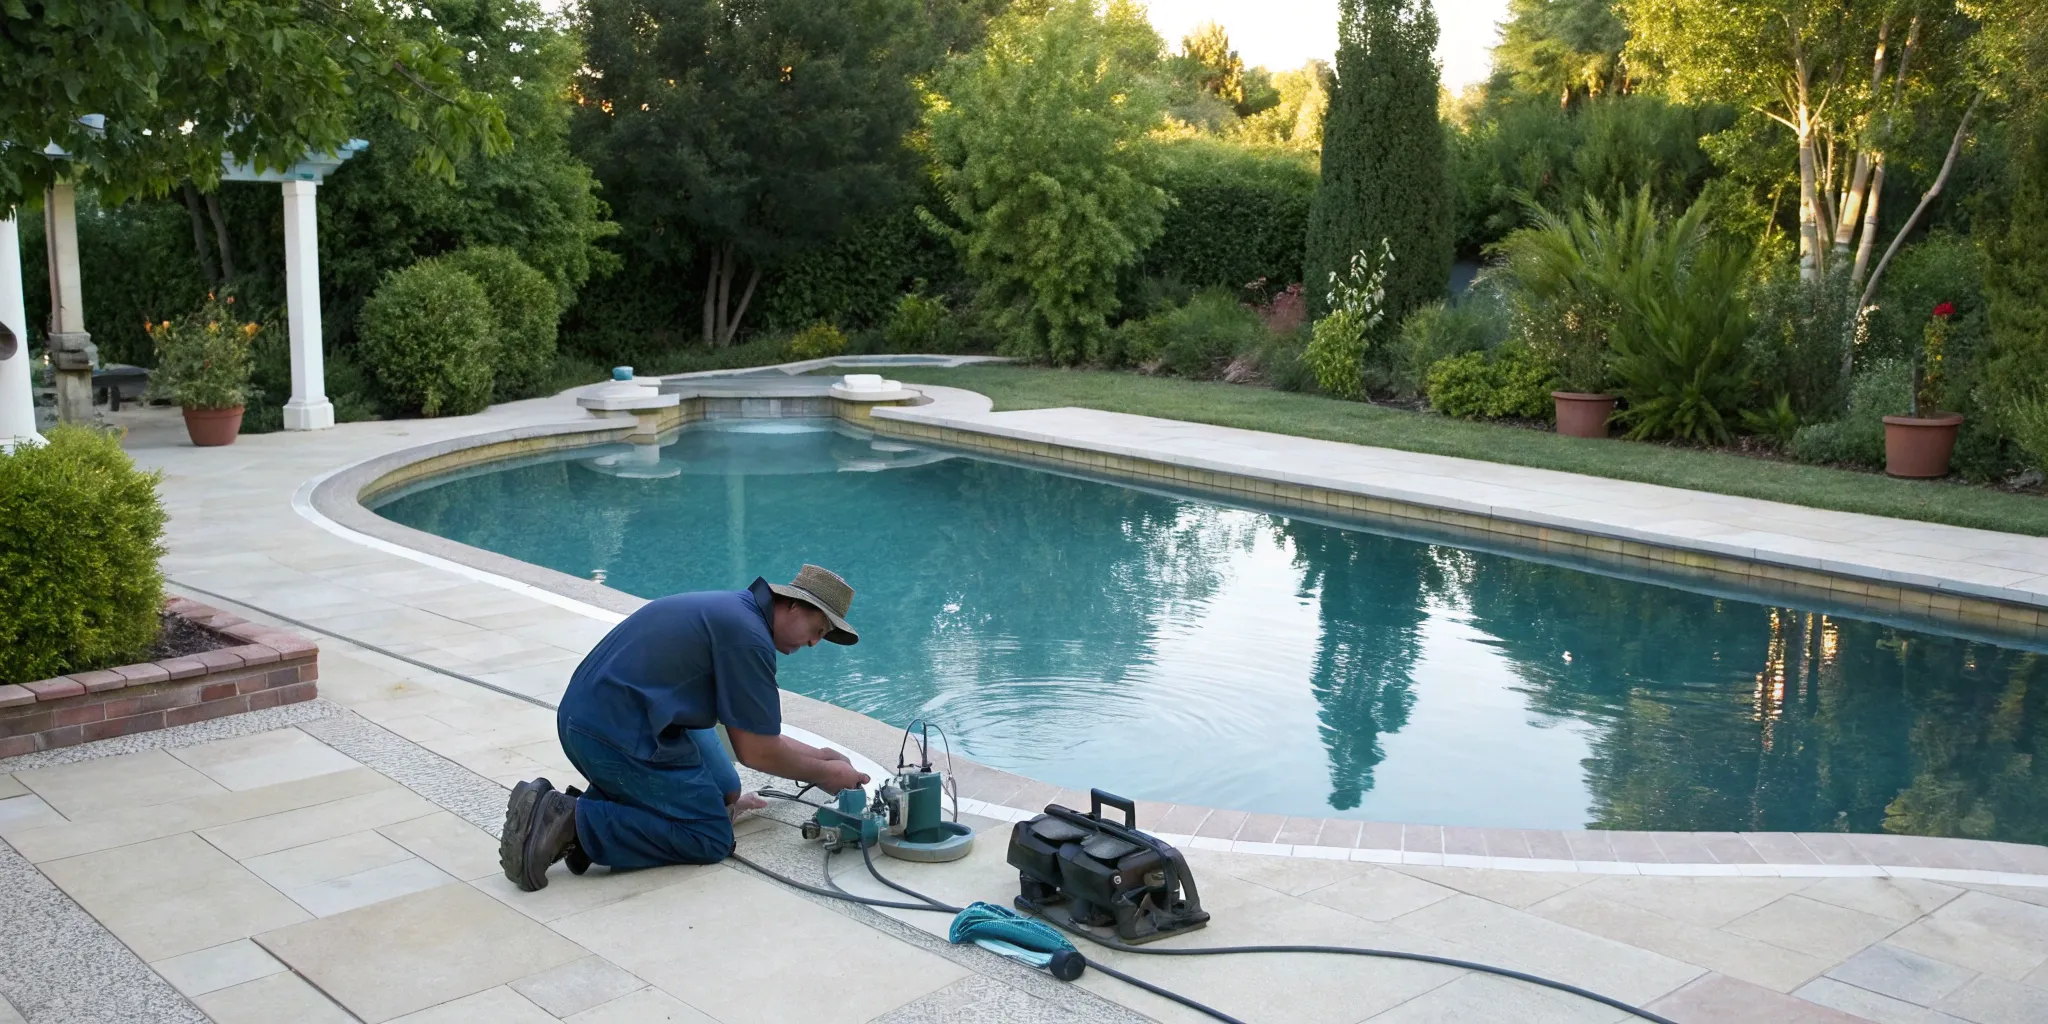
When your Hayward pump acts up, knowing you have a qualified expert nearby makes all the difference. While some troubleshooting is manageable on your own, certain issues require a professional touch to avoid bigger, more complicated problems down the road. For pool owners in Colorado, finding a local technician who understands the specific demands of our climate is key to getting a reliable and lasting fix. A professional can accurately diagnose the problem, whether it's a simple fix or a complex internal issue, ensuring your pool equipment gets the care it needs to perform its best.
Our expertise in equipment repair
If you're facing complex mechanical or electrical issues, it’s time to call in a certified technician. Our team specializes in professional equipment repairs and servicing, handling everything from straightforward part replacements to more involved tasks like motor diagnostics and replacement. Attempting these repairs without the right training can lead to further damage. Using a professional service ensures your Hayward pump is serviced correctly, which is essential for protecting your investment, prolonging its lifespan, and maintaining the powerful performance you rely on to keep your pool water circulating and clean.
The benefits of a local Colorado service professional
Choosing a local Colorado service professional offers some serious advantages. We’re not just familiar with Hayward pumps; we’re experts on how they operate in our unique environment. The intense sun, fluctuating temperatures, and high altitude can all affect your pool equipment. Our team understands these regional challenges and provides solutions that last. Plus, when you work with a local company, you get the peace of mind that comes with reliable, on-time service from technicians who are part of your community. We’re here to provide the dedicated spa and pool services you need, right when you need them.
Frequently Asked Questions
Is a noisy pump really a big deal? Yes, you should always pay attention to new or unusual noises from your pump. While a low, steady hum is normal, sounds like grinding, screeching, or rattling are clear indicators of a mechanical problem. Most often, these noises point to worn-out motor bearings, which will only get worse over time. Ignoring the sound can lead to the motor overheating and failing completely, turning a manageable repair into a much more significant replacement.
My pump is humming but won't turn on. What should I do first? A humming sound without the motor starting often means the impeller is jammed or the motor's capacitor has failed. The first thing you should do is turn off all power to the pump at the circuit breaker. Once the power is off, you can check if debris is stuck in the impeller. If the impeller is clear and the pump still only hums, it's likely an electrical issue with the capacitor or the motor itself, which is a clear sign to call a professional for a safe and accurate repair.
How can I tell if a leak is a simple fix or something more serious? A good rule of thumb is to look at where the water is coming from. If you see a small drip from the threaded fittings or around the pump lid, it might just be a loose connection or a worn-out O-ring, which are often simple DIY fixes. However, if water is leaking from the seam between the motor and the pump housing, that usually signals a failed shaft seal. This is a more serious issue because it can allow water to get into the motor, so it's best to call for professional service.
How often should I be checking my pump and skimmer baskets? Checking your baskets should be part of your weekly pool maintenance routine. During seasons when there's a lot of falling debris like leaves or blossoms, you may need to check them every couple of days. Keeping these baskets clear is one of the easiest and most effective ways to prevent problems. A full basket restricts water flow, which puts a heavy strain on your pump's motor and can lead to overheating and damage.
Will balancing my pool water really help my pump last longer? Absolutely. It might not seem directly related, but your pool's water chemistry has a huge impact on the health of your equipment. Water that is too acidic or alkaline can corrode the pump's internal components, like the seals and impeller, causing them to wear out much faster. Consistently maintaining the proper pH and alkalinity protects your pump from the inside out, helping it run efficiently and extending its overall lifespan.
Related Blogs