%201.png)
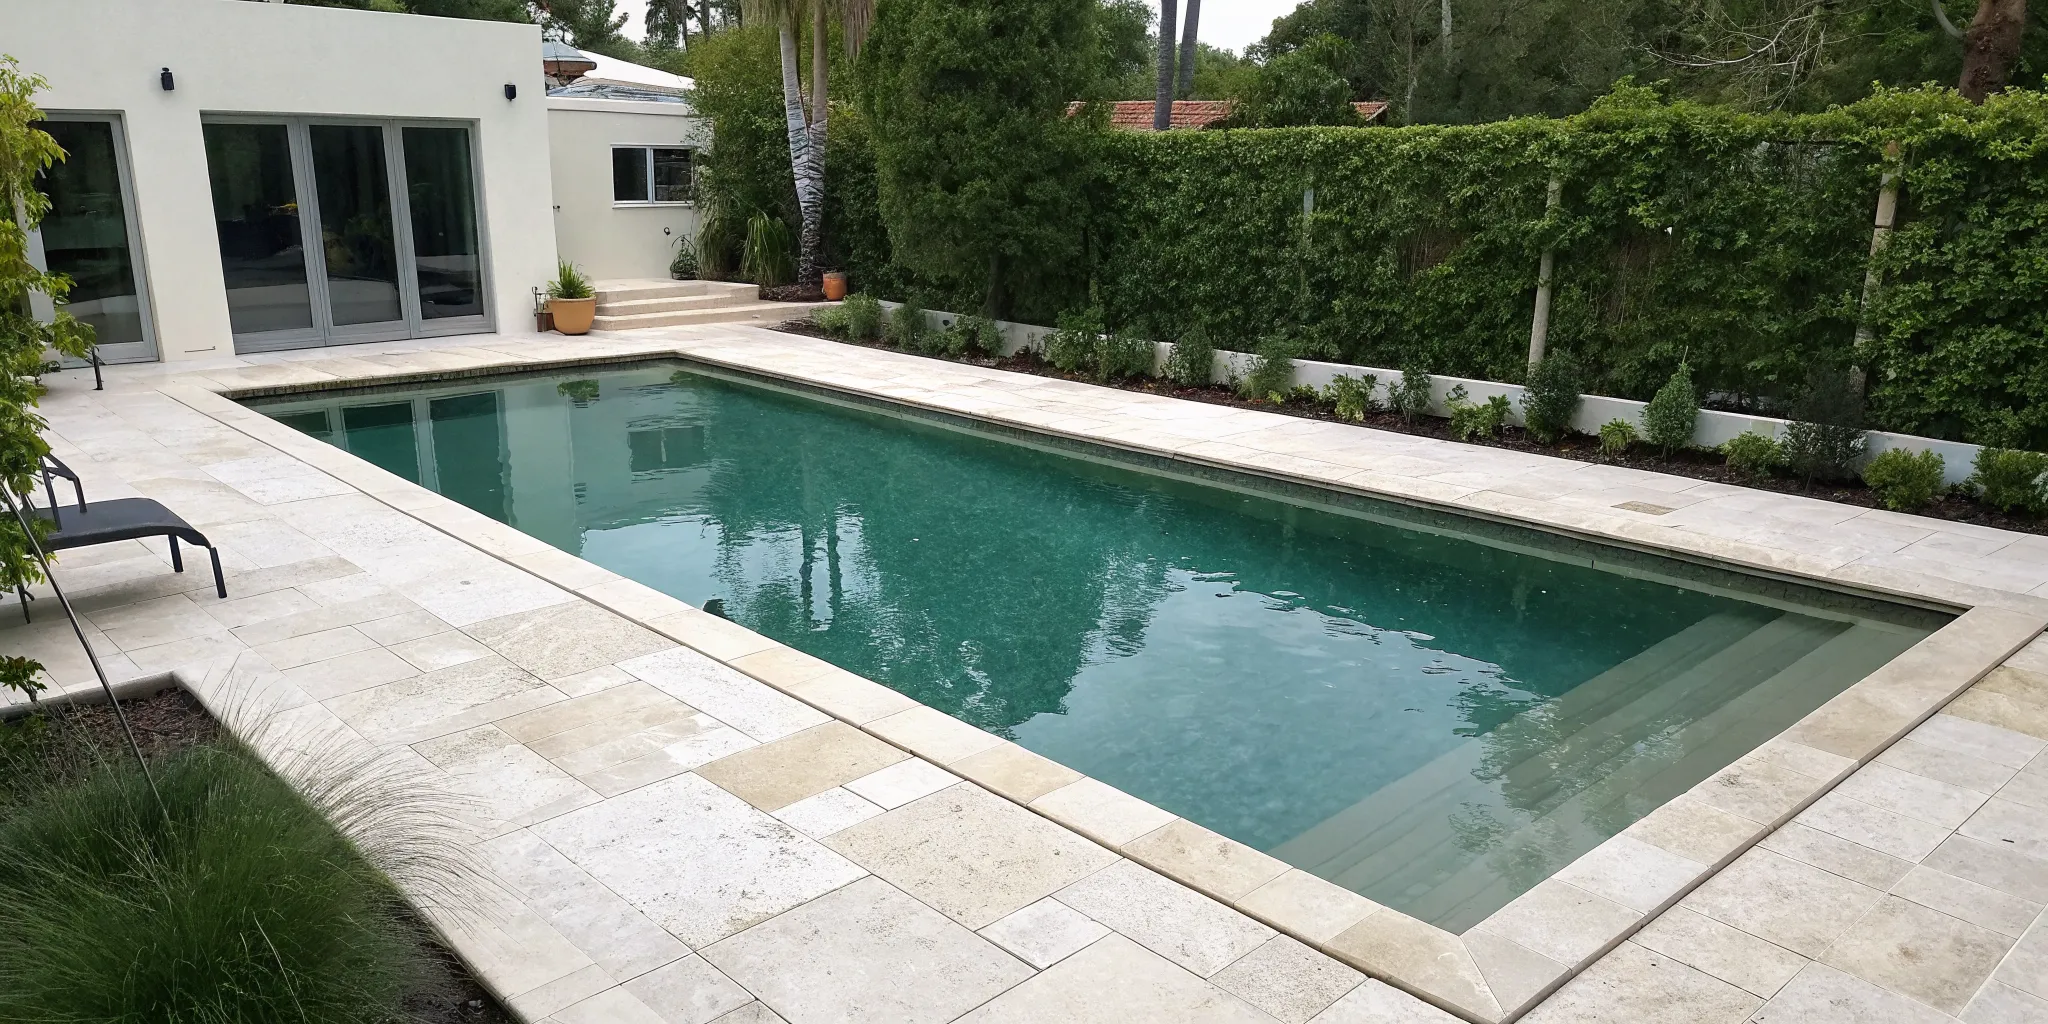
How to Open an Above Ground Pool That Is Green: A Guide

Seeing a green pool can feel overwhelming, but clearing it up is all about following the right steps in the right order. Think of it as a recipe for clear water. Trying to shock the pool before you've brushed the walls or balanced the pH will only waste your time and money on chemicals. This guide is your complete action plan, breaking down the entire process into manageable stages. From the initial skimming and equipment checks to the final water balancing, we’ll walk you through everything. Learning how to open above ground pool that is green is simple when you have a reliable roadmap to follow, ensuring you get back to swimming sooner.
Key Takeaways
- Always Balance Your Water First: Chlorine can't work effectively if your water's pH is off. Before adding any shock, test your water and adjust the pH to the 7.4 to 7.6 range to ensure your treatment is powerful enough to kill the algae.
- Shock at Night, Filter Around the Clock: Use a powerful, chlorine-based shock after sunset, often requiring a double or triple dose for green water. Then, run your filter continuously until the water is completely clear to remove all the dead algae.
- Create a Proactive Maintenance Routine: Your best defense against future algae is consistency. Test your water weekly, maintain a stable chlorine level, and run your filter for at least eight hours daily to keep your pool clean and prevent problems before they start.
Why Did My Above-Ground Pool Turn Green?
Pulling back the cover to find a green pool is a frustrating start to the season for any Colorado homeowner. But don't worry, it's a common problem with a clear solution. Understanding why your pool turned green is the first step to getting it back to a crystal-clear blue. Usually, the cause is one of three main culprits, or sometimes a combination of them all. It's rarely a sign of a major disaster; more often, it's just a signal that your pool's ecosystem is out of balance. Think of it like a garden: if you don't tend to it, weeds (or in this case, algae) will start to take over. The good news is that with a little knowledge and the right approach, you can correct the issue and learn how to prevent it from happening again. We'll walk through what's likely happening in your water so you can diagnose the problem and get back to enjoying your pool. From simple chemical adjustments to checking your equipment, we've got you covered. Getting to the root cause is key, because just dumping in chemicals without knowing the problem can be a waste of time and money, and might not even solve the issue long-term. Let's look at the most common reasons for a green pool.
The Usual Suspects: Algae and Low Chlorine
The green color in your pool is almost always caused by algae. Think of it as a tiny plant that multiplies rapidly when conditions are right. The number one reason algae takes over is a lack of chlorine. Chlorine is the sanitizer that kills algae and other contaminants in your pool. When chlorine levels drop too low, algae gets a green light to bloom. This is especially common after winter when the pool has been dormant or after a heavy rainstorm. Keeping a consistent supply of the right pool chemicals is your best defense against a green pool and the foundation of a healthy swimming environment.
Stagnant Water and Clogged Filters
Algae thrives in still, stagnant water. Your pool's pump and filter are designed to prevent this by circulating the water and removing debris and algae spores before they can take hold. If your pump isn't running long enough each day, or if your filter is dirty and clogged, your water isn't moving or getting cleaned effectively. This creates the perfect stagnant environment for an algae bloom. A poorly functioning filter can't trap the particles that make your water green. That's why regular equipment checks and servicing are just as important as your chemical routine to ensure everything is running smoothly.
Out-of-Whack Water Chemistry
While low chlorine is the main offender, other chemical imbalances can create the perfect storm for a green pool. Your pool's pH level is a key factor. If the pH is too high, it makes your chlorine much less effective, even if the test strip says you have enough. Another sneaky culprit is phosphates, which are essentially food for algae that can enter your pool from leaves, dirt, and even some lawn fertilizers. When phosphates are present, algae has a constant buffet to fuel its growth. Proper pool cleaning and maintenance involves balancing all these elements, not just pouring in more chlorine, to keep your water safe and clear.
Your First Steps to a Clear Pool
Before you can even think about adding chemicals, you need to tackle the physical cleanup. Think of it as prepping your canvas. Getting rid of the gunk, checking your gear, and making sure your water level is right are the foundational steps that set you up for success. It might feel like a lot of work upfront, but trust me, doing this prep work thoroughly will make the chemical treatment far more effective and save you a lot of frustration down the road. Let’s walk through exactly what you need to do to get your pool ready for its transformation from green to clean.
Clean Off the Pool Cover
First things first, let's deal with that pool cover. Over the off-season, it has likely collected a lovely mix of leaves, twigs, and stagnant water. It’s crucial to get all of that debris off before you try to remove the cover. Use a soft broom or a cover pump to clear it away. When it’s time to take the cover off, grab a friend to help. This makes it much easier to fold it carefully without dragging it on the ground, which can cause rips, or accidentally dumping a winter's worth of gunk right back into your pool.
Skim the Debris and Brush Everything Down
With the cover off, you can finally see what you’re working with. Grab your skimmer net and do a thorough pass to remove any leaves or debris floating on the surface. Next, it’s time for some elbow grease. Take your pool brush and give the walls and floor a vigorous scrub. The goal here is to loosen up all the algae that’s clinging to the surfaces and get it suspended in the water. This step is essential because it allows the shock treatment you'll add later to work its magic on all the algae, not just what's floating around. Our team handles this as part of our regular cleaning and maintenance visits.
Check Your Equipment and Water Level
Now, let’s give your pool’s circulation system a quick inspection. Look over your pump, filter, skimmer, and return jets for any visible cracks or leaks. Catching these issues early can prevent bigger headaches later. If you spot a problem, it’s best to get it fixed before you proceed. Once your equipment checks out, grab your garden hose and fill the pool until the water level is about halfway up the skimmer opening. This is the sweet spot for ensuring your system can circulate and filter the water effectively. If you find a leak or something doesn't look right, our equipment repairs team can get it sorted out for you.
How to Test Your Green Pool Water
Before you start adding a bunch of chemicals, you need to understand what’s happening with your water. Think of it like a doctor diagnosing a patient before writing a prescription. Testing the water gives you a clear picture of the problem so you can choose the right treatment and get your pool back to sparkling blue. A reliable water testing kit is your most important tool in this process. You’ll want to check for a few key things: pH and alkalinity, chlorine, and phosphates. Getting these readings will tell you exactly what you need to do to fight off the algae for good.
Test for pH and Alkalinity
First up are pH and alkalinity. The pH level measures how acidic or basic your pool water is, and it directly affects how well your other chemicals work. For your sanitizer to be effective, your pool’s pH should be between 7.4 and 7.6. If it’s too high or too low, the shock treatment you add later won’t be nearly as powerful. Alkalinity works as a buffer, helping to keep your pH level from swinging wildly. When you test your water, check both levels. If your pH is off, you’ll want to adjust it before you do anything else. You can find all the necessary balancers in a good pool chemical kit to get your water ready for the next step.
Check Your Chlorine Levels
If your pool is green, it’s almost certain your chlorine levels are too low. Chlorine is the sanitizer that kills algae and other unwanted guests in your water. When algae starts to take over, it means there isn't enough free chlorine available to stop it. Your test kit will likely measure both free chlorine (the active, germ-killing kind) and total chlorine. In a green pool, your free chlorine reading will probably be at or very close to zero. This confirms that the algae has used up all the sanitizer, and it’s the reason a powerful shock treatment is necessary to restore balance.
Look for Phosphates (Algae Food)
Here’s a factor many pool owners miss: phosphates. Phosphates are essentially food for algae, and they can get into your pool from things like leaves, lawn fertilizer, and even rainwater. If you have high phosphate levels, you could shock your pool and kill the algae, only to have it return again and again because its food source is still there. You may need a special phosphate test kit to get an accurate reading. If the levels are high, you’ll need to use a phosphate remover. Tackling this step is critical for long-term success and can save you a lot of headaches. If you’re dealing with a stubborn green pool, our cleaning and maintenance team can help diagnose and treat the underlying issue.
Your Chemical Toolkit for a Green Pool
Tackling a green pool feels like a big job, but it’s much more manageable when you have the right chemicals ready to go. Think of these as your core toolkit for clearing up the water and getting it back to a beautiful blue. The key isn’t just dumping products in and hoping for the best; it’s about using the right ones in the right order to effectively kill the algae and rebalance your water. Before you start, make sure you have these three essentials on hand. If you're ever unsure about what to get, we can help you find the right supplies and chemicals for your specific pool.
Pool Shock
Pool shock is the most important tool in your fight against algae. When you see green, you need a powerful dose of chlorine to kill the bloom. Look for a granular shock that contains at least 70% calcium hypochlorite, as this is the most effective type for clearing up algae. For the best results, always add shock to your pool in the evening. The sun's UV rays can burn off chlorine quickly, so applying it after sunset allows it to work uninterrupted overnight. Depending on how green your water is, you may need to repeat the shocking process to fully eliminate the algae.
Algaecide
After you’ve shocked the pool, algaecide is your follow-up treatment. While shock does the heavy lifting of killing the algae, algaecide helps eliminate any stubborn survivors and prevents new spores from taking hold. It’s a great way to ensure the green doesn’t make a quick comeback. When choosing a product, opt for a metal-free algaecide to avoid potential staining on your pool’s surfaces. Using an algaecide is a simple step that provides an extra layer of defense, keeping your water clearer for longer after the initial treatment.
pH and Alkalinity Balancers
Before you even think about adding shock, you need to check your water’s pH and alkalinity. These levels are the foundation of your pool’s chemistry. If they are out of balance, your chlorine shock won’t be nearly as effective. Your goal is to get the pH between 7.4 and 7.6. Test your water first, then use pH and alkalinity increasers or decreasers to adjust it. Getting these levels right ensures your shock can work at full strength, saving you time and effort. Proper water balance is a cornerstone of our cleaning and maintenance services because it makes every other treatment more effective.
How to Shock Your Pool Step-by-Step
Alright, it’s time to bring out the big guns. Shocking your pool is essentially giving it a powerful dose of chlorine to kill off all that algae and other unwanted contaminants. Think of it as a hard reset for your water. This process, also known as super-chlorination, will turn your pool from a murky green pond back into a sparkling blue oasis. It’s the most critical step in clearing up a green pool, and while it sounds intense, it’s totally manageable.
The key is to follow the steps carefully, from using the right amount of product to adding it at the right time of day. When you shock the pool correctly, you’re not just killing the visible algae; you’re also eliminating bacteria and other organic matter that the algae feeds on. This ensures a deep, effective clean. Grab your safety goggles and gloves, and let’s get your water back on track.
Calculate the Right Amount of Shock
Guessing games have no place here. Using too little shock won’t get the job done, and using too much can be wasteful and potentially damage your pool liner. The general rule of thumb is to use one pound of calcium hypochlorite shock for every 10,000 gallons of water. However, since you’re dealing with a green pool, you’ll need to up that dose. The greener the water, the more shock you’ll need.
Here’s a simple guide:
- Light green water: Double the dose (2 pounds per 10,000 gallons).
- Medium green water: Triple the dose (3 pounds per 10,000 gallons).
- Dark green, swampy water: Quadruple the dose (4 pounds per 10,000 gallons).
Always check the instructions on the product you’re using, as formulations can vary. If you need help finding the right pool chemicals, we can point you in the right direction.
Add Shock Safely in the Evening
Timing is everything. The best time to shock your pool is at dusk or in the evening after the sun has gone down. Why? The sun’s UV rays are chlorine’s worst enemy. They burn it off quickly, reducing its effectiveness. By adding shock at night, you give the chemicals a solid eight to ten hours to work their magic without interference from the sun.
Before you start, read the manufacturer’s instructions. Some shock treatments need to be pre-dissolved in a bucket of pool water before being added to the pool. This prevents the potent granules from settling on your liner and bleaching it. Pour the mixture slowly into the water as you walk around the edge of the pool to help it distribute evenly.
Keep the Filter Running
Once the shock is in the water, your filter needs to get to work. The filter’s job is to circulate the super-chlorinated water throughout the entire pool and to start capturing all the dead algae particles you just killed. You’ll want to run your filter continuously for at least eight hours after shocking, but for a green pool, it’s best to let it run 24/7 until the water is completely clear.
This is a team effort: the shock kills the algae, and the filter removes it. If your filter isn't working properly, this whole process will stall. A well-maintained filter is crucial, so if you suspect any issues, it might be time to look into professional equipment repairs.
How to Vacuum and Filter Out Dead Algae
After you've shocked the pool, the water will likely look cloudy and milky-green or gray. This is actually a good sign! It means the shock has done its job, and the algae is dead. Now, you just need to get it out of your pool. This part of the process is all about physical removal. It takes some patience, but getting rid of that dead algae is the key to getting your water sparkling clear again. We'll walk through how to vacuum everything up and use your filter to catch every last particle.
Manually Vacuum the Right Way
This is where you'll want to skip the automatic cleaner and break out the manual vacuum. An automatic cleaner tends to stir up the fine, dead algae, which just clouds the water again. Connect your vacuum head, pole, and hose, and hook it up to your skimmer. The trick is to move very slowly and deliberately across the pool floor, almost like you're mowing a lawn in slow motion. Overlap your strokes slightly to make sure you don't miss any spots. This careful approach ensures you suck up the debris instead of just pushing it around. If you need a hand with your cleaning and maintenance routine, our team is always here to help.
Know When to Vacuum to Waste
If you're looking at a thick layer of dead algae settled on the bottom, you should vacuum to "waste" or "drain." This setting on your multiport valve bypasses the filter entirely, sending the dirty water out of the pool through the backwash hose. Why do this? It prevents all that gunk from instantly clogging your filter. The downside is that you'll lose a significant amount of pool water, so have a garden hose ready to start refilling as you go. For smaller messes, vacuuming to "filter" is fine, but for a serious post-algae cleanup, vacuuming to waste is the most effective method and can prevent future equipment repairs.
Run Your Filter Around the Clock
Once you've finished the heavy lifting with the vacuum, your filter takes over. Your job is to let it run continuously until the water is completely clear. Don't turn it off after the standard 8 to 10 hours. You should plan to run your filter 24/7 for a day or two. This constant circulation will capture any fine, suspended particles that the vacuum missed, polishing the water until it's crystal clear. It might seem like a lot, but this step is what will take your pool from cloudy to inviting. It’s a temporary measure that makes a huge difference in getting your pool back in shape quickly.
Backwash and Clean Your Filter Often
Your filter is working overtime to clear out all that dead algae, so you need to give it some support. Keep a close eye on your filter's pressure gauge. As the filter collects debris, the pressure will rise. Once it's about 8 to 10 PSI above its normal "clean" reading, it's time to backwash (for sand or D.E. filters) or clean the cartridge. You might need to do this several times during the cleanup process. One pro tip: avoid using clarifiers or other "quick fix" supplies and chemicals until the water is clear. They can sometimes gum up the filter and make the problem worse. Just stick to consistent filtering and backwashing.
Common Mistakes to Avoid When Clearing a Green Pool
Tackling a green pool can feel like a major project, and it’s easy to get frustrated when the water just won’t clear up. Often, the issue isn’t a lack of effort but a few common missteps that can derail your progress. Getting your water from murky green to sparkling blue is a process, and skipping a step or using the wrong product can leave you feeling stuck. By understanding these frequent pitfalls, you can save yourself time, money on chemicals, and a lot of extra work.
Think of it as a recipe: every ingredient and every step matters. Before you start pouring expensive chemicals into the water, let’s walk through the mistakes that many pool owners make. Avoiding these will put you on the fast track to a clear pool. We’ll cover why you can’t be shy with shock, why your water chemistry is the true first step, why your filter needs to work overtime, and how to pick the right kind of shock for the job. If you follow the right process and still feel stuck, our team is always here to help with professional cleaning and maintenance.
Not Using Enough Shock
When your pool is green, it’s not the time to be conservative with your shock treatment. A common mistake is under-dosing the pool, which won’t be enough to overcome the algae. The algae bloom creates a massive chlorine demand, meaning a standard dose will be consumed almost instantly without making a dent. You need to use enough shock to kill all the algae and leave a residual chlorine level in the water. Be prepared to use two, three, or even four times the normal amount. Always read the product label for instructions on treating an algae-filled pool to ensure you’re adding the correct dosage. Having the right pool chemicals on hand makes all the difference.
Forgetting to Balance the pH First
Pouring shock into a pool with unbalanced water is like trying to clean with one hand tied behind your back. Chlorine’s effectiveness is directly linked to your pool’s pH level. If the pH is too high (above 7.8), the chlorine becomes sluggish and far less effective at killing algae and sanitizing the water. Before you add a single granule of shock, you must test and balance your water. Adjust the pH to between 7.4 and 7.6 to ensure the shock can work at its maximum power. This single step can be the difference between shocking your pool once and having to do it multiple times, saving you a lot of frustration.
Turning the Filter Off Too Soon
After you’ve shocked the pool, the dead algae will turn the water cloudy or grayish. This is where your filter takes over. A critical mistake is turning the filter off before it has had a chance to remove all those suspended particles. Your pump and filter need to run 24/7 until the water is completely clear. This can take several days, so be patient. Turning it off overnight allows the dead algae to settle back onto the pool floor and walls, undoing your hard work. Keep an eye on your filter’s pressure gauge, as it will likely need to be backwashed or cleaned frequently. If your equipment isn't keeping up, it might be time for a check-up or equipment repairs.
Choosing the Wrong Kind of Shock
Not all shock treatments are designed to fight an algae invasion. While non-chlorine shock is great for weekly maintenance to break down organic contaminants, it won’t kill algae. To clear a green pool, you must use a powerful, chlorine-based shock, such as calcium hypochlorite (cal-hypo). This type of shock will raise the free chlorine levels high enough to destroy the algae bloom and sanitize the water. Using the wrong product is a waste of time and money that will only leave you with a still-green pool. Make sure you have the right supplies and chemicals specifically designed for eliminating algae before you begin the treatment process.
How to Balance Your Water After Treatment
You’ve done the heavy lifting: the shocking, the brushing, the filtering. Your pool is no longer a swampy green, but a cloudy blue or even clear. It’s tempting to grab your swimsuit and jump in, but hold on for just a bit longer. This final step, balancing your water chemistry, is what turns your pool from a science experiment back into a safe and comfortable oasis. After a major treatment like this, your water’s chemical levels are all over the place. Getting them back in line is essential for swimmer comfort, protecting your equipment, and making sure the green doesn’t make a comeback. Think of this as the finishing touch that locks in all your hard work.
Retest All Your Chemical Levels
Once the algae is gone and the water is clearing up, it’s time to grab your test kit again. You need a complete picture of your water chemistry, so test for everything: pH, total alkalinity, calcium hardness, and, of course, chlorine. The shock treatment you used to kill the algae will have significantly altered these levels, especially your pH and chlorine. Getting an accurate reading is the first step toward making precise adjustments. This isn’t a step you can skip, as adding more chemicals without knowing your starting point can just create more problems. Accurate testing ensures you’re adding exactly what your pool needs to be safe for swimming.
Adjust pH and Alkalinity Back to Normal
With your new test results in hand, focus on pH and alkalinity first. These two work together to keep your water stable. Your goal is to get the pH level between 7.4 and 7.6. When pH is in this sweet spot, your chlorine can do its job much more effectively, and the water will feel comfortable on your skin and eyes. If your pH is too low, the water is acidic and can corrode your pool equipment. If it’s too high, it can cause scaling and cloudy water. Use the appropriate supplies and chemicals to carefully bring your alkalinity and then your pH into the ideal range.
Keep Your Chlorine Levels Steady
Now that your other levels are balanced, the final piece of the puzzle is maintaining a consistent chlorine level. This is your best defense against another algae bloom. After a green pool incident, it’s a good idea to test your water every other day for a week or so to make sure your sanitizer levels are holding steady. You want to keep free chlorine in the 1-3 ppm range. This ensures there’s always enough sanitizer to kill any new algae spores that find their way into your pool. For ongoing peace of mind, a regular cleaning and maintenance schedule can take the guesswork out of keeping your water perfectly balanced all season long.
How to Keep Your Pool from Turning Green Again
You’ve put in the work to clear your pool, and the last thing you want is for that green monster to return. The secret to keeping your water sparkling isn’t a secret at all: it’s all about consistency. By building a few simple habits into your routine, you can prevent algae from ever taking hold again. Think of it as the difference between a quick daily tidy-up and a massive spring clean. These preventative steps are much easier and less stressful than treating a full-blown algae bloom, saving you time, frustration, and money on chemicals.
A proactive approach means you're always in control of your pool's health, rather than reacting to problems as they appear. This shift in mindset is crucial. Instead of battling green water, you're simply maintaining a clean environment where algae can't thrive. It transforms pool care from a chore into a satisfying routine. A little proactive care goes a long way in maintaining a beautiful, swim-ready pool all season long, letting you make the most of every sunny day here in Colorado. The following steps are the foundation of a solid maintenance plan that will keep your water crystal clear.
Test and Adjust Your Water Weekly
Think of this as your pool’s weekly check-up. Testing your water at least once a week is the best way to catch chemical imbalances before they become big problems. It allows you to make small, precise adjustments to your pool chemicals, keeping algae from getting the fuel it needs to grow. Staying on top of your water chemistry is your first line of defense for a healthy, clear pool. A good test kit will check for pH, alkalinity, and chlorine, which are the core levels you need to monitor to prevent green water.
Use a Consistent Chlorine Source
Chlorine is your pool’s bodyguard, and it needs to be on duty 24/7. Keeping your sanitizer levels stable is the single most effective way to stop algae in its tracks. Whether you use tablets, a salt system, or liquid chlorine, a steady supply prevents algae spores from multiplying. This is the foundation of any effective pool cleaning and maintenance schedule and the key to preventing green water from making a comeback. An automatic chlorinator or a floating dispenser can make this task much easier to manage.
Skim Daily and Brush Regularly
Make skimming and brushing a quick part of your daily routine. Skimming the surface removes leaves, bugs, and other organic debris that algae loves to feed on. A quick brush of the walls and floor a few times a week dislodges any stubborn algae spores that are trying to cling on, sending them into the water where your filter and chlorine can take care of them. This simple task only takes a few minutes but makes a huge difference in keeping your pool clean and uninviting to algae.
Run Your Filter and Maintain Equipment
Your filter is the workhorse of your pool, so let it do its job. Run your filter for at least eight hours a day to ensure all your water gets properly circulated and cleaned. Just as important is keeping the filter itself clean through regular backwashing or cartridge cleaning. A dirty or malfunctioning filter can’t remove algae spores effectively, no matter how well-balanced your water is. If you notice your equipment isn't performing as it should, it might be time to call for professional equipment repairs to keep everything running smoothly.
When to Call a Pool Pro
Tackling a green pool on your own is a big job, and sometimes, even with your best effort, the problem sticks around. If you feel like you’re going in circles and spending more time treating your pool than enjoying it, it might be time to tag in a professional. It’s not about giving up; it’s about getting your pool back faster so you can actually use it. Here are a few signs that it’s time to make the call to a local Colorado pool expert.
If the Green Keeps Coming Back
You shocked it, you filtered it, and for a glorious moment, the water was clear. But now, the green is creeping back in. When algae makes a comeback, it usually means there’s an underlying issue that another dose of shock can’t fix. Persistent algae often points to problems like poor circulation, hidden phosphate sources, or a chlorine level that just won’t stay put because the pH is too high. A professional can diagnose these stubborn problems and provide the right pool cleaning and maintenance to get to the root of the issue, ensuring the green stays gone for good.
If Your Equipment Isn't Cooperating
Your pool’s pump and filter are the heart and lungs of its cleaning system. If they aren’t working correctly, you’ll never win the battle against green water. While cleaning a filter basket is a simple DIY task, some problems are more complex. If your pump is making strange noises, your filter pressure is off, or you just can’t seem to get strong water flow, it’s a clear signal to stop troubleshooting. Continuing to run faulty equipment can cause more expensive damage down the line. A professional can handle complex equipment repairs, getting your system back online safely and efficiently.
If You Can't Get the Water Balanced
Pool chemistry can feel like a high school science class you never signed up for. If you’re constantly adding chemicals but your test strips still show levels that are all over the place, you might be fighting a losing battle. For example, if your pH is too high, your chlorine becomes much less effective, no matter how much you add. Getting the water balanced is the foundation of a clear pool. If you’re stuck in a cycle of testing and treating without seeing results, let an expert take over. We have the professional-grade tools and local Colorado expertise to get your water chemistry just right.
Frequently Asked Questions
How long does it usually take to clear a green pool? The timeline really depends on how green your pool is to start. For a light green pool, you might see clear water in a day or two. If you're dealing with a dark green, swamp-like situation, it could take the better part of a week. The key is patience; follow the steps, keep the filter running around the clock, and don't rush the process.
My pool is still cloudy a day after I shocked it. Is that normal? Yes, that's completely normal and actually a good sign. A cloudy, grayish-blue color means the shock has killed the algae. Now your filter has to do the work of removing all those tiny, dead particles from the water. Keep the filter running continuously and clean it as needed, and that cloudiness will gradually disappear.
Can I just use algaecide to get rid of the green instead of all that shock? Think of algaecide as a preventative measure or a helper, not the main solution for an existing algae bloom. Shock is what provides the powerful dose of chlorine needed to kill the algae. Algaecide is best used after shocking to kill any remaining spores and prevent them from returning, but it won't clear a green pool on its own.
Is it safe to swim in a pool that's even a little bit green? It's best to stay out of the water until it's completely clear and the chemical levels are balanced. The green color indicates that your sanitizer isn't working, which means the water is not only full of algae but also likely home to bacteria and other contaminants that can cause skin irritation or illness.
Why can't I just use my automatic pool cleaner to vacuum up the dead algae? Automatic cleaners are great for routine maintenance, but they aren't ideal for a post-algae cleanup. They tend to stir up the fine, dead algae particles rather than effectively removing them, which just sends everything back into the water. Manually vacuuming to "waste" is the best way to get all that gunk out of your pool for good.
Related Blogs